
Millennial Makeover: Before-and-After Bedroom Refresh on a $200 Budget
What do you do when your room feels like a mismatched thrift store but your bank account says “maybe next month”? You get resourceful. This isn’t just a bedroom makeover, it’s a creative mission to turn “renter beige” into a warm, layered, scroll-worthy space without going over $200.
In one weekend, I transformed a tired, personality-free bedroom into something that finally feels like me, cozy, curated, and clever.
Below, I’ll walk you through every change, the clever swaps I made, and how you can do the same, even in a rental, even with just two hundred bucks.
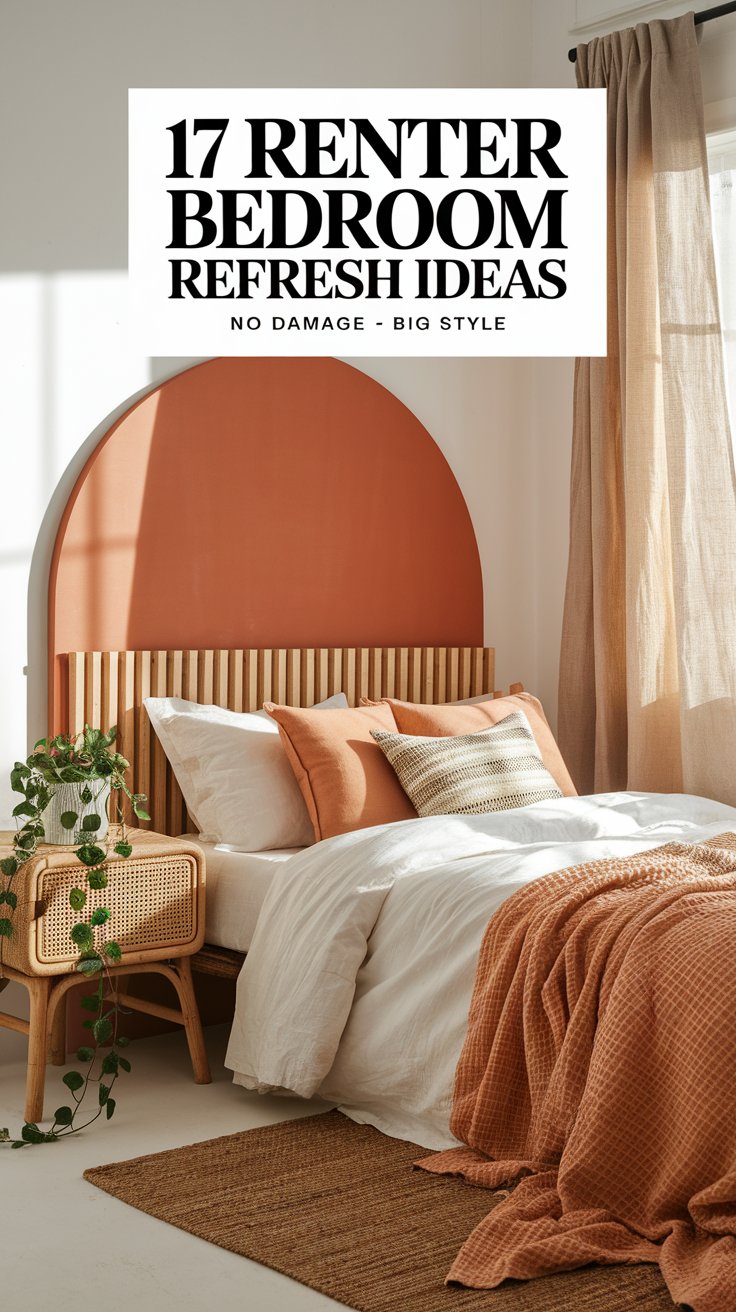
Check out this post: 17 Genius Home Bedroom Refresh Ideas
What Made the Cut: Creative Budget Breakdown
This isn’t your usual “buy a new nightstand and call it a day” list. Every item here earned its spot by doing double duty: boosting style and solving a real problem.
- Peel-and-stick ceiling decals (not walls): $28
A starburst pattern that draws the eye up and adds personality without damaging a single wall. - Reversible duvet cover (two moods, one price): $35
One side is minimalist ivory for calm days. Flip it, and you’ve got warm rust stripes for cozy evenings. - Floor pouf made from an old sweater and thrifted stuffing: $0 (DIY)
It’s a seat, footrest, and bonus storage when unzipped. - Facebook Marketplace mid-century nightstand: $20
A scratched gem I sanded and sealed with coffee—yes, actual coffee. - Plug-in swing-arm lamp mounted with removable hooks: $17
Mood lighting meets practical reading zone, no drilling required. - Frameless mirror turned wall art (plus $1 sticker quote): $16
Added instant depth to the room and reflected the only window. - Faux plant in a DIY hanging basket (from an old belt): $14
Added life and height with zero maintenance. - Neutral jute rug (floor sample off-cut): $25
Soft underfoot and just big enough to peek out beneath the bed. - Candle tray vignette with thrifted finds: $15
The final touch—a small corner that feels like a self-care invitation.
Total: $200 exactly
And not a single item feels like a compromise.
Before the Refresh
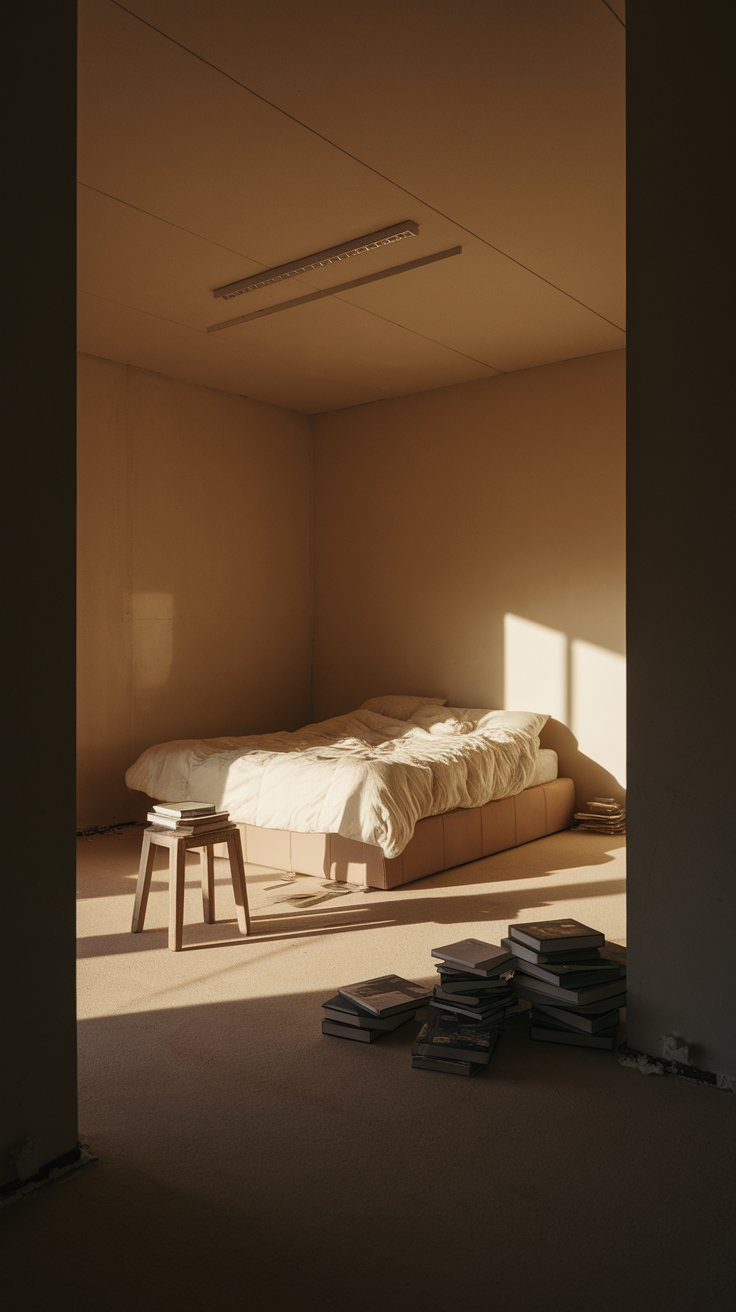
This room wasn’t terrible, but it felt like a space I never really moved into. The bed was shoved into the corner like it was placed “just for now.” Months later, it was still there. No headboard. No symmetry. No softness.
There were no rugs, no nightstand, and definitely no sense of style. Just a bare ceiling light that made the room feel cold at night and a blank wall that screamed, “I just moved in.”
Most of the furniture was random. A stool stood in for a bedside table. My books were stacked on the floor. Nothing matched. Nothing felt finished. And while it wasn’t exactly ugly, it didn’t feel like mine either.
Worse than messy, it felt temporary. The kind of room you close the door on when guests come over. It was clean, functional, and completely forgettable.
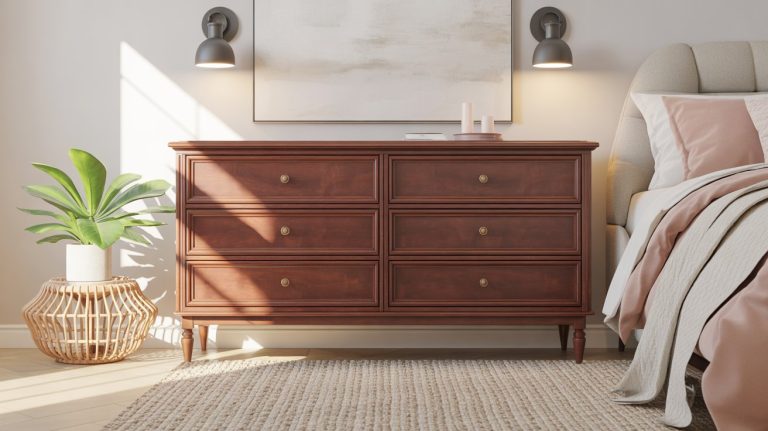
After the Refresh
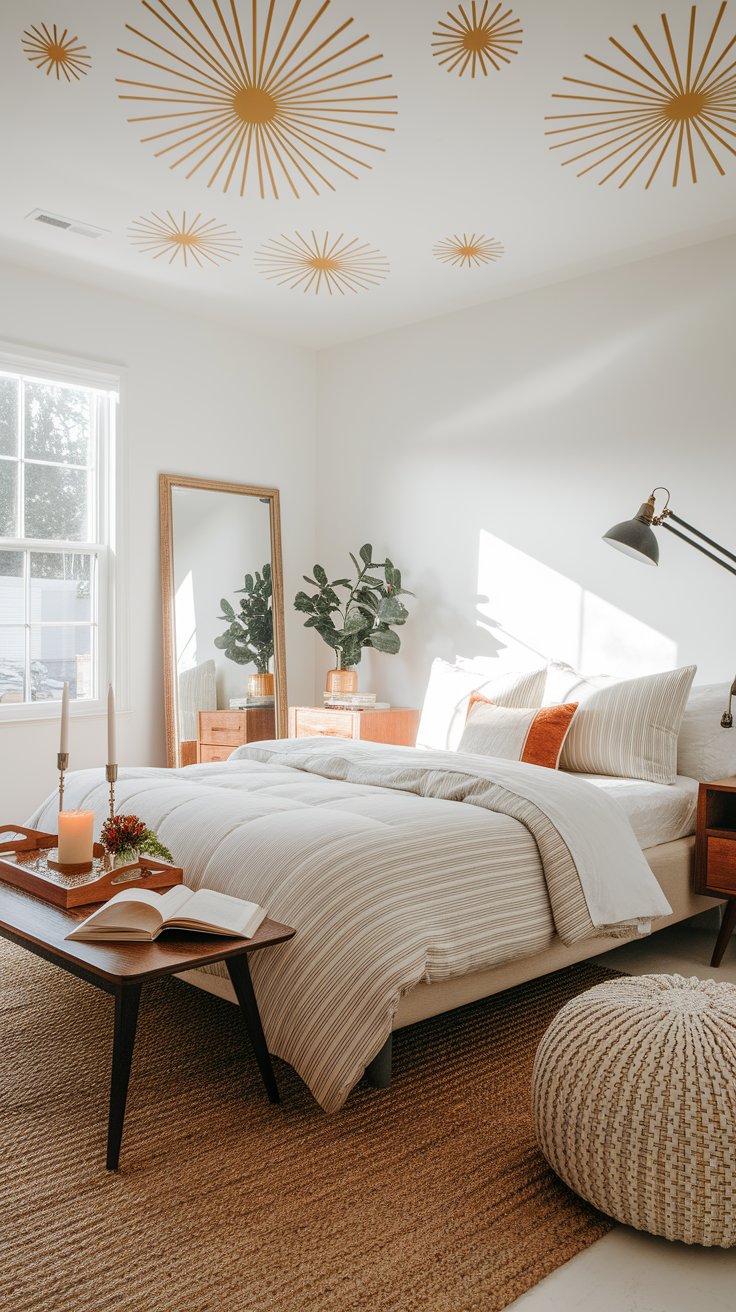
The space didn’t just look better. It felt better. Everything finally had a purpose and reflected my personality. The room went from cold and blank to warm, styled, and completely mine.
The first big change was the layout. I moved the bed to the center and created balance on both sides. One side got a plug-in swing-arm lamp. The other side got a floor pouf that doubles as a seat and softens the corner.
Instead of decorating the walls, I focused on the ceiling. Peel-and-stick starburst decals gave the room instant character without touching the paint. At night, the warm glow from the lamp highlights the design and makes the whole ceiling feel layered and cozy.
I added texture with a reversible duvet cover that flips from calm to cozy. A secondhand mirror reflects the only window, which makes the space feel brighter and more open. A small candle tray on the nightstand adds warmth without clutter.
Now, the room feels calm, complete, and personal. It’s still simple, but every piece adds comfort and style without going over the $200 budget.
The Room-by-Room Makeover Breakdown
This refresh wasn’t about buying new furniture. It was about rethinking what I already had, adding just a few clever upgrades, and using every corner with more purpose and style. Here’s exactly how each part of the room got a glow-up, without blowing the budget.
The Ceiling Got the Drama the Walls Never Did
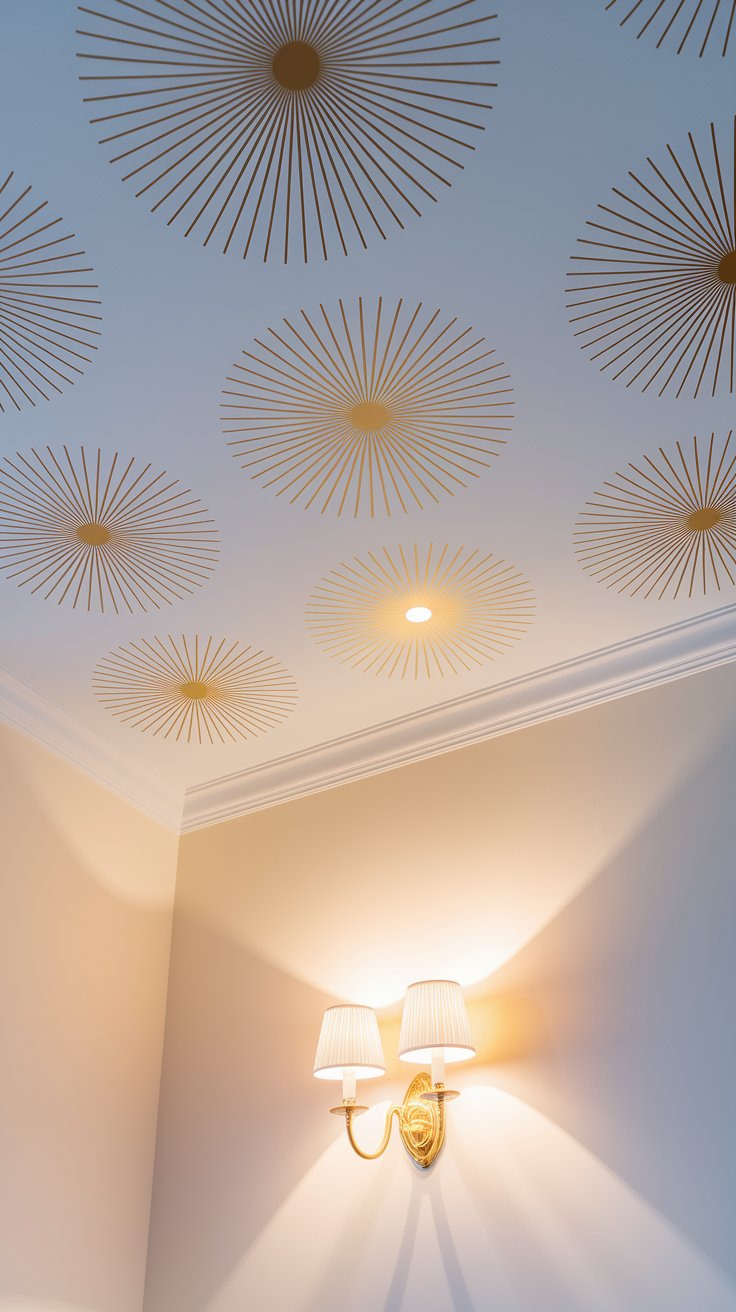
Instead of painting or hanging art, I used peel-and-stick starburst decals on the ceiling. Most people never look up, but now they do. It’s the first thing I see when I wake up and the last thing I stare at before bed.
They created instant personality in a totally unexpected spot. I didn’t need a headboard or a mural, just a ceiling pattern that made the space feel styled and softly lit at night.
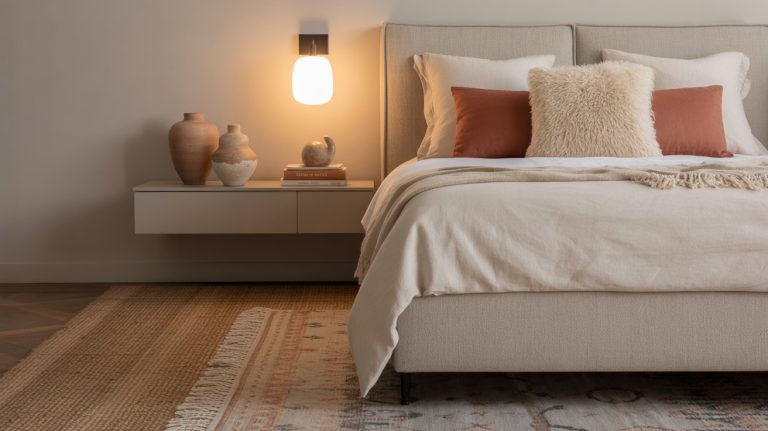
The Bed Area Went from Floating Mattress to Intentional Zone
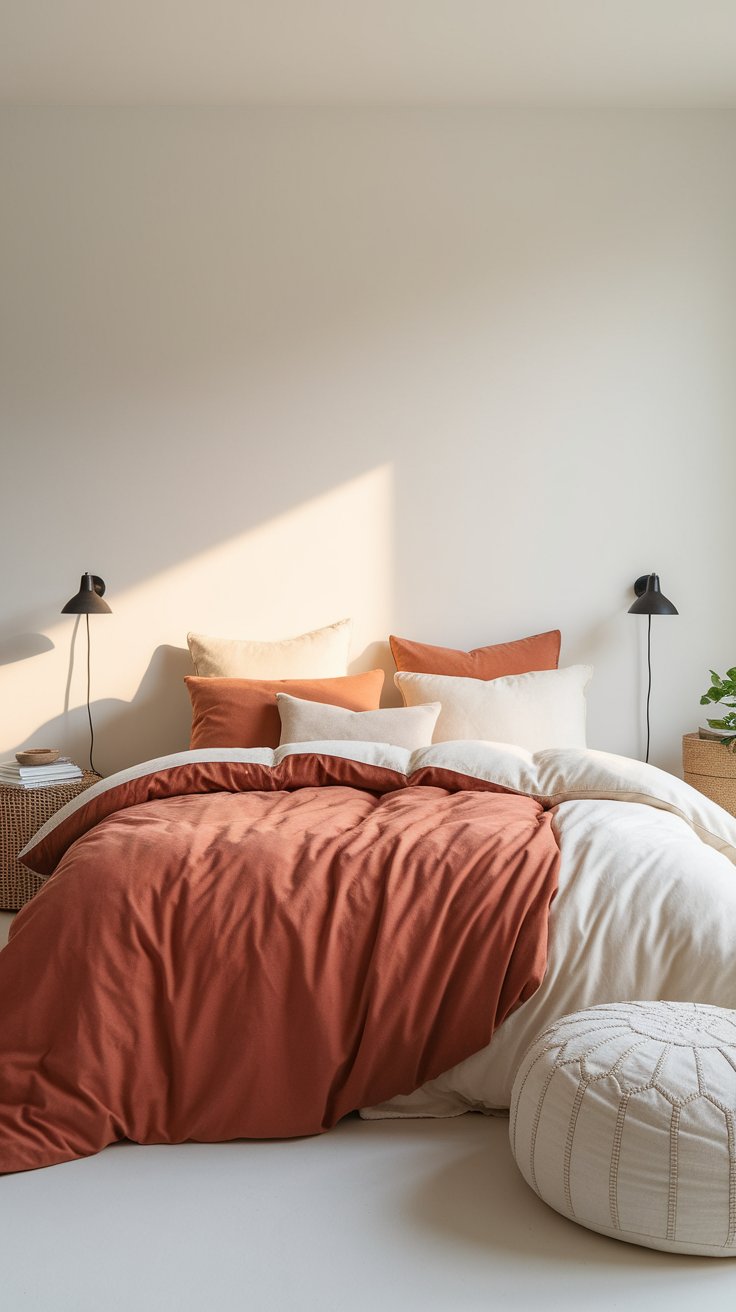
I didn’t buy a new bed. I just finally gave it a real place in the room. Moving it to the center made the whole space feel balanced, even without matching nightstands.
On one side, I added a swing-arm plug-in lamp that looks custom but just sticks on with removable hooks. On the other side, I threw down a floor pouf made from an old sweater and thrifted stuffing. It’s a seat, a footrest, and a storage bin depending on the day.
The reversible duvet cover flipped the entire vibe too, minimal ivory by day, warm rust stripes when I need cozy energy.
One $20 Nightstand, Sanded and Sealed with Coffee
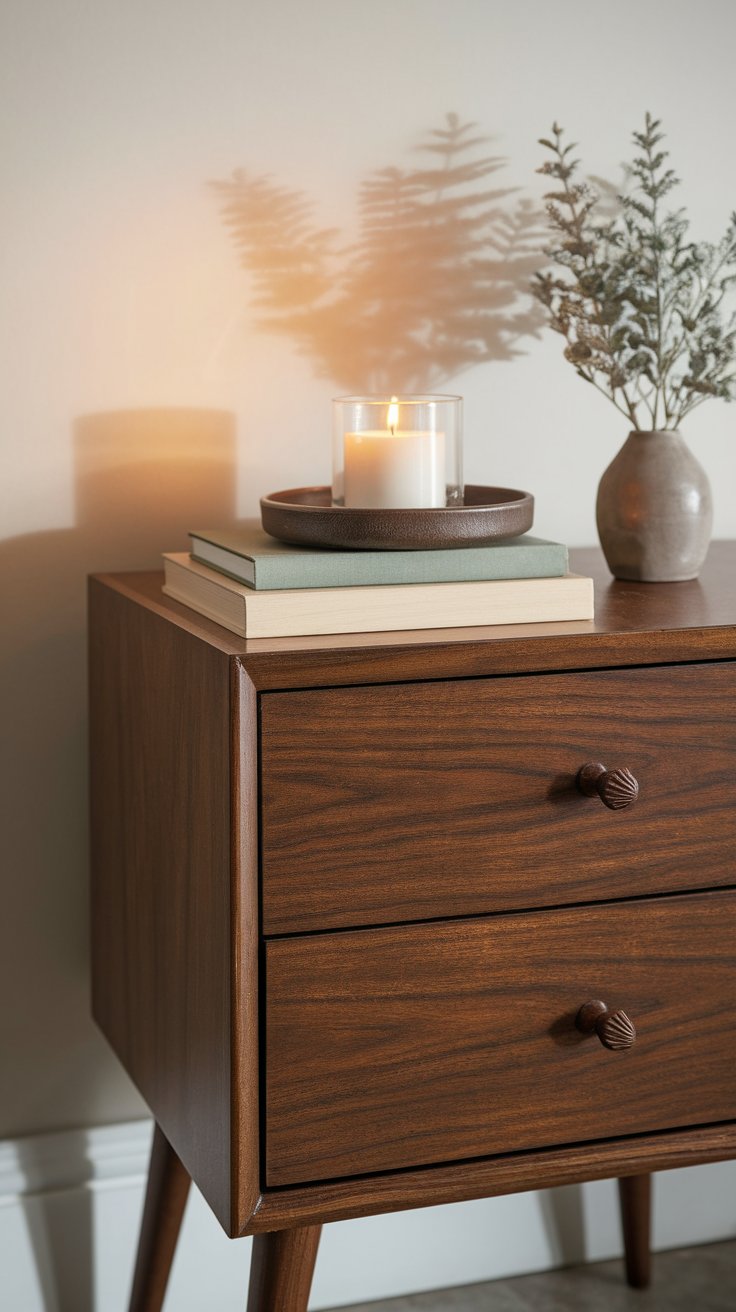
I scored a scratched-up mid-century nightstand from Facebook Marketplace. Instead of painting it, I sanded it down and rubbed brewed coffee into the wood to deepen the tone. It dried with a soft, weathered finish that looks like I bought it that way.
On top, I styled a tiny candle tray with stacked books, a faux plant, and a glass of water that no longer sits on the floor. This corner used to be dead space. Now it’s my favorite vignette.
The Rug Wasn’t Big, but It Was Smart
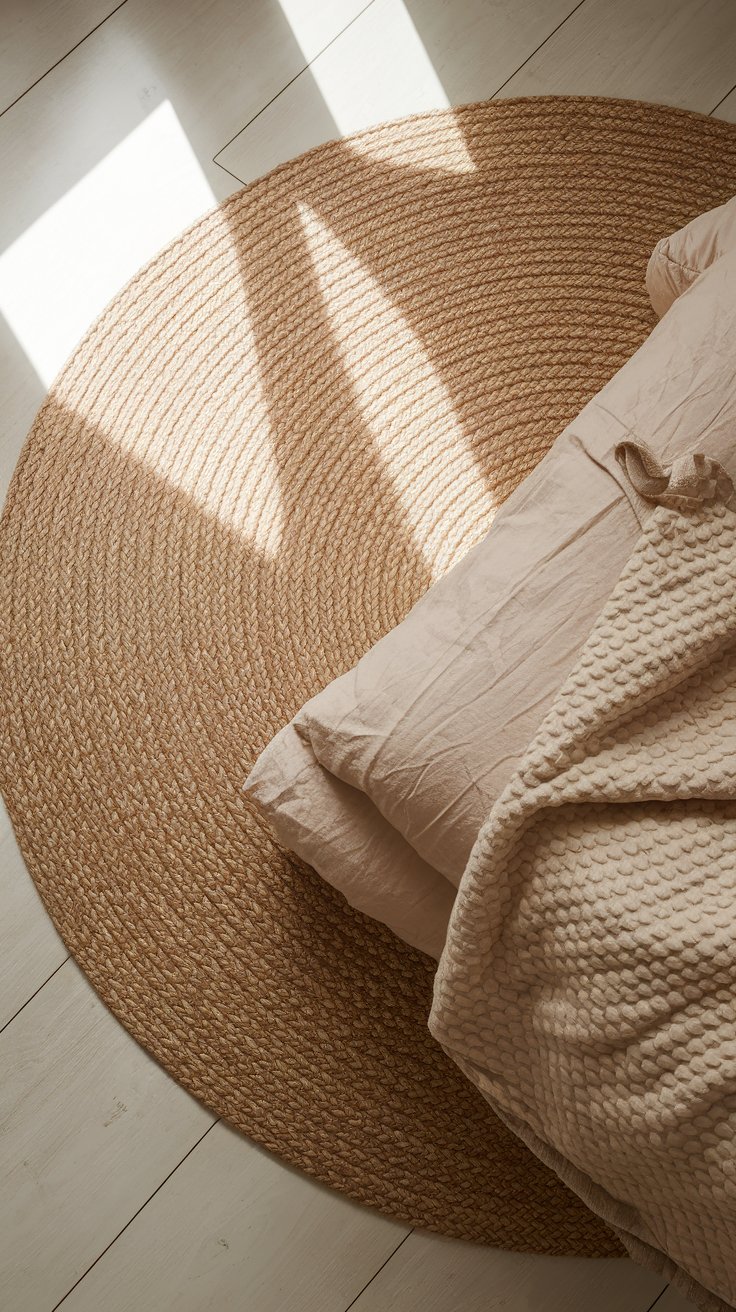
A huge rug was out of budget. So I found a neutral jute off-cut and angled it just under the lower two-thirds of the bed. It added texture, gave the room structure, and stopped the bed from floating like it used to.
It doesn’t cover everything, but it does enough. A cheap rug with good placement is better than an expensive one you can’t afford.
The Decor Was DIY or Repurposed, but Still Looked Custom
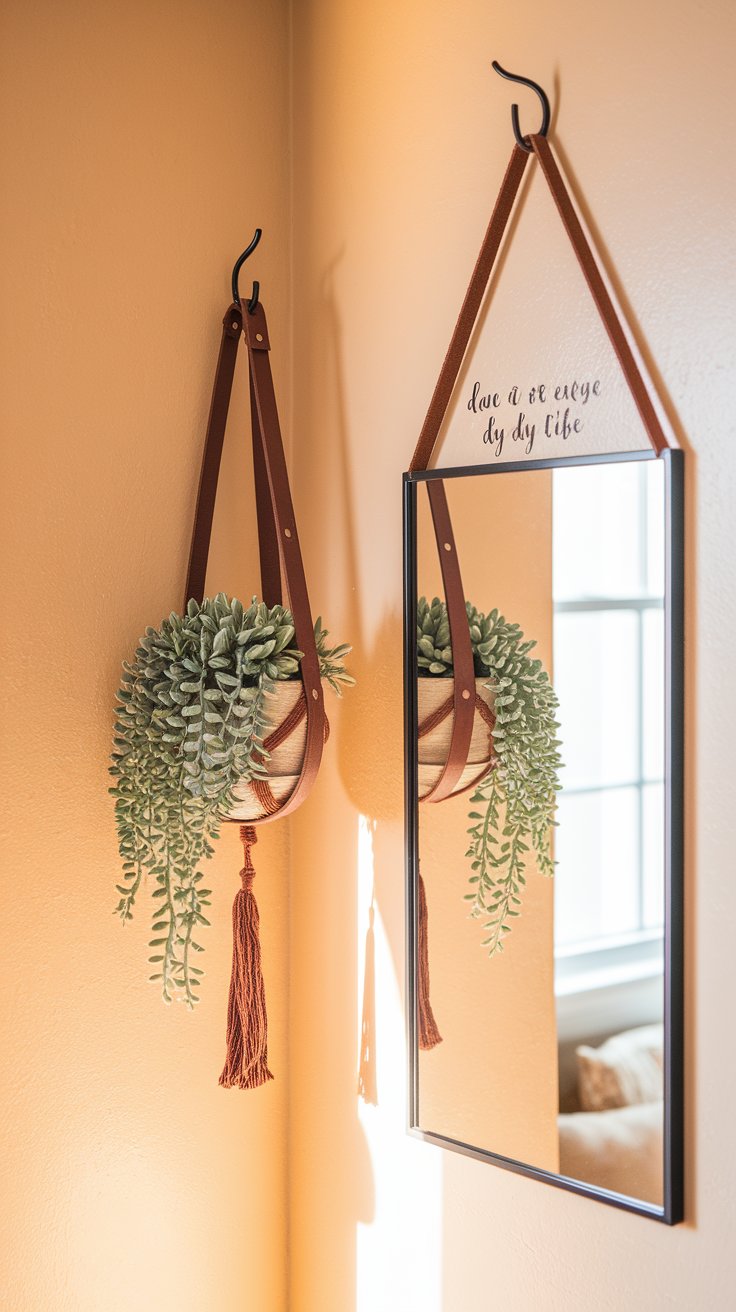
Instead of buying wall art, I leaned an old frameless mirror against the wall and stuck a $1 vinyl quote at the top. It reflects light from the only window and makes the room look twice as bright.
I also turned an old belt into a hanging planter by looping it around a basket and pinning it up with a Command hook. Add a faux trailing plant, and it suddenly looks like I styled it on purpose.
Most of what made this room feel “done” cost me nothing but an hour, a thrift trip, and a little creativity.
What I Would Do Differently Next Time
This refresh worked. It changed how the room looks, but more importantly, it changed how the space feels. Still, if I had just a little more budget or time, there are a few things I’d do differently next time.
1. Upgrade the curtains
I used basic white panels I already owned. They worked, but they didn’t add much character. If I could go back, I’d invest in linen-textured curtains in a warm tone to soften the light and give the room a finished look.
2. Add a larger mirror
The frameless mirror hack was clever, but a full-length mirror would help even more with bouncing light around. It would also make the room feel bigger, especially in a space with only one window.
3. Paint the nightstand legs
The top of the nightstand turned out beautiful with the coffee-stain trick, but I left the legs unfinished. A quick touch of matte black or brass would’ve given it a more custom, elevated look.
4. Style the walls more confidently
I played it safe and left the walls mostly blank since the ceiling decals already made a statement. But looking back, I think a fabric wall hanging or a single framed print would have added warmth without overwhelming the space.
This makeover was never meant to be perfect. It was about progress. Every creative shortcut taught me something about what matters most in a room, and what I can live without.
Final Thoughts
You don’t need a designer, a paint roller, or a $1,500 budget to feel good in your own space. What you really need is a few smart swaps, a fresh layout, and the belief that small changes matter.
This makeover didn’t involve tearing anything down or buying all new furniture. It was about working with what I had, getting creative with the rest, and letting go of the idea that a space has to be “finished” to feel right.
If your bedroom feels off, boring, or like it belongs to someone else, start small. Move the bed. Add one texture. Tweak one corner. A refreshed room is one afternoon and a few thoughtful choices away.
Save this post for your next budget-friendly room reset, or send it to a friend who keeps saying they want to fix their space but doesn’t know where to begin.
FAQs
Is $200 really enough to refresh a full bedroom?
Yes, if you spend it strategically. Focus on high-impact areas like layout, lighting, and textiles instead of replacing furniture. Use secondhand finds, DIY decor, and renter-friendly updates to stretch your budget. You don’t need to buy everything at once, a few creative changes can go a long way.
Where did you find most of your items?
I used a mix of local Facebook Marketplace listings, thrift stores, budget-friendly decor shops like IKEA, and a few Amazon basics. Some of the most effective updates were free or repurposed from things I already owned. You’d be surprised how much better things feel when they’re just arranged differently.
How long did the entire refresh take?
The full refresh took one weekend. I spent a few days planning and sourcing items ahead of time, then did all the moving, styling, and installing in about six hours. The key was keeping the changes manageable so I didn’t get overwhelmed.
Can this makeover approach work in a shared or really small space?
Absolutely. Small rooms benefit even more from intentional design. Things like moving the bed, adding a rug, using wall or ceiling decals, and introducing soft lighting can dramatically improve the feel of the space, even if you’re just working with a single corner or half a room.
How do I start if I have no idea what my style is?
Start with function. Think about what feels off in the space, too bright, too cluttered, too empty, and solve one problem at a time. As you go, you’ll naturally gravitate toward textures, shapes, and layouts you like. Style grows through action, not mood boards alone.
Related Articles:
