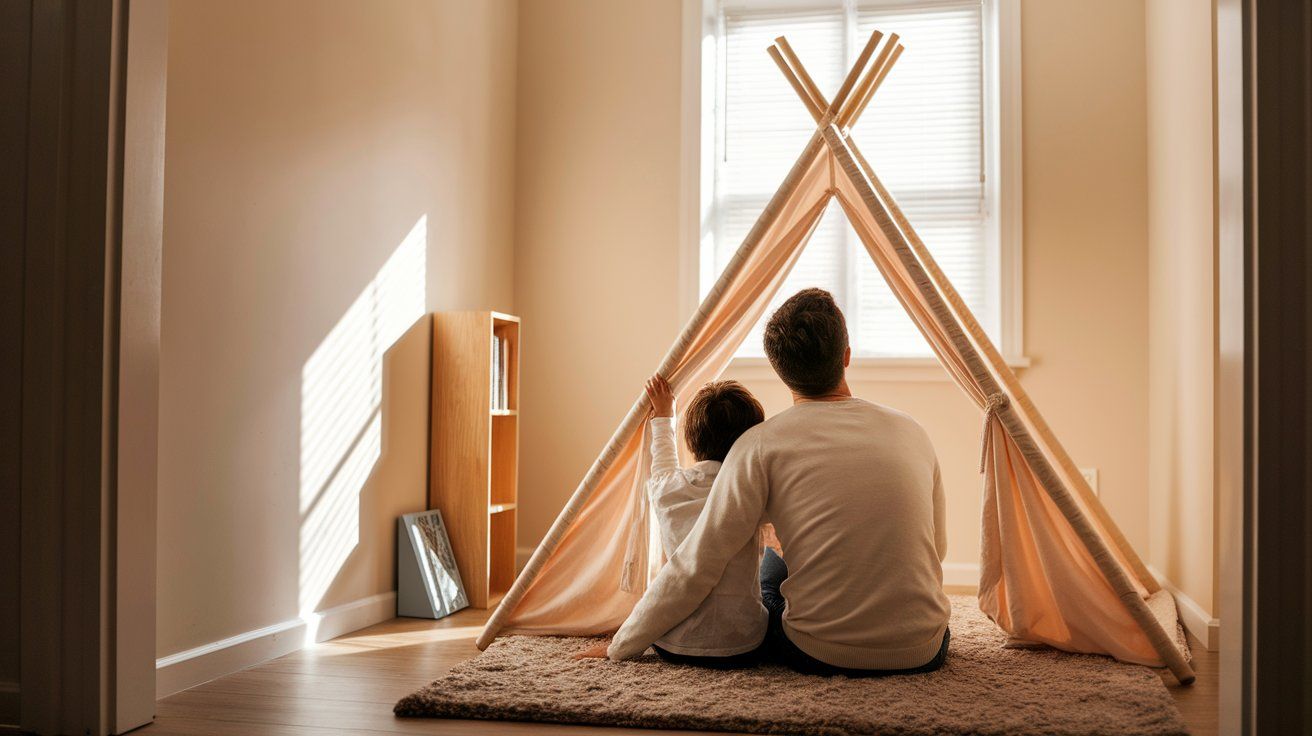
How to Make a DIY Reading Tent with a Hula Hoop and Fabric
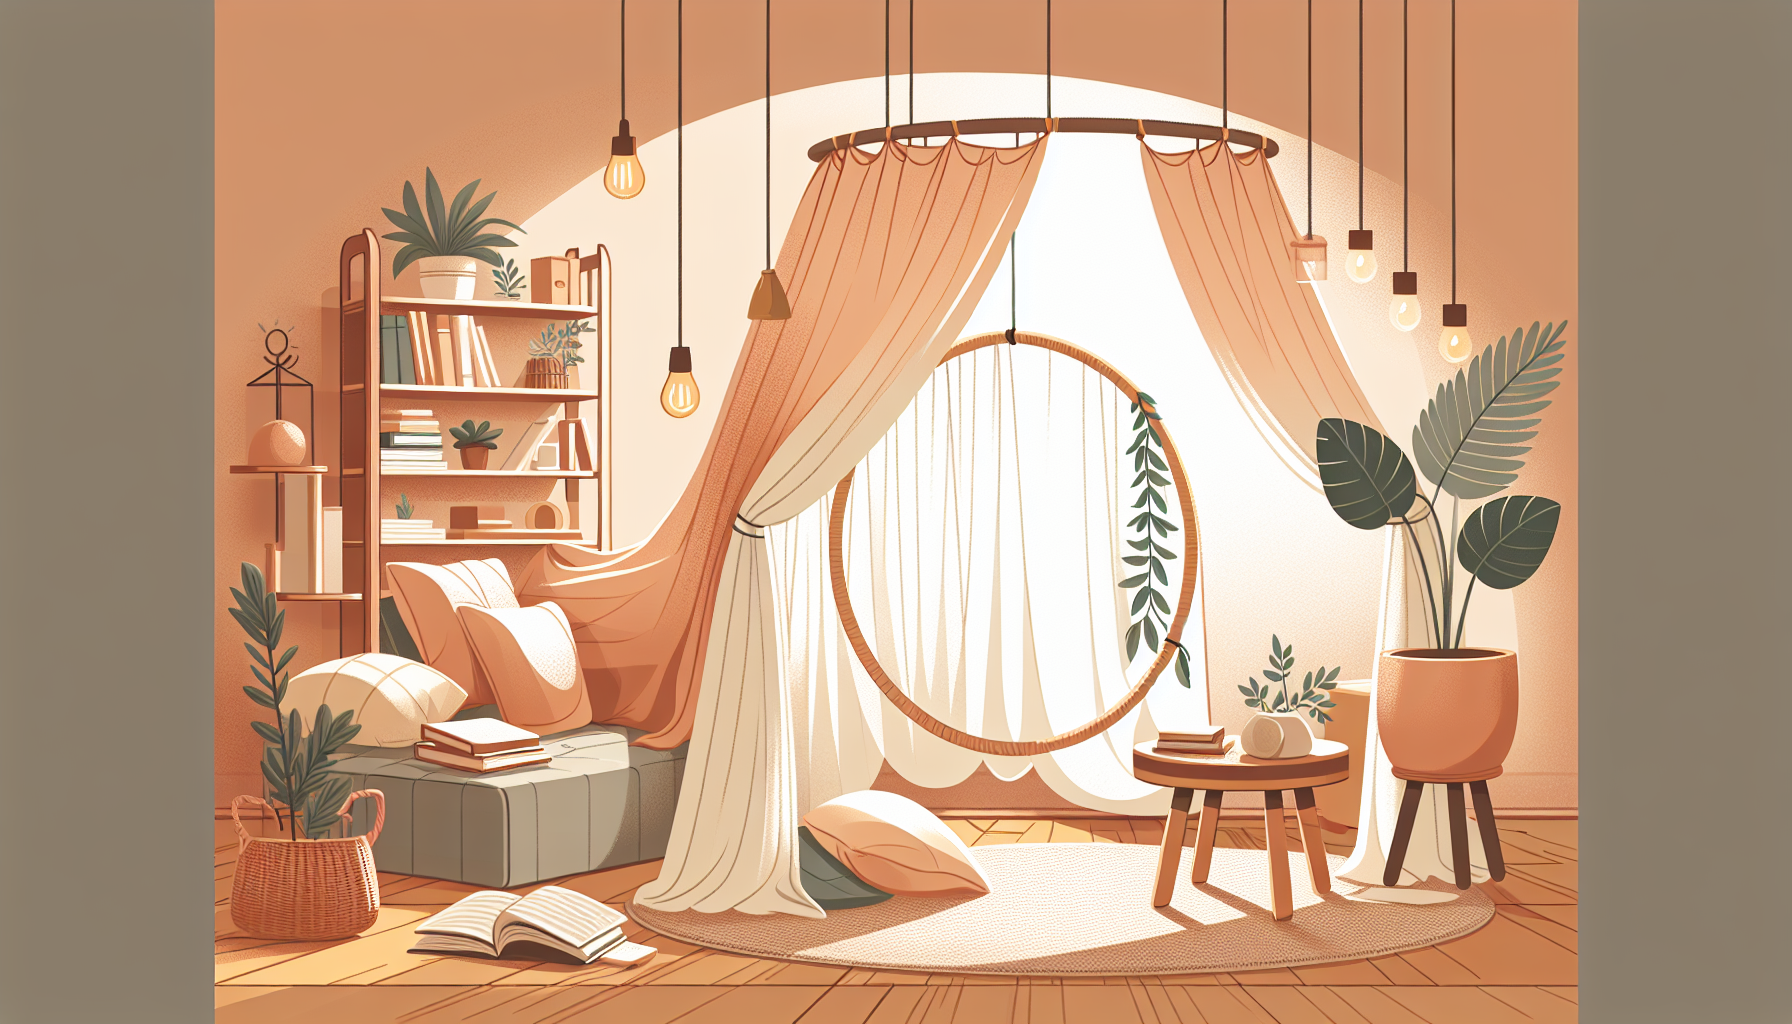
There’s something magical about giving a child a space that feels just for them, especially one filled with books, blankets, and soft lighting. A DIY reading tent does exactly that. It turns an empty corner into a cozy retreat where imagination thrives and calm settles in.
And the best part? You don’t need power tools, a huge budget, or a big room. With a basic hula hoop, a few yards of fabric, and a ceiling hook, you can make a stunning, rental-safe reading nook that looks straight out of a Pinterest mood board.
Here’s how to make one that’s just as dreamy as it is doable.
Materials You’ll Need
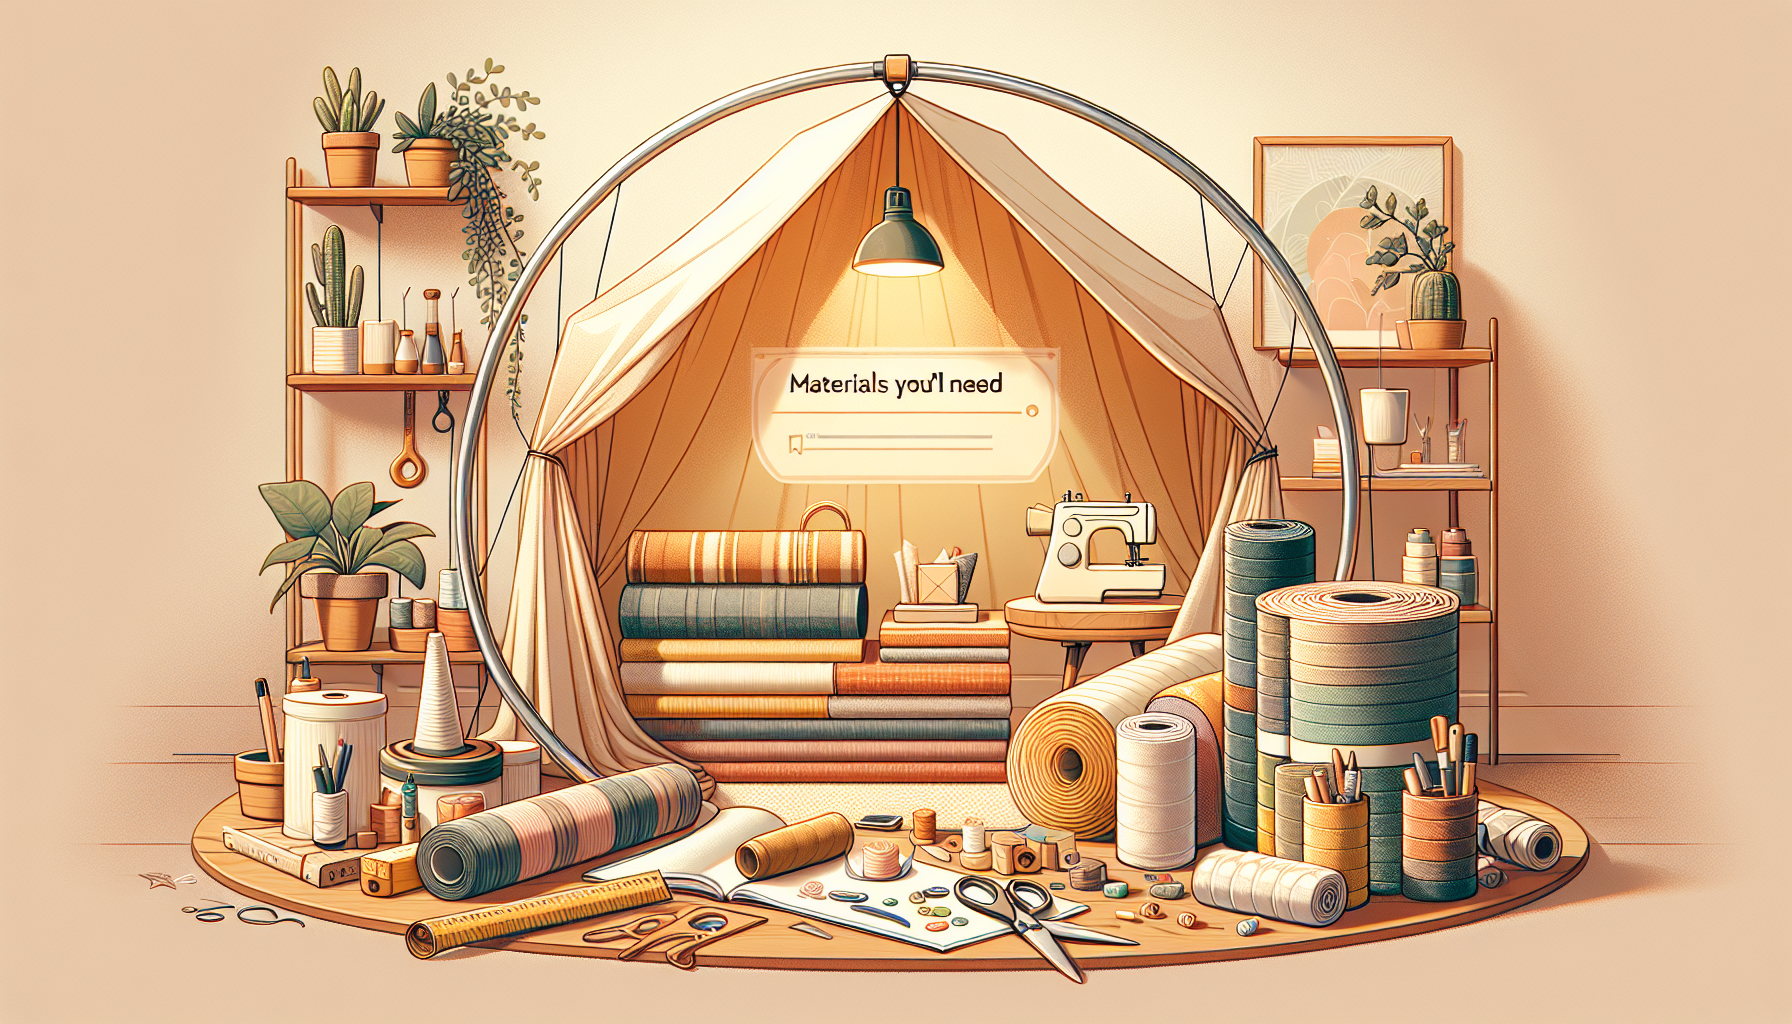
- 1 standard hula hoop (around 32–36 inches)
- 3 to 5 yards of lightweight fabric (sheer curtains, tulle, muslin, or gauze)
- Yarn, macrame cord, or strong ribbon (at least 3 pieces, each ~3 feet long)
- Ceiling hook or heavy-duty adhesive ceiling hook
- Scissors
- Hot glue gun or safety pins
- Optional: battery-powered fairy lights, floor cushions, soft rug, and throw pillows
Step 1: Choose the Perfect Spot
Scout your child’s bedroom or playroom for a calm, open area with enough ceiling clearance. Ideal spots include a corner of the room, the space over the foot of the bed, or beside a window where natural light can filter through the fabric.
Avoid placing it directly beneath ceiling fans or in cramped walkways. If you’re renting, confirm that your ceiling can handle an adhesive hook, plaster and textured surfaces may require a tension rod setup instead.
Pro tip: If you’re making a shared tent for siblings, make sure it’s accessible from both sides, or place it somewhere neutral like a playroom.
Step 2: Prepare the Hula Hoop and Fabric

Lay your hula hoop flat on the floor. Cut your fabric into 3–4 long panels (you can also use pre-made curtain panels). Each should be long enough to touch the floor when suspended, about 84 inches is ideal for most ceilings.
Wrap each fabric panel over the hoop evenly, creating a curtain effect. You want the fabric to drape, not stretch. Use safety pins for easy changes later, or glue the tops in place if you’re going for a more permanent setup.
For extra personality, alternate colors or layer textures (like sheer + gauze). You can even add tassel trim or pom-pom fringe for a playful touch.
Step 3: Create a Hanging Loop That Balances

To hang the tent securely and keep it level, you’ll need to distribute the weight.
Cut three equal lengths of yarn or cord, around 3 feet each. Space them evenly around the hoop, tying each one at a quarter point. Pull all three pieces upward and knot them together at the top, forming a single loop.
Test-balance the loop by lifting the hoop from the center point. If it tips to one side, adjust the knot positions until the hoop hangs flat.
This is what you’ll attach to your ceiling hook, so make sure it’s strong and even.
Step 4: Hang the Canopy from the Ceiling
Install your ceiling hook directly above the desired spot. For drilled hooks, use wall anchors if there’s no stud. For renters, choose a heavy-duty adhesive hook (like a 3M ceiling hook rated for 10+ lbs). Always test your hook with light tension before fully hanging the hoop.
Carefully lift the hula hoop by the loop and hook it in place. The fabric should now cascade around the space below. Step back and adjust the fabric so it hangs evenly and surrounds the floor area symmetrically.
If your hoop leans, untie and re-knot one of the cords slightly shorter or longer until it’s level.
Step 5: Style the Reading Nook
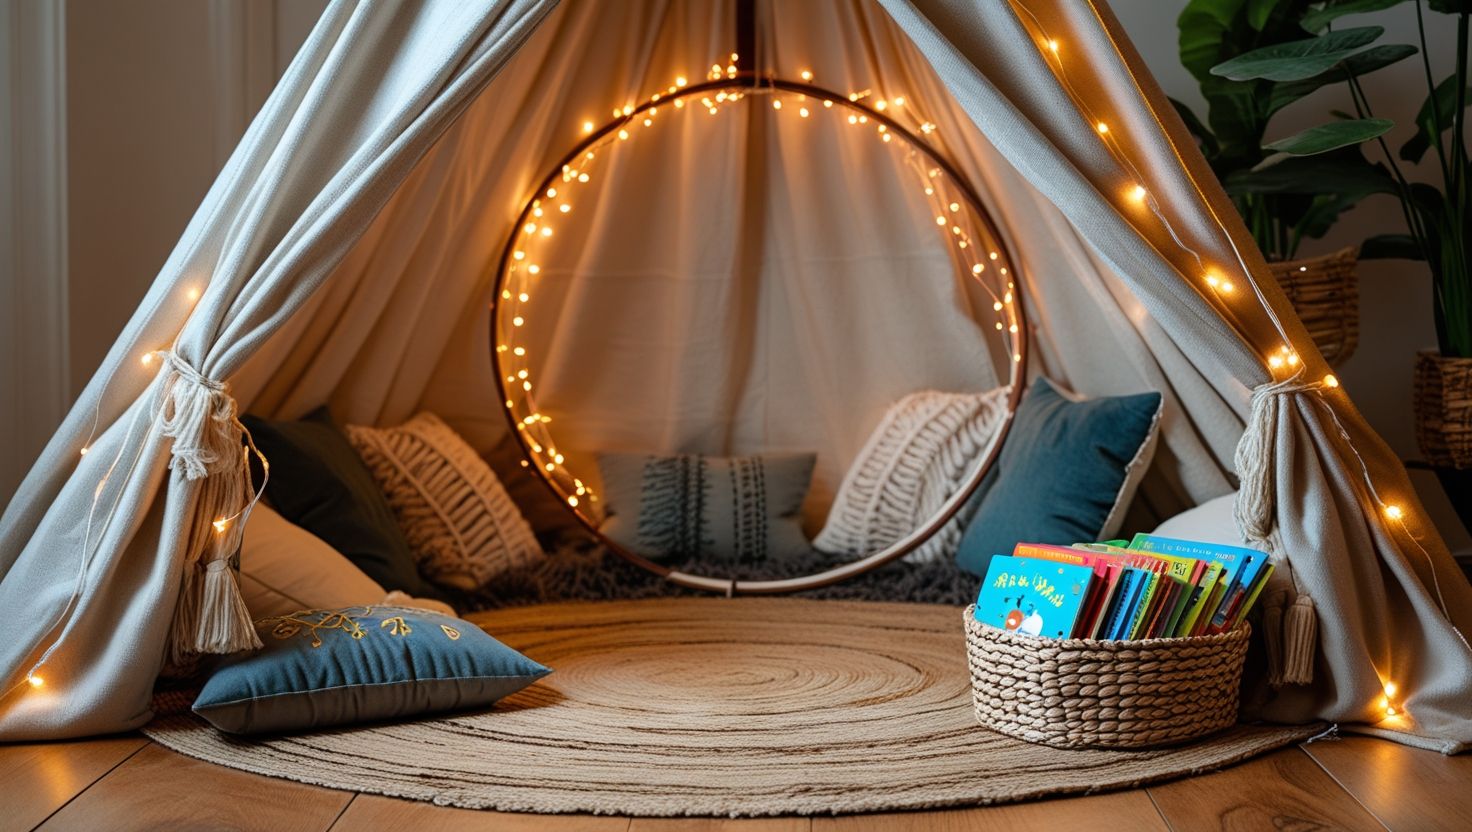
This is where the cozy magic happens. Under the tent, layer a soft rug or mat to define the space. Add plush floor cushions, oversized pillows, or a small pouf for seating. Stack a few favorite books in a low basket or on a nearby shelf.
For a magical glow, wrap battery-powered fairy lights around the top of the hoop or weave them into the fabric. If your child prefers a theme, lean into it, rainbow blankets, jungle animal pillows, or a starry-sky canopy can all bring it to life.
Optional additions:
- Clip-on book light or battery-powered lantern
- Hand-painted wooden sign with their name or “Reading Zone”
- A small clip or pocket to hold bookmarks and notes
Bonus Ideas

- Use stencils to paint subtle patterns or stars on the fabric
- Add a dream catcher, wind chime, or paper lantern from the center of the hoop
- For extra privacy, tie ribbons at the opening to close the canopy like tent flaps
Conclusion
Building a DIY reading tent with a hula hoop and fabric is more than just a craft, it’s an invitation to slow down, to read more, and to let kids feel ownership of a space that reflects their personality. It takes just a few materials, a bit of planning, and a lot of heart.
Whether you’re transforming a toddler’s bedroom or carving out a quiet space in a busy household, this project delivers big impact without damage, stress, or cost.
Set it up. Snuggle in. And let the reading adventures begin.
FAQs
What fabric is best for a reading tent?
Lightweight, flowy fabrics like muslin, sheer cotton curtains, tulle, or gauze work beautifully. They’re breathable, easy to work with, and drape well without weighing down the hoop.
Is this safe for renters?
Yes. As long as you use a non-permanent ceiling hook (adhesive or tension-mounted), it’s completely removable. The entire tent can be disassembled and repurposed anytime.
How do I make sure it’s toddler-safe?
Use child-safe lighting (no cords or glass bulbs), hang the tent high enough so fabric doesn’t tangle around them, and avoid placing heavy items inside or overhead.
Can I use this over a bed instead of on the floor?
Absolutely. Hanging the canopy above a headboard or the middle of a twin bed works beautifully. Just make sure it’s centered and secured well.
Can I take it down when not in use?
Yes. Simply unhook the loop, fold the hoop flat if possible, and store the fabric. It’s perfect for rotating themes, travel setups, or temporary room refreshes.
Related Articles: