20 Super Fun Kids Bedroom Decor Ideas You Can DIY Together
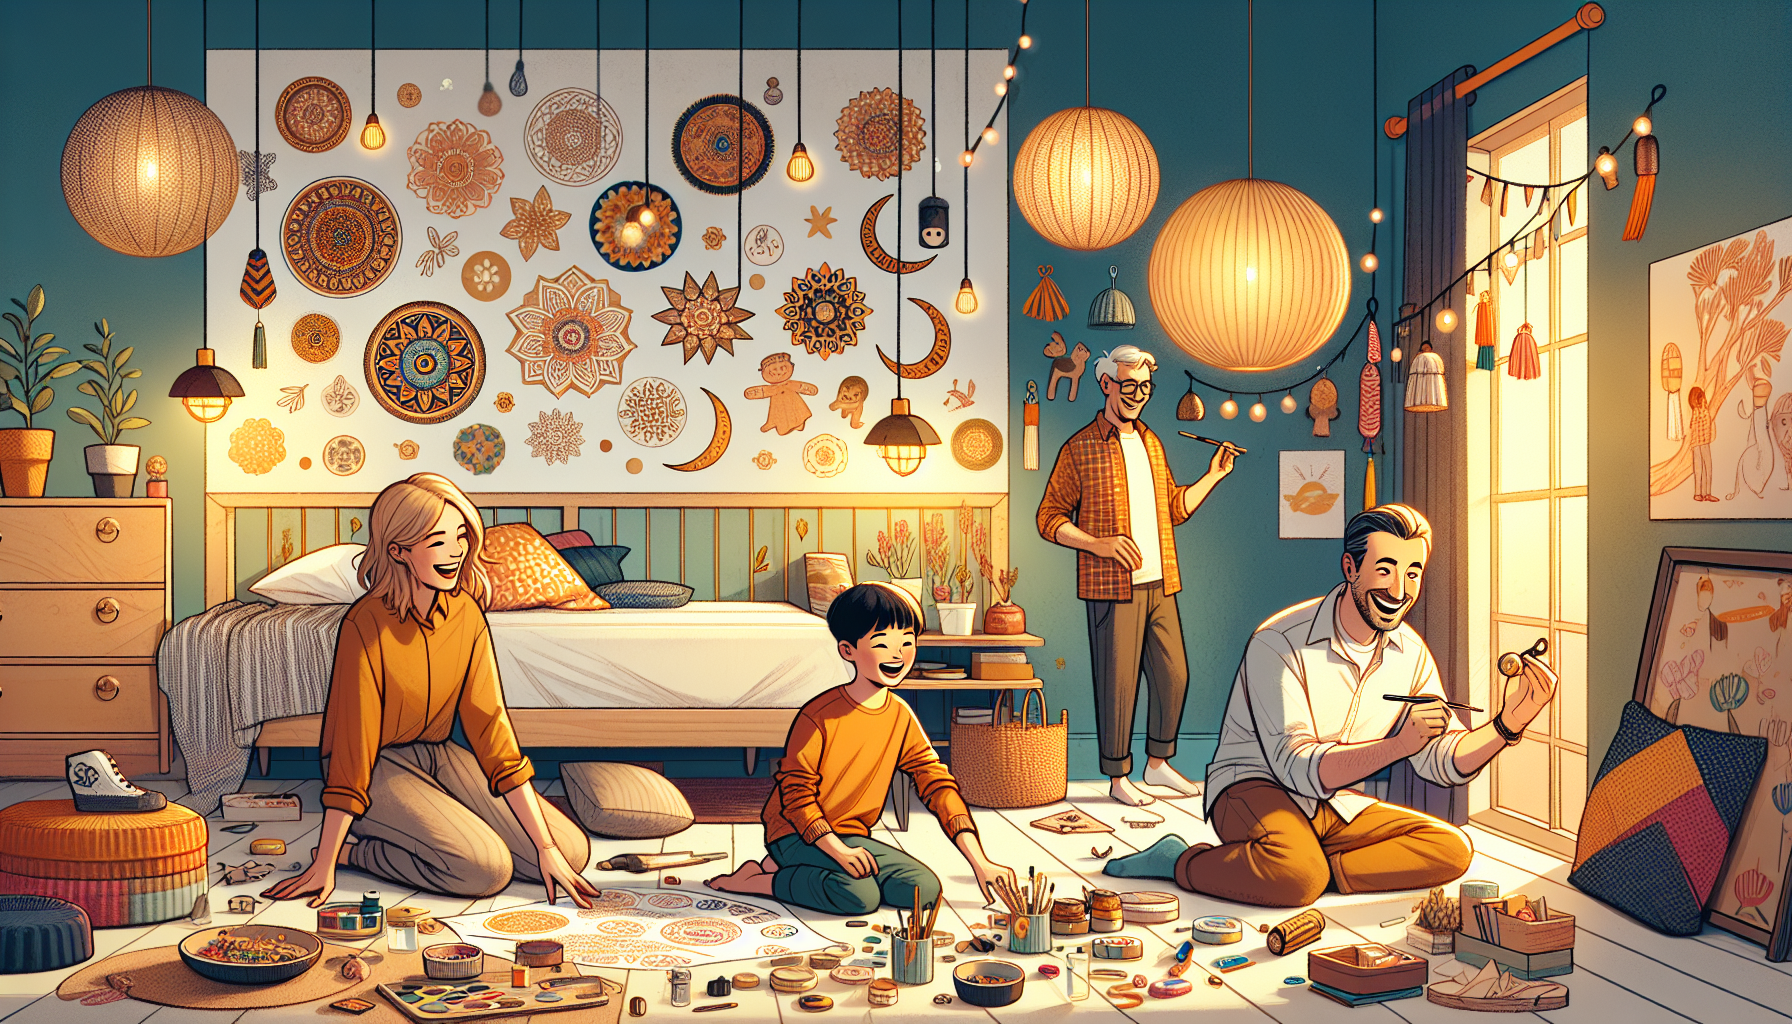
Decorating a kid’s bedroom isn’t just about making it look cute, it’s a chance to build something together.
It’s about bonding, letting them take the lead (even if it gets a little messy), and creating something they’ll be proud to show off.
Every idea here is designed to spark imagination, encourage creativity, and be something you can actually do as a team, even on a weekend.
Let’s turn their room into a space that’s colorful, clever, and filled with memories you made side-by-side.
1. Paint a Wall Mural Using Foam Stamps Made from Old Sponges
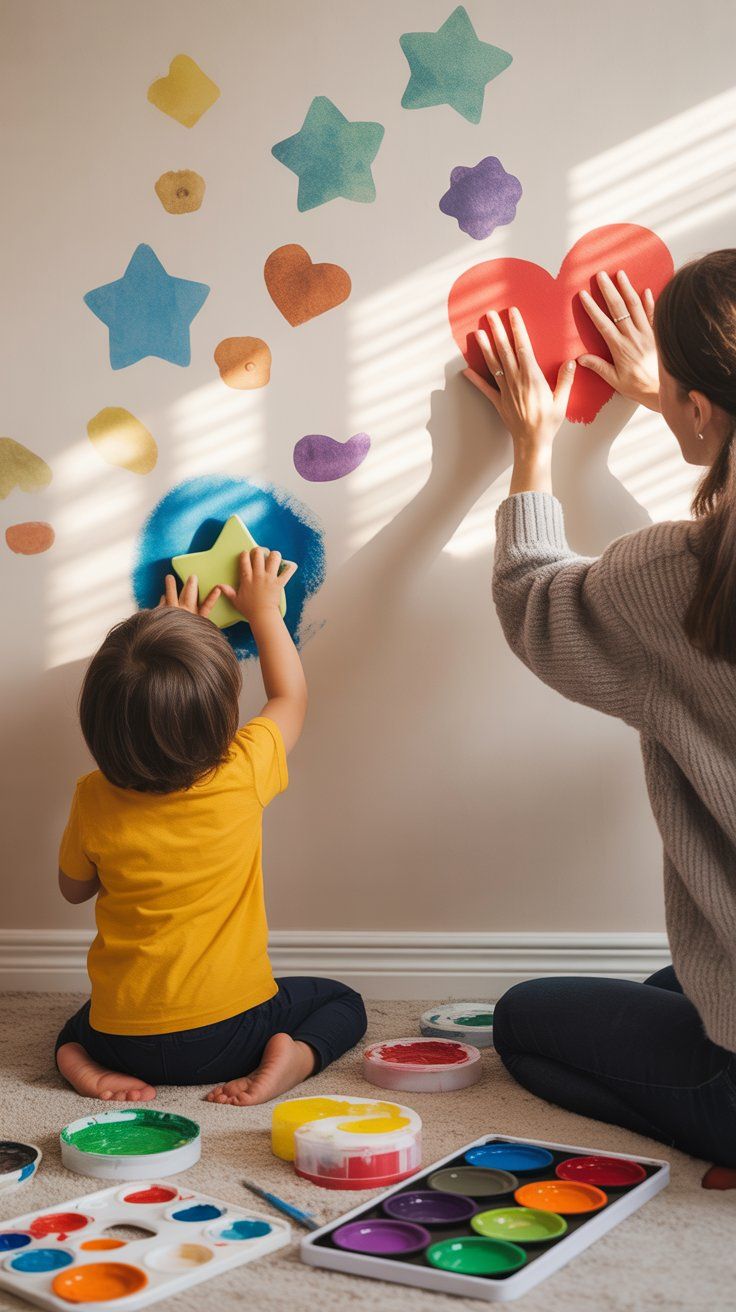
Cut shapes from old sponges, stars, clouds, animals, or letters, and let your child dip them in paint to stamp a mural directly onto one wall. Use painter’s tape to define sections if you want a more polished look, or go freestyle for a more playful effect.
Why You’ll Love It:
- Totally personalized
- Easy cleanup with washable paint
- Kids love seeing their art on the wall
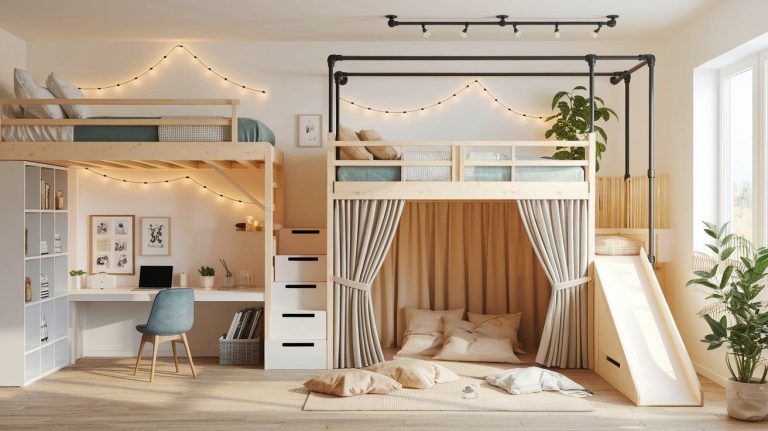
2. Build a Mini “Reading Tent” with a Hula Hoop, Fabric, and String Lights
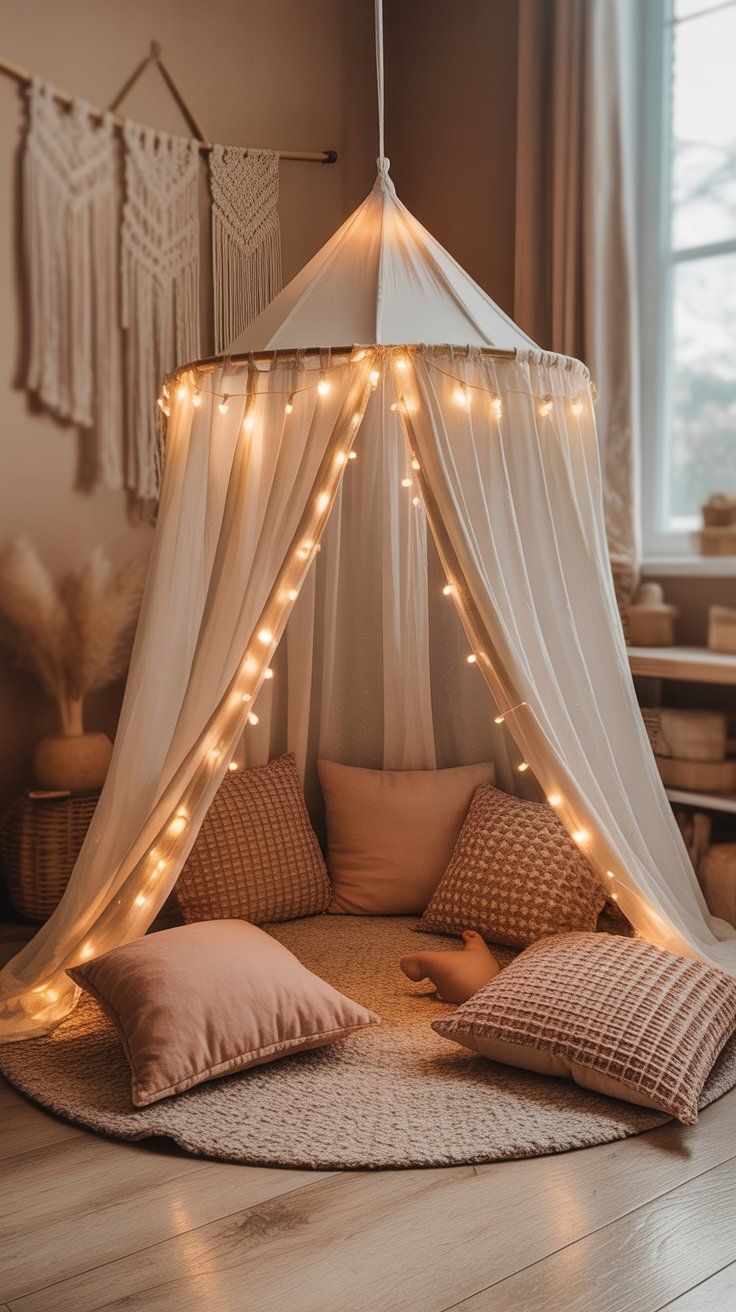
Wrap lightweight fabric around a hula hoop and hang it from the ceiling to make a cozy reading nook. Add some fairy lights and floor pillows inside to turn it into their personal story cave.
Why You’ll Love It:
- Encourages quiet time and reading
- Easy to set up and take down
- Looks magical without spending much
3. Create a Magnetic Wall Gallery with Painted Cookie Sheets
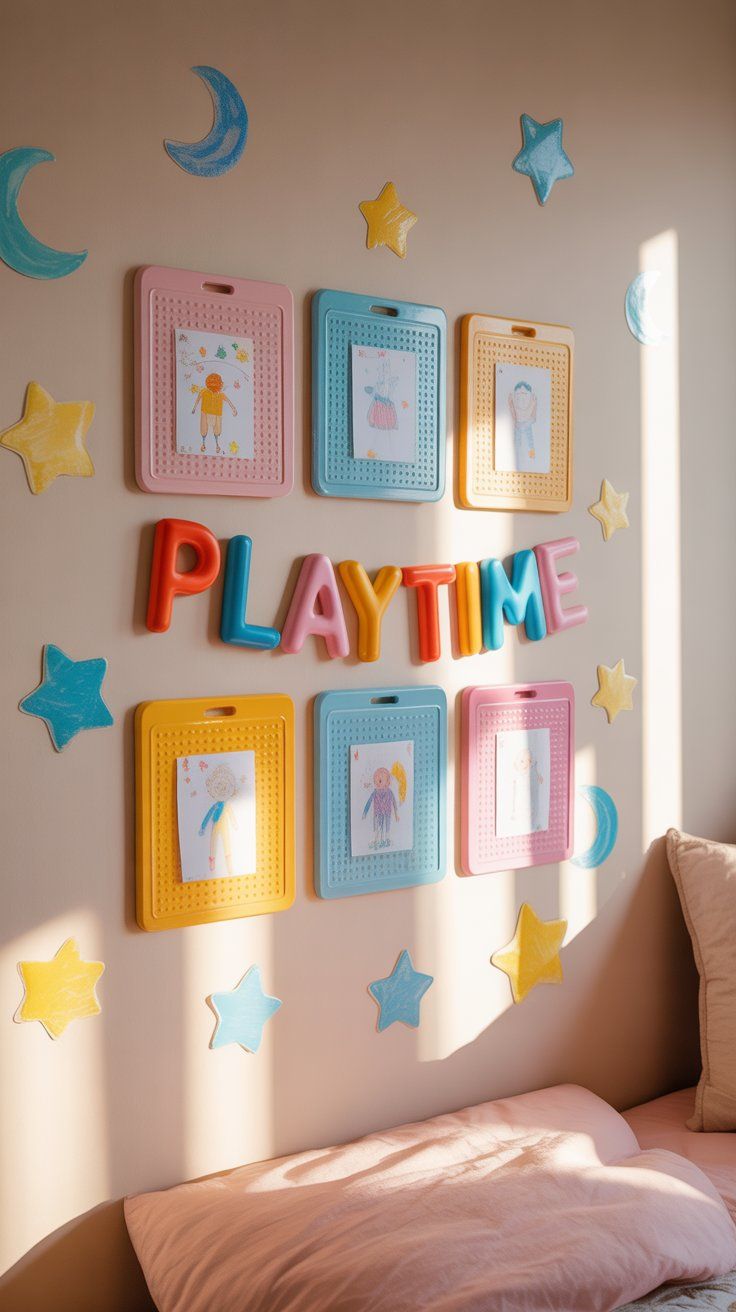
Spray paint old baking sheets in bright colors and mount them on the wall. Use magnets to display their latest drawings, photos, or notes. You can frame the sheets with washi tape or wood trim for a cleaner finish.
Why You’ll Love It:
- Instant art display that changes weekly
- Reuses items you already have
- Kids love curating their own “gallery”
4. Turn Their Old Drawings into Throw Pillows Using Iron-On Transfer Paper
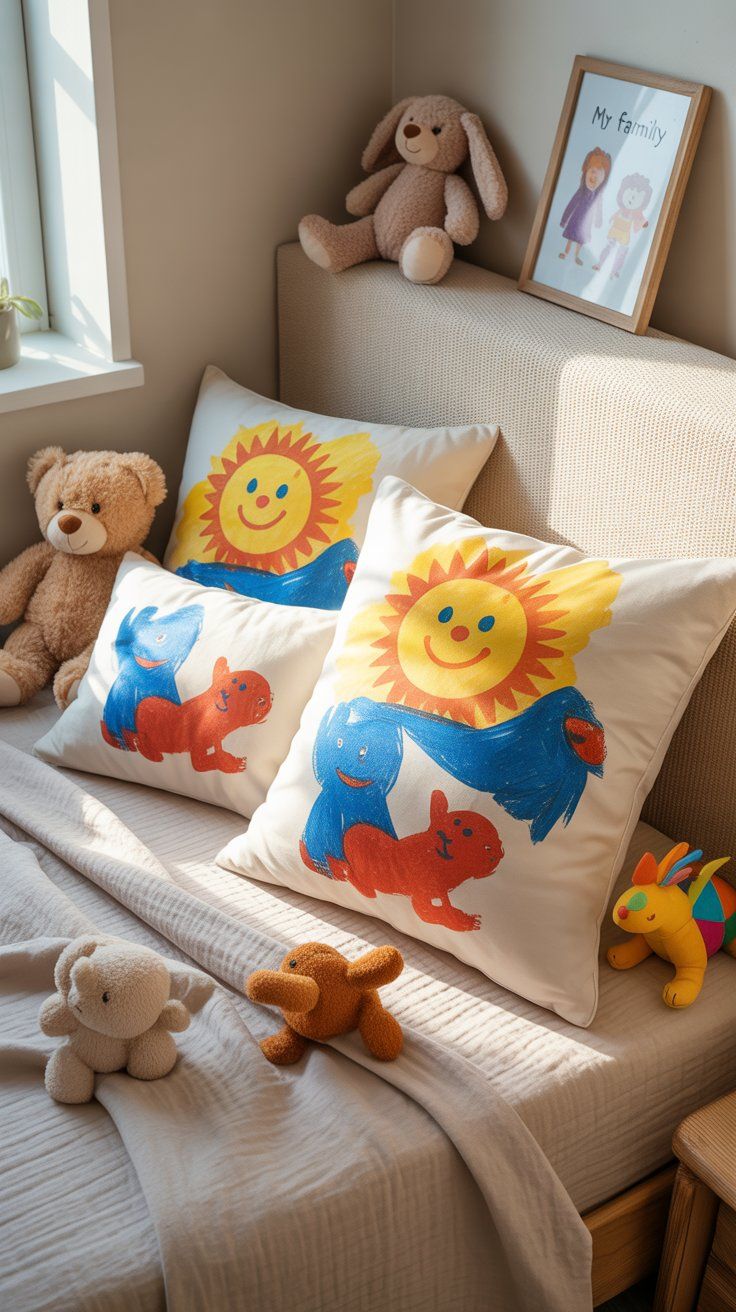
Scan or take photos of their favorite artwork, print them on iron-on transfer paper, and apply them to plain pillow covers. It’s the perfect way to turn their creativity into something they can cuddle with.
Why You’ll Love It:
- Makes their artwork feel important
- Soft and functional decor
- Perfect gift idea for grandparents too
5. Make a Glow-in-the-Dark Galaxy Ceiling with Puffy Paint and Plastic Stars
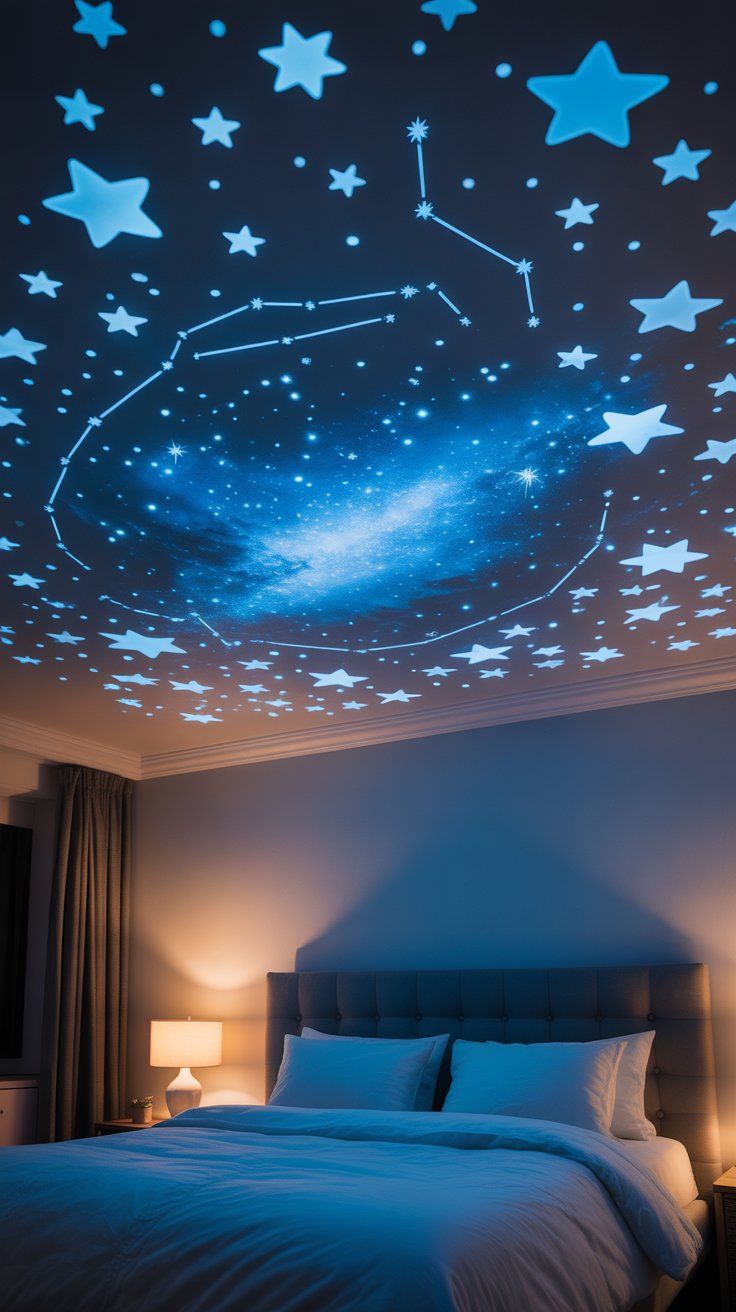
Use glow-in-the-dark puffy paint to draw constellations, shooting stars, and planets on the ceiling. Stick-on stars fill in the gaps. Charge it up with light, then enjoy the magical nighttime glow.
Why You’ll Love It:
- Turns bedtime into an adventure
- Looks amazing during lights-out
- Science + creativity all in one
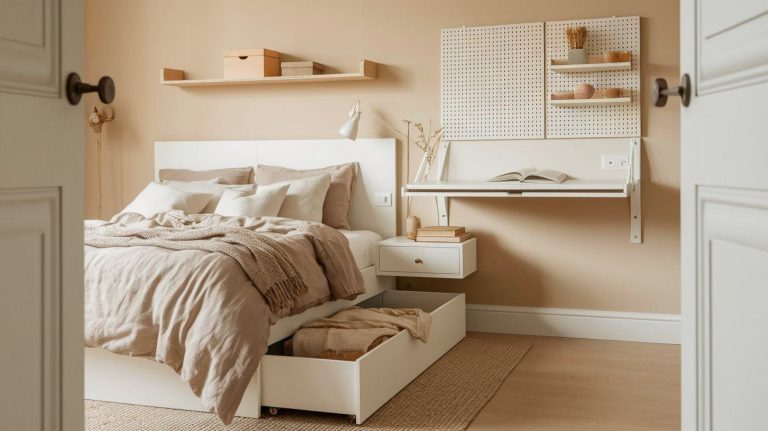
6. DIY a Personalized Bedside Table from a Painted Crate and Stenciled Name
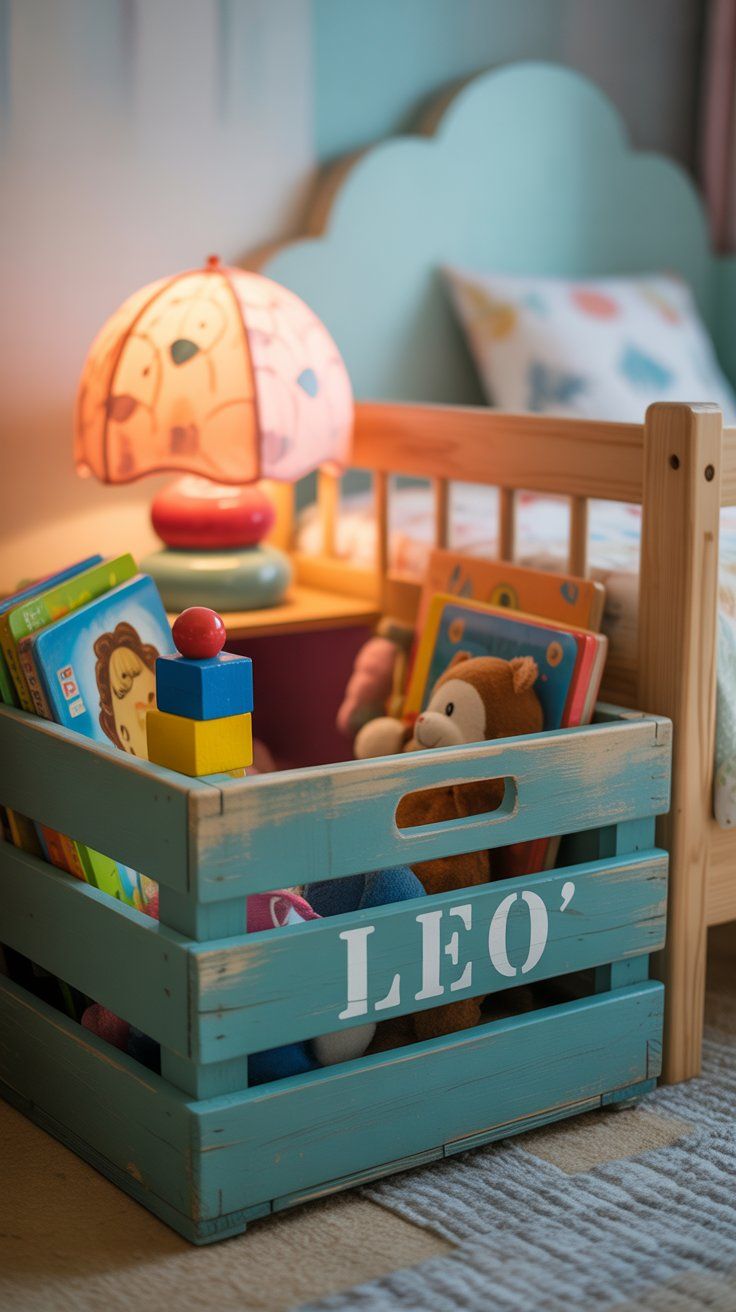
Take a wooden crate, paint it in their favorite color, and add their name or initials using a stencil. Flip it on its side to turn it into a mini bookshelf-nightstand combo.
Why You’ll Love It:
- Teaches organizing skills
- Lightweight and easy to move
- Can double as toy storage
7. Hang a Pom-Pom Curtain from Yarn and Beads They Help Make Themselves
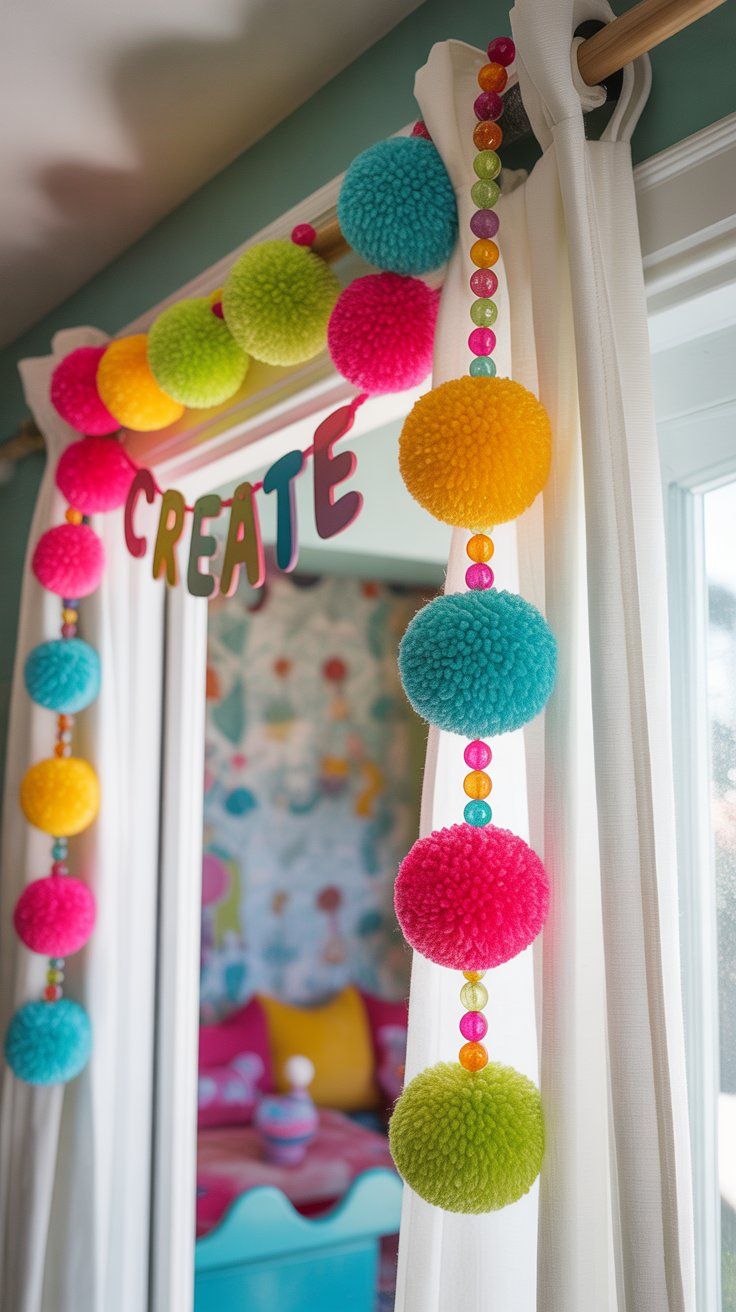
Make strands of colorful pom-poms using yarn and large wooden beads. Tie them onto a curtain rod or tension rod for a playful room divider or closet curtain.
Why You’ll Love It:
- Hands-on craft time
- Adds color and texture
- Great motor skills activity
8. Craft a Wall Clock Using LEGO Pieces and a Real Clock Kit
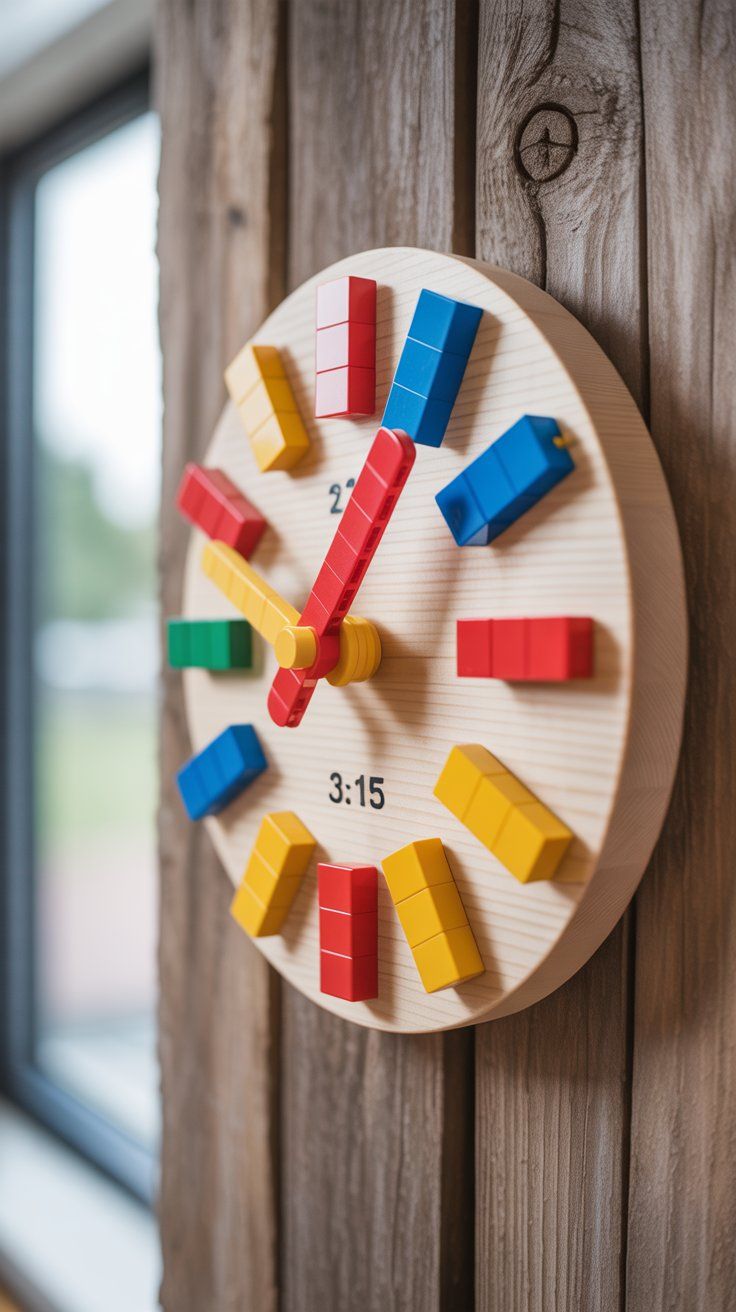
Mount a round or square base and build a LEGO frame around it. Use LEGO bricks for hour markers, and install a simple battery clock mechanism in the center.
Why You’ll Love It:
- Combines play and learning
- Encourages time-telling practice
- Fully customizable design
9. Build a Wall-Hanging Toy Zoo with Painted Dowels and Elastic Bands
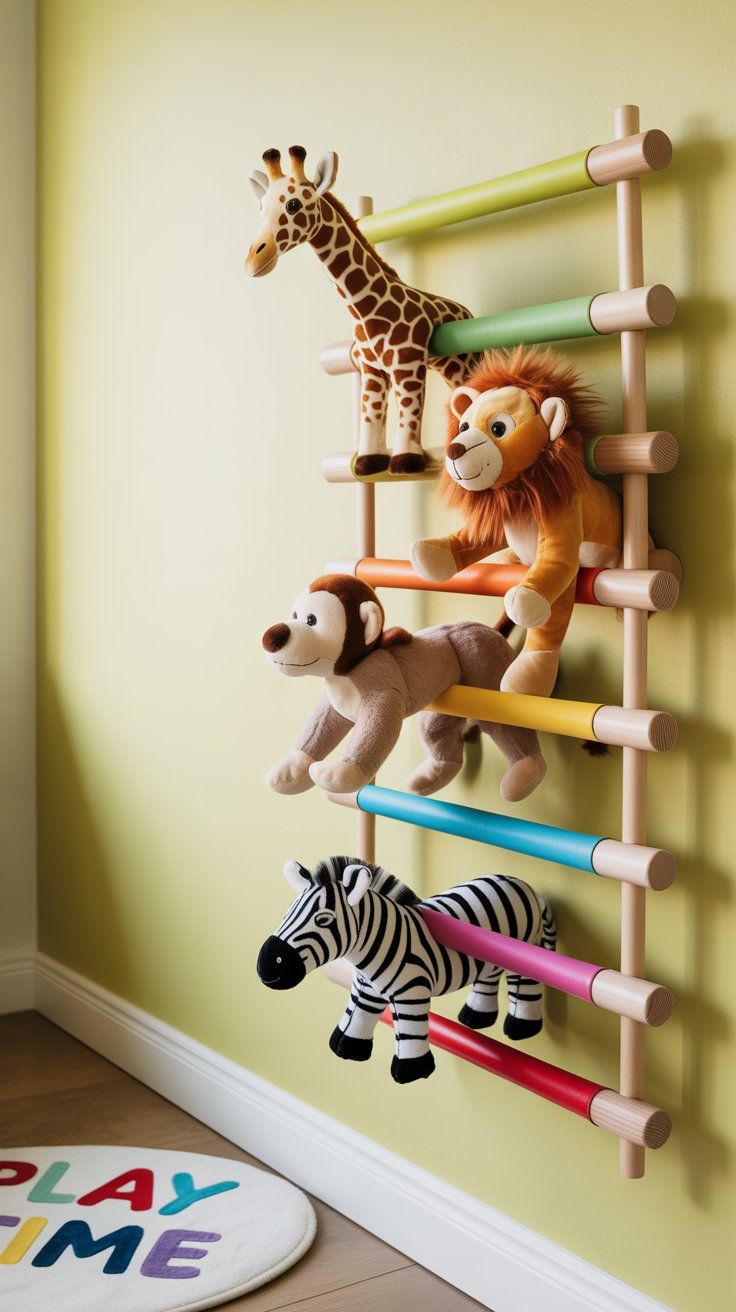
Paint two wooden dowels and attach them vertically to the wall. Stretch elastic bands between them to hold stuffed animals in place. Kids can slide toys in and out like a real mini zoo.
Why You’ll Love It:
- Keeps toys organized and visible
- Uses vertical space
- Kids love interacting with it
10. Create Chalkboard Drawer Fronts for a Dresser They Can Doodle On
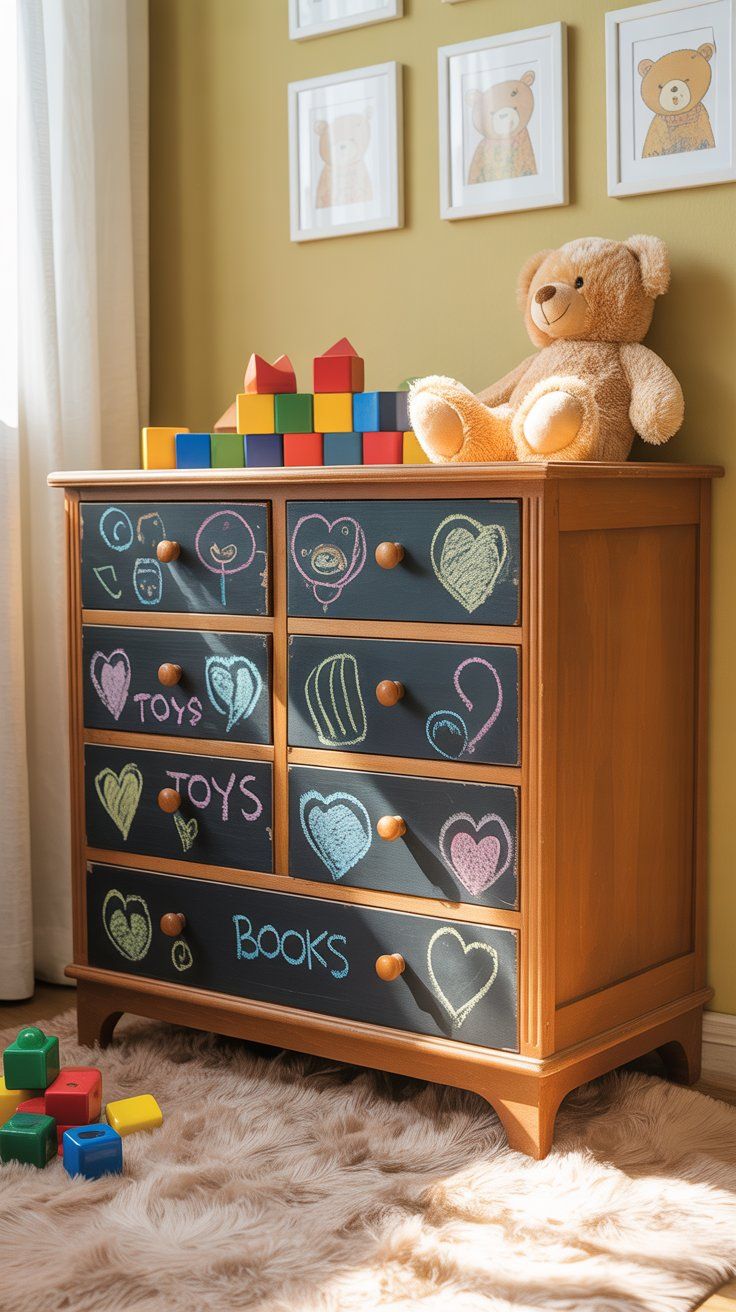
Paint dresser drawer fronts with chalkboard paint so your child can label or decorate them as often as they want. Perfect for clothes, toys, or craft supply drawers.
Why You’ll Love It:
- Functional and fun
- Easy to refresh with a cloth
- Gives kids control over their space
11. Make a Pegboard Organizer Wall Painted in Their Favorite Theme
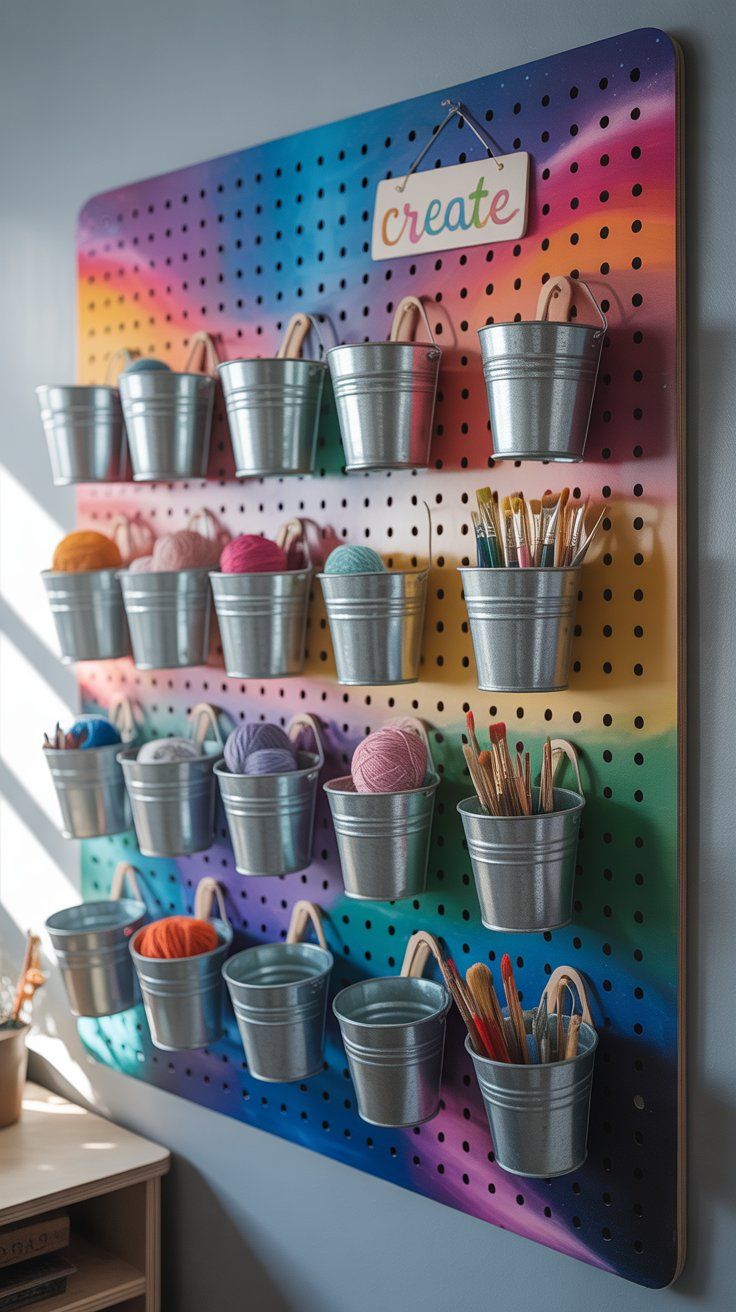
Paint a pegboard in a custom color or pattern (dinosaurs, space, rainbows) and mount it to the wall. Add hooks and small baskets to hold art supplies, hair clips, or LEGO sets.
Why You’ll Love It:
- Keeps things off the floor
- Adaptable as they grow
- Looks awesome and works hard
12. Design a “Door of Achievements” With Framed Paper Awards and DIY Badges
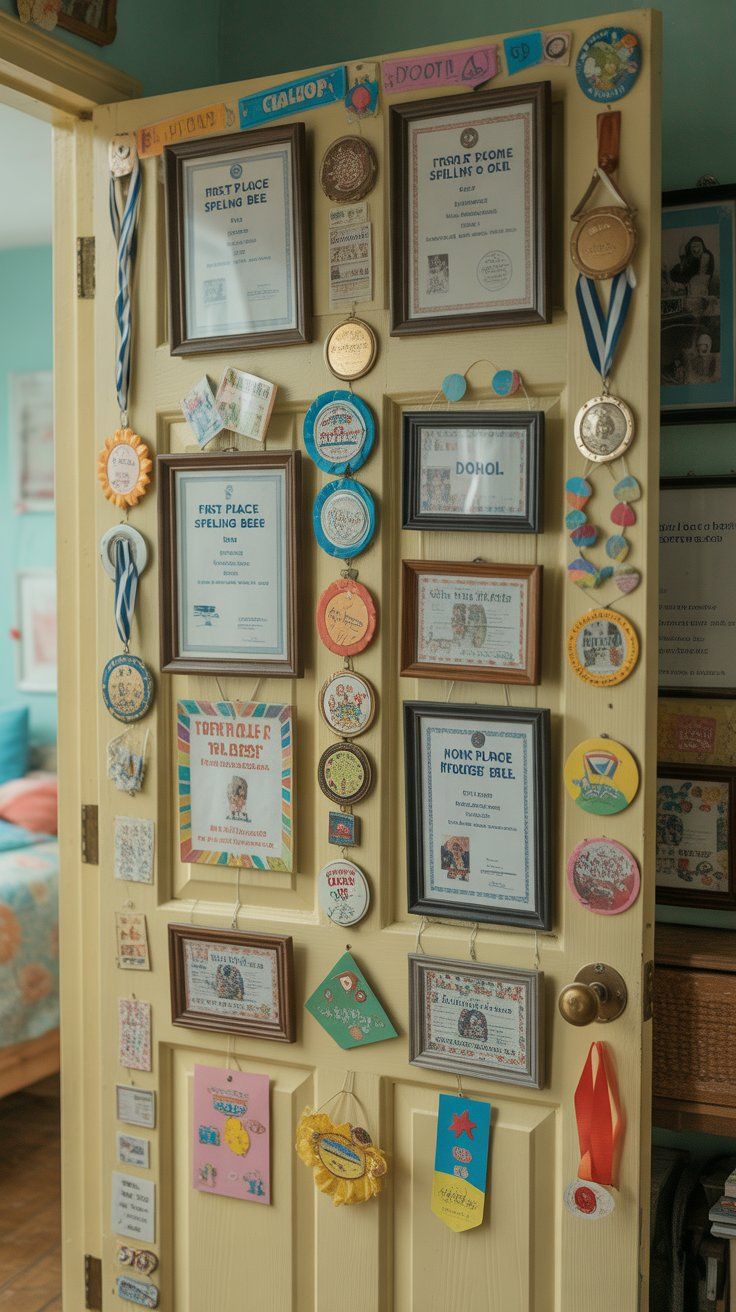
Create paper badges for chores, reading, or kindness, and pin or tape them to the back of the door. Add framed drawings or school awards to build their confidence wall.
Why You’ll Love It:
- Boosts pride and motivation
- Grows with them over time
- Fun for goal-setting and rewards
13. Create a Colorful Rope Ladder Shelf for Their Favorite Stuffies or Books
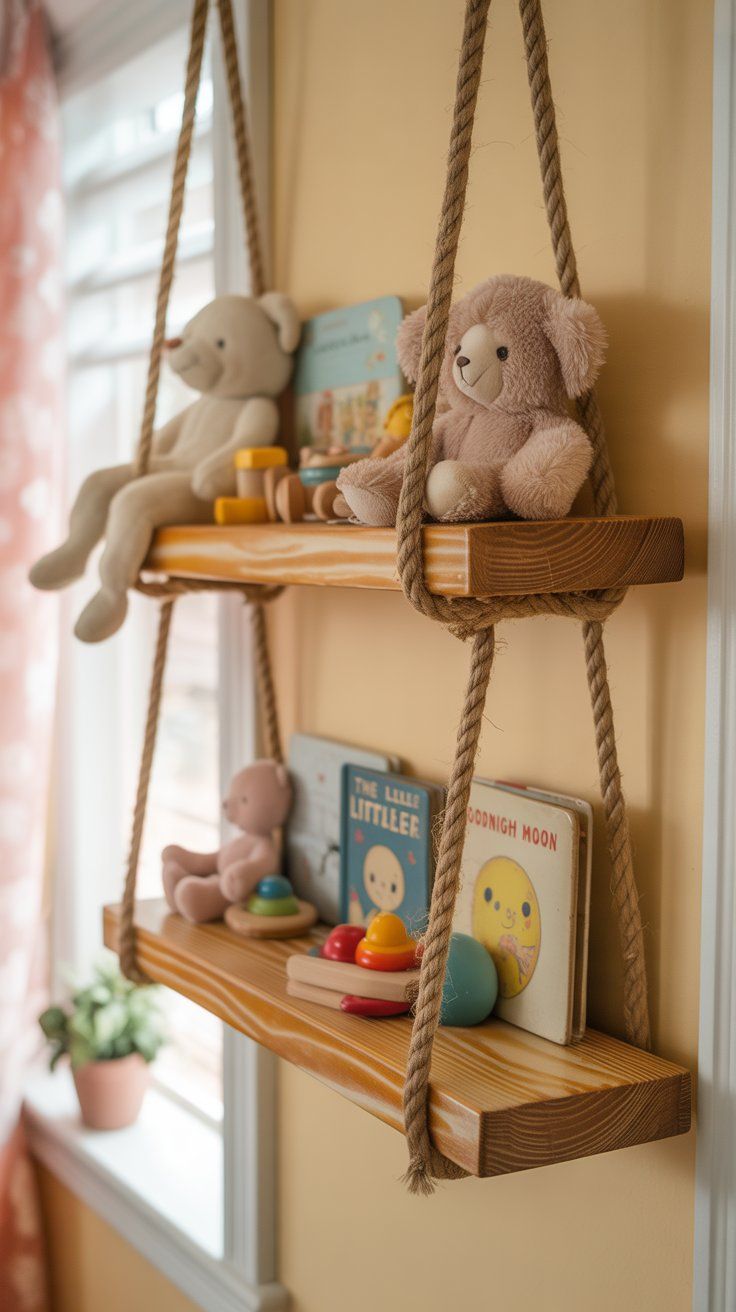
Mount wall brackets and hang wooden planks between ropes to build a low, soft-edged shelf. Perfect for displaying small books, plushies, or keepsakes.
Why You’ll Love It:
- Makes space look playful and styled
- Uses minimal materials
- A great first building project to do together
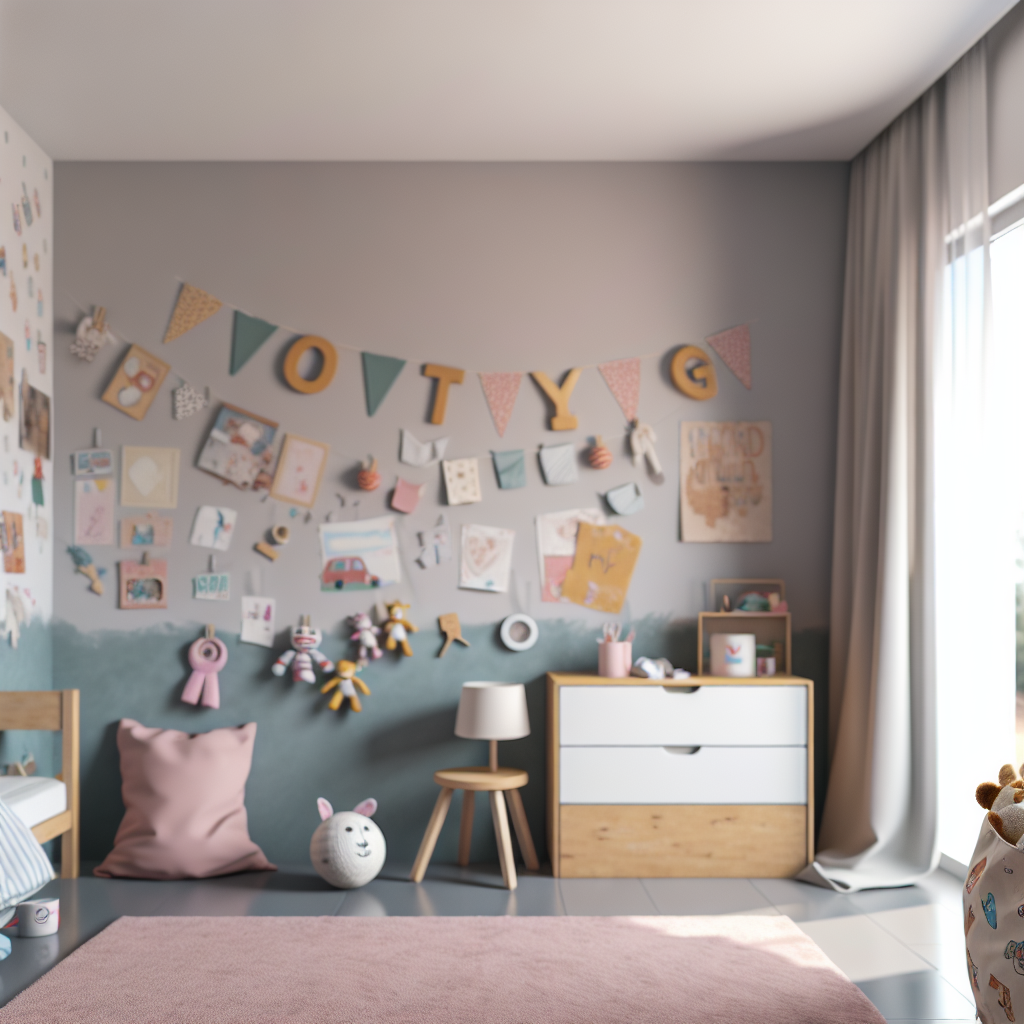
14. Build a Hanging Art Display with Wooden Hangers and Painted Clothespins
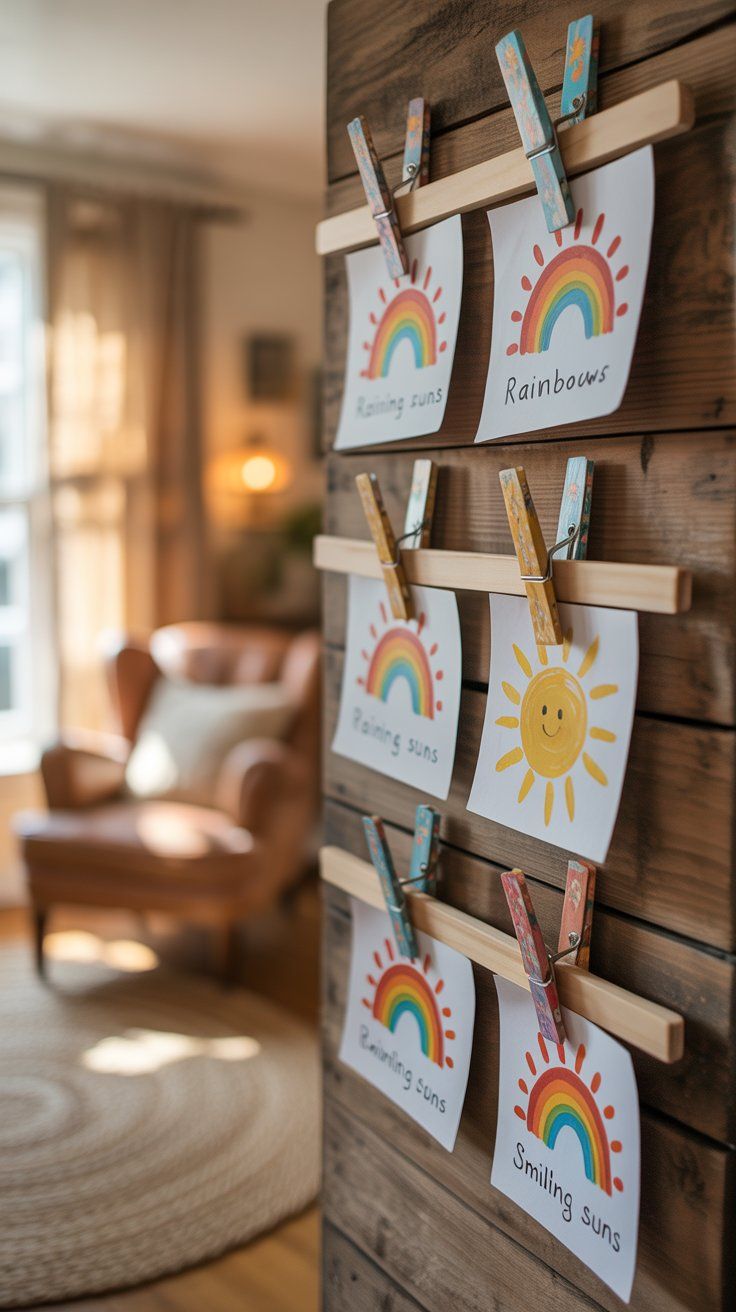
Attach painted wooden hangers to the wall horizontally. Clip finished art, photos, or reminders with decorated clothespins for a fun, ever-changing display.
Why You’ll Love It:
- Encourages creativity year-round
- Super budget-friendly
- Easy to swap out artwork often
15. Paint a Rainbow Path on the Floor with Washable Paint or Decals
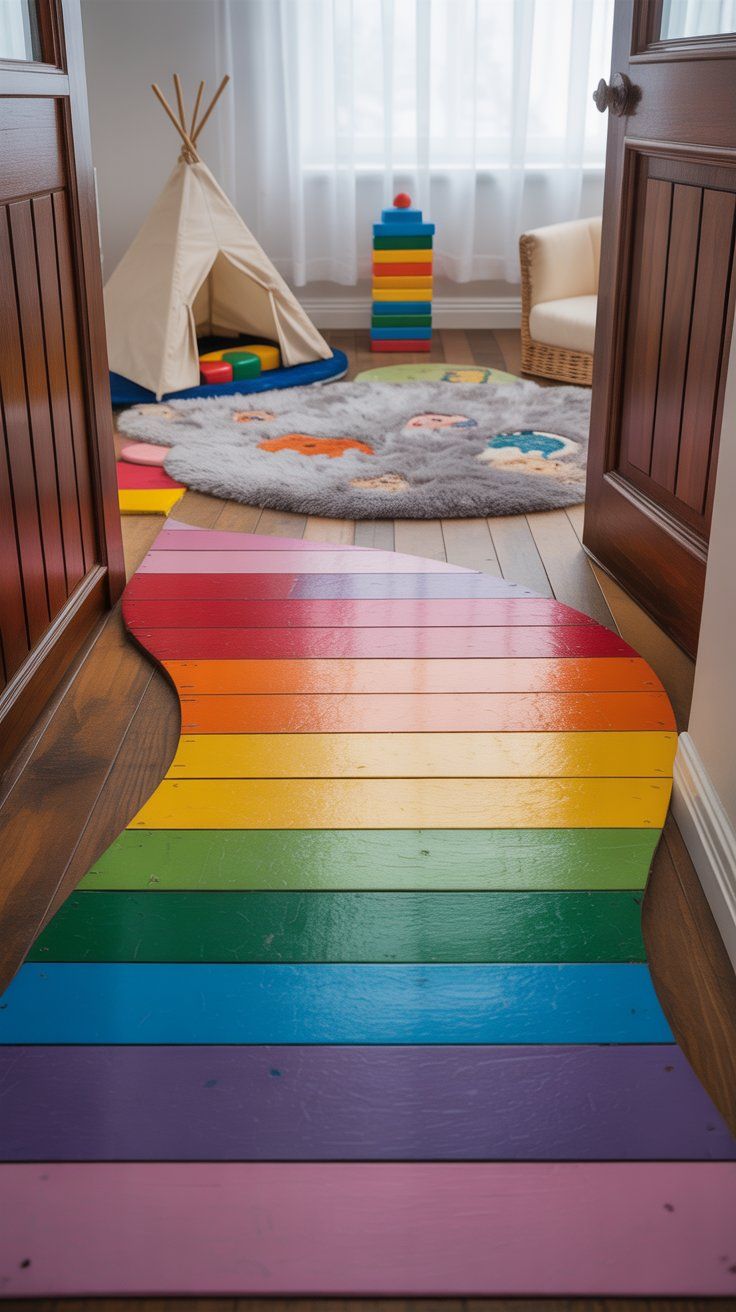
Use painter’s tape to mark a playful winding path or rainbow stripes along the floor. Fill with safe washable paint or peel-and-stick decals.
Why You’ll Love It:
- Adds movement and whimsy
- Great for dance parties or toy races
- Totally removable and temporary
16. Make a “Treasure Wall” with Upcycled Shadow Boxes
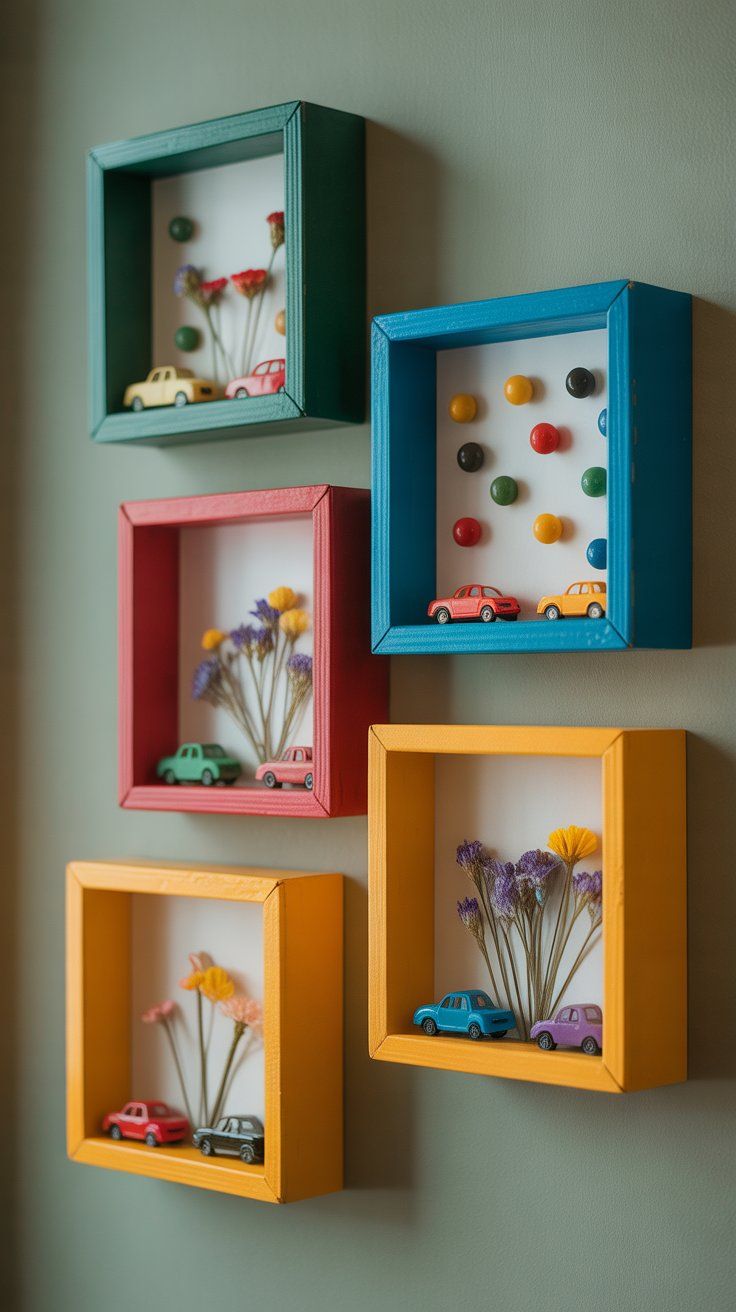
Collect shoebox lids or thrifted shadow boxes and paint them in bright colors. Mount them to the wall and let your child fill them with shells, toy cars, rocks, or other mini collections.
Why You’ll Love It:
- Personal museum they curate
- Encourages collecting and storytelling
- Adds colorful dimension to the room
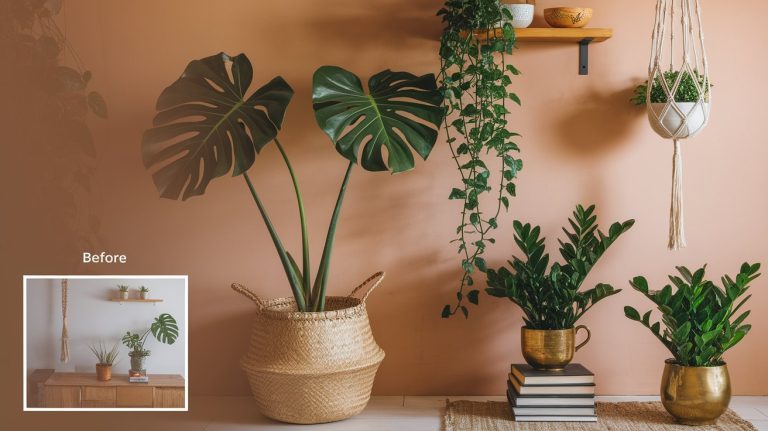
17. Craft Hanging Planters from Painted Plastic Bottles
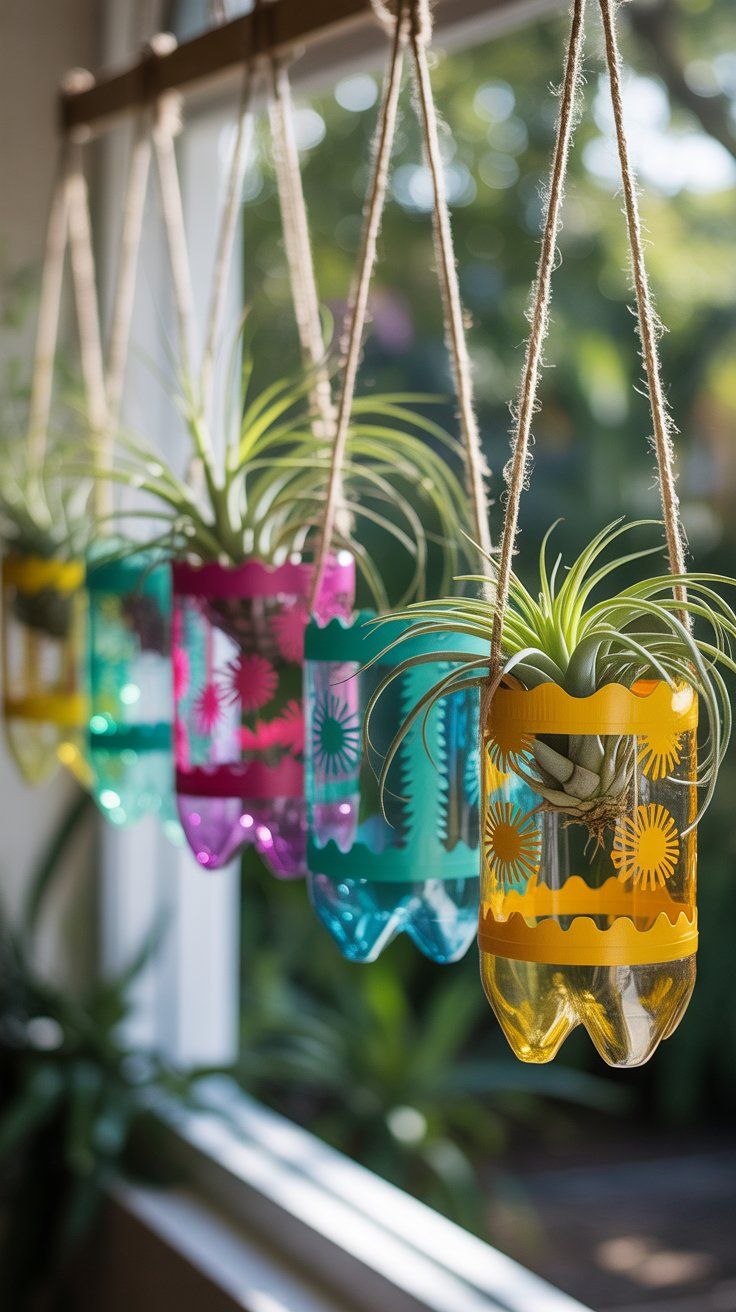
Cut plastic bottles, paint them in funky designs, and hang with yarn or macrame cords in the window. Add air plants, fake plants, or craft flowers for low maintenance fun.
Why You’ll Love It:
- Teaches reuse and creativity
- Makes the windows come alive
- No watering drama required
18. Create an Over-the-Bed Canopy Using Embroidery Hoops and Scrap Fabric
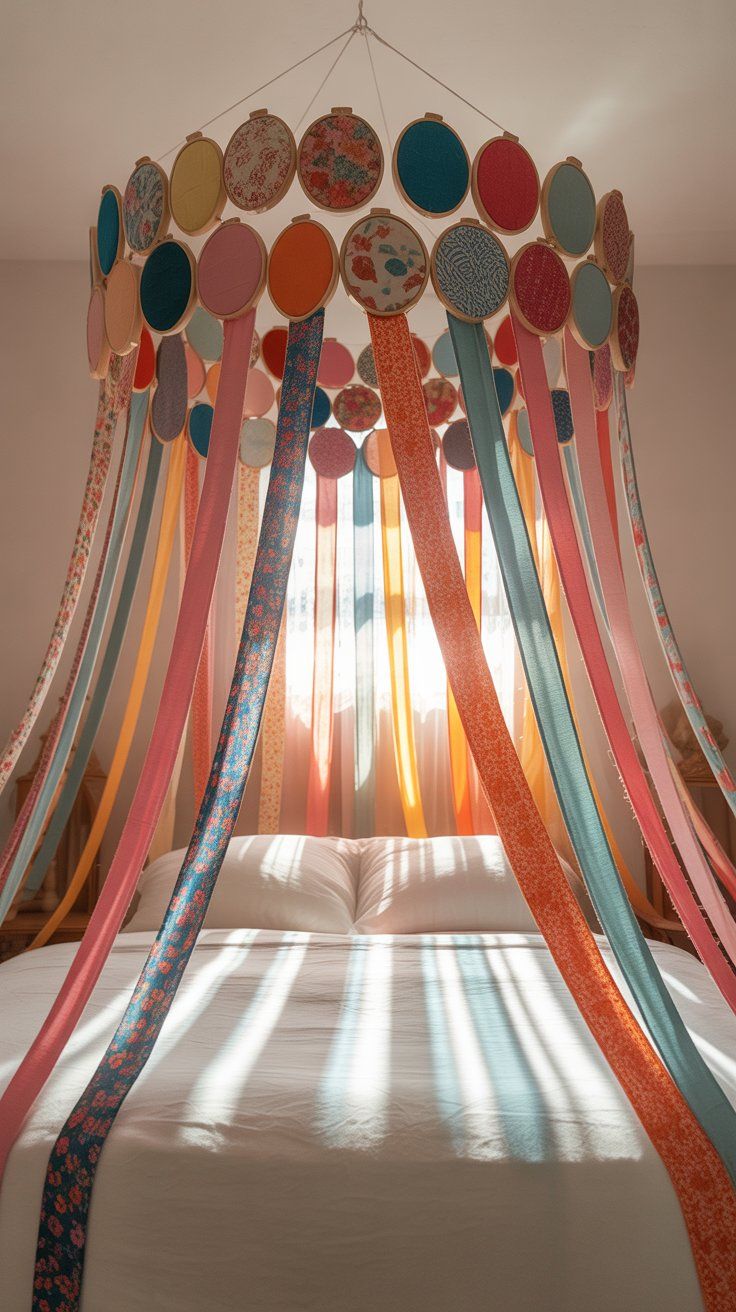
Use large embroidery hoops and long strips of scrap fabric to build a floaty canopy above their bed. Hang it from the ceiling using a hook and let it fall like a tent.
Why You’ll Love It:
- Creates a magical bedtime nook
- Easy to remove or re-style
- Uses fabric you already have
19. Turn a Side Wall Into a Magnetic Marble Run Using Tubes and Magnets
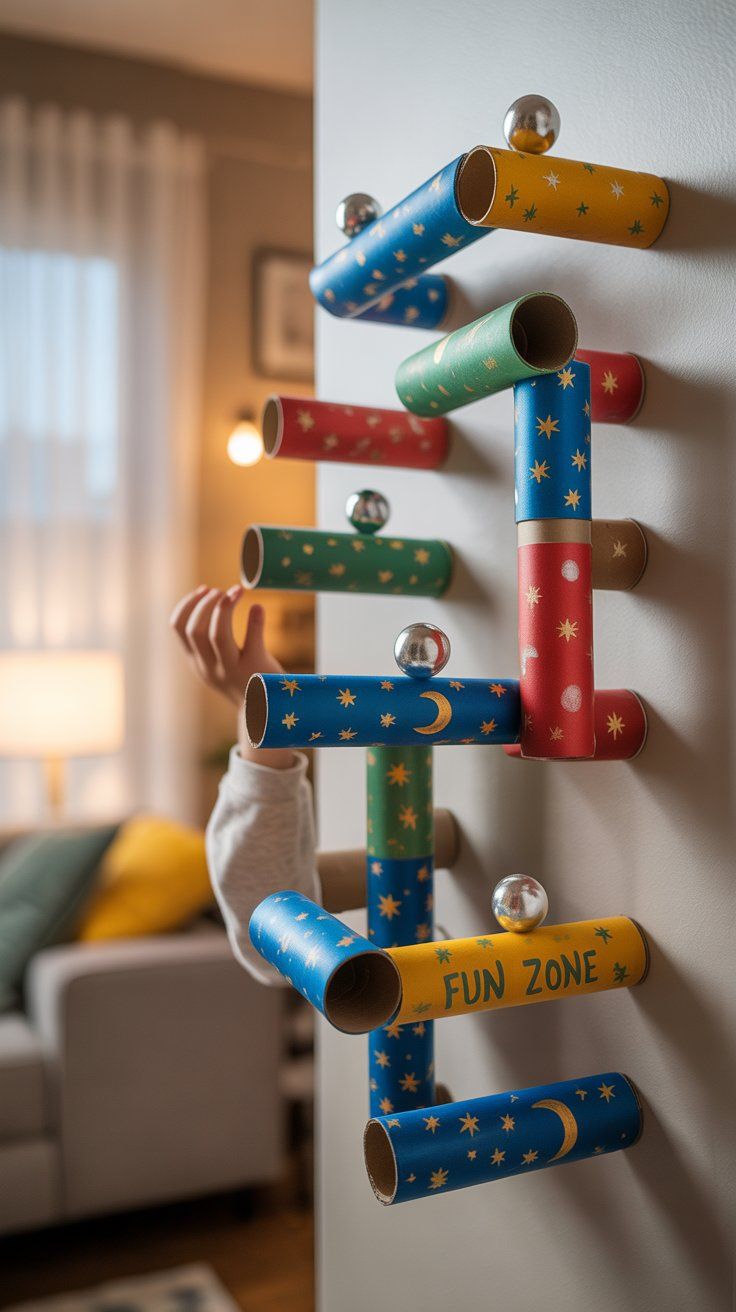
Glue magnets to cut paper towel tubes, decorate them, and stick them to a magnetic wall or cookie sheet. Drop marbles in and rearrange the paths anytime.
Why You’ll Love It:
- STEM play built into the decor
- Changes every time they play
- Great for rainy days or playdates
20. Build a DIY “Dream Board” with Clipboards, Washi Tape, and Mood Swatches
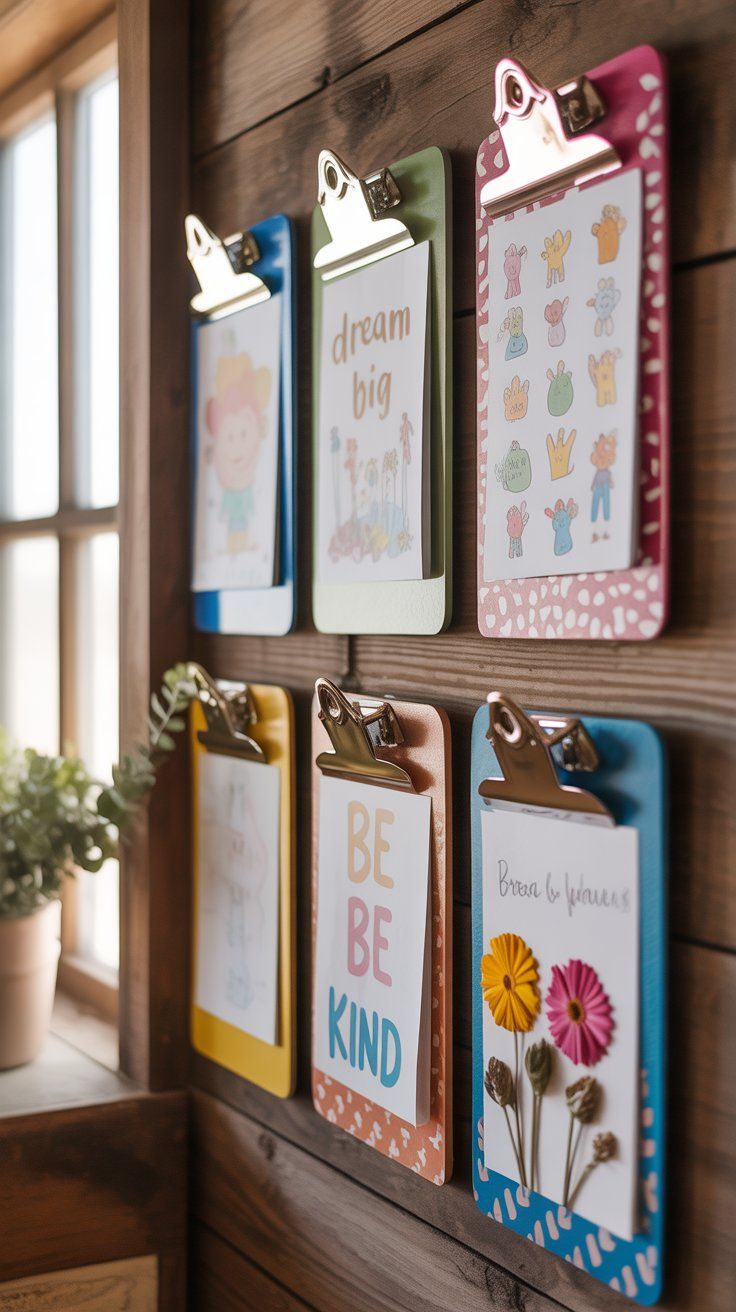
Mount a row of clipboards to the wall. Let your child decorate each one with washi tape and use them to display their goals, favorite photos, or dream room ideas.
Why You’ll Love It:
- Encourages self-expression
- Super easy to update
- Inspires goal setting in a visual way
Final Thoughts
These DIY kids bedroom ideas aren’t just about decorating, they’re about spending time together, building memories, and letting your child shape their space. You don’t need fancy supplies or a big budget to create a room that feels magical. Just a few hours, a little mess, and a whole lot of imagination.
So pick a project, roll up your sleeves, and turn their room into something truly special, something you built side-by-side.
FAQs
How can I decorate my child’s room without spending too much?
Focus on upcycling, reusing old supplies, and using materials you already have, like cardboard boxes, leftover fabric, and unused containers. Involve your child in painting or crafting to make it a team effort rather than a shopping spree.
Are these DIY projects suitable for toddlers or younger kids?
Many of the ideas (like pom-pom curtains, magnetic walls, or reading tents) can be adapted for little hands with adult help. Always supervise with scissors, paint, or small parts, and choose age-appropriate versions for younger kids.
What’s the best way to make shared bedrooms fun for both kids?
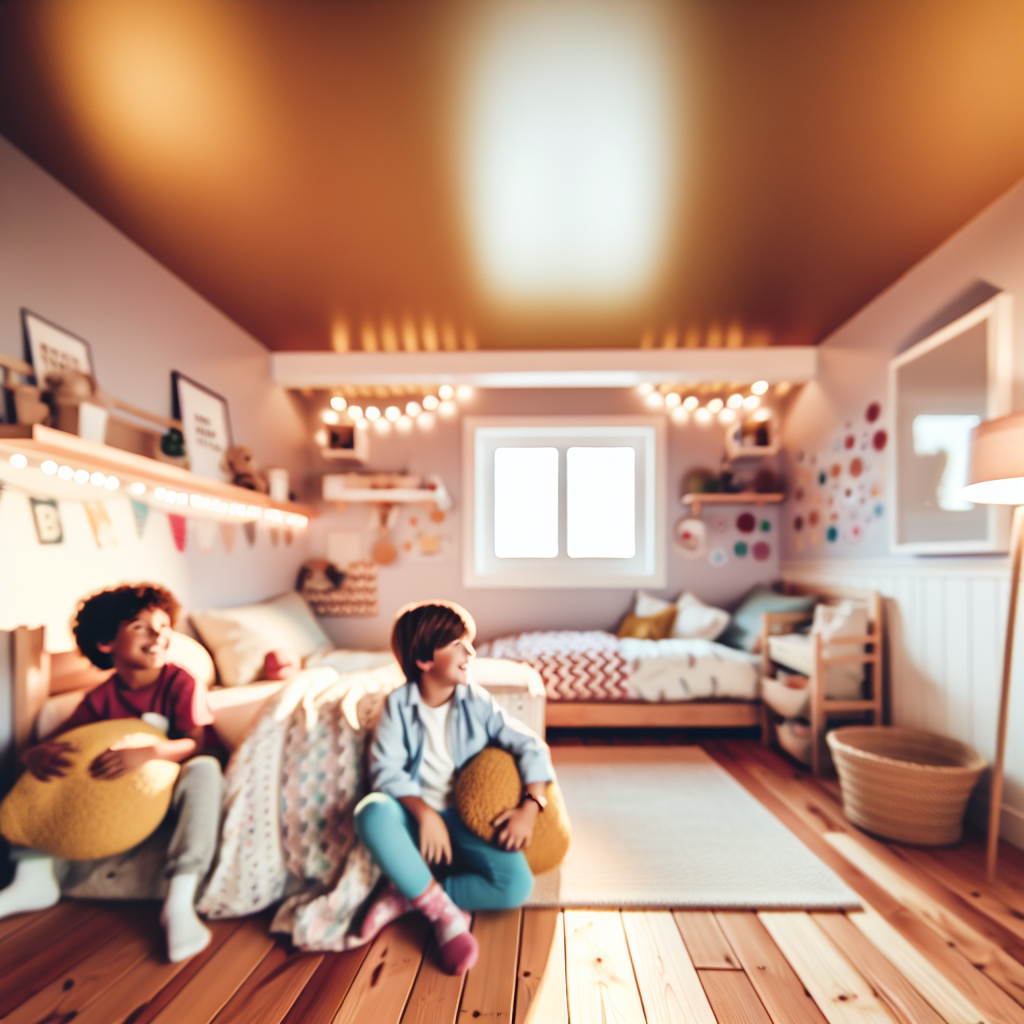
Let each child have their own “zone” where they can choose colors or themes. Use decor like clipboards, crate nightstands, or art walls to show off their individual personalities, even within the same space.
Can I do these projects in a rental or small apartment?
Yes, many are non-permanent and renter-friendly. Use removable hooks, washi tape, peel-and-stick decals, or tension rods to avoid damaging walls or floors. Cookie sheet galleries and fabric hangings are great options for temporary decor.
How do I get my child excited about decorating their room?
Let them be part of the process from the start. Show them options, let them choose colors or themes, and work on the DIYs together. When kids feel ownership of the project, they’re more likely to love the outcome.
Related Articles: