How to Paint a Wall Mural with Foam Stamps (Kid’s Room Friendly )
Blank walls don’t have to stay boring, especially in a child’s bedroom. With just a few sponges, some paint, and a little creativity, you can turn any plain wall into a colorful, kid-made mural. Foam stamping is simple, budget-friendly, and makes a beautiful memory-making project you can do side-by-side.
You can stamp over paint that’s easy to remove or repaint, and everything is designed to be as low-mess and high-fun as possible.
Here’s how to create a wall mural your child will be proud to show off, and one that will brighten their space every single day.
Check out our 20 Creative kids bedroom ideas you’ll absolutely love.
What You’ll Need
- Sponges or foam sheets (kitchen sponges work great)
- Scissors or a craft knife
- Washable or low-VOC interior wall paint
- Paper plates or shallow paint trays
- Painter’s tape
- A drop cloth or old sheet to protect the floor
- Chalk or pencil for sketching
- Small roller or brush (optional, for background areas)
- Optional: hot glue and bottle caps (to make stamp handles)
Step 1 – Design Your Wall Layout Together
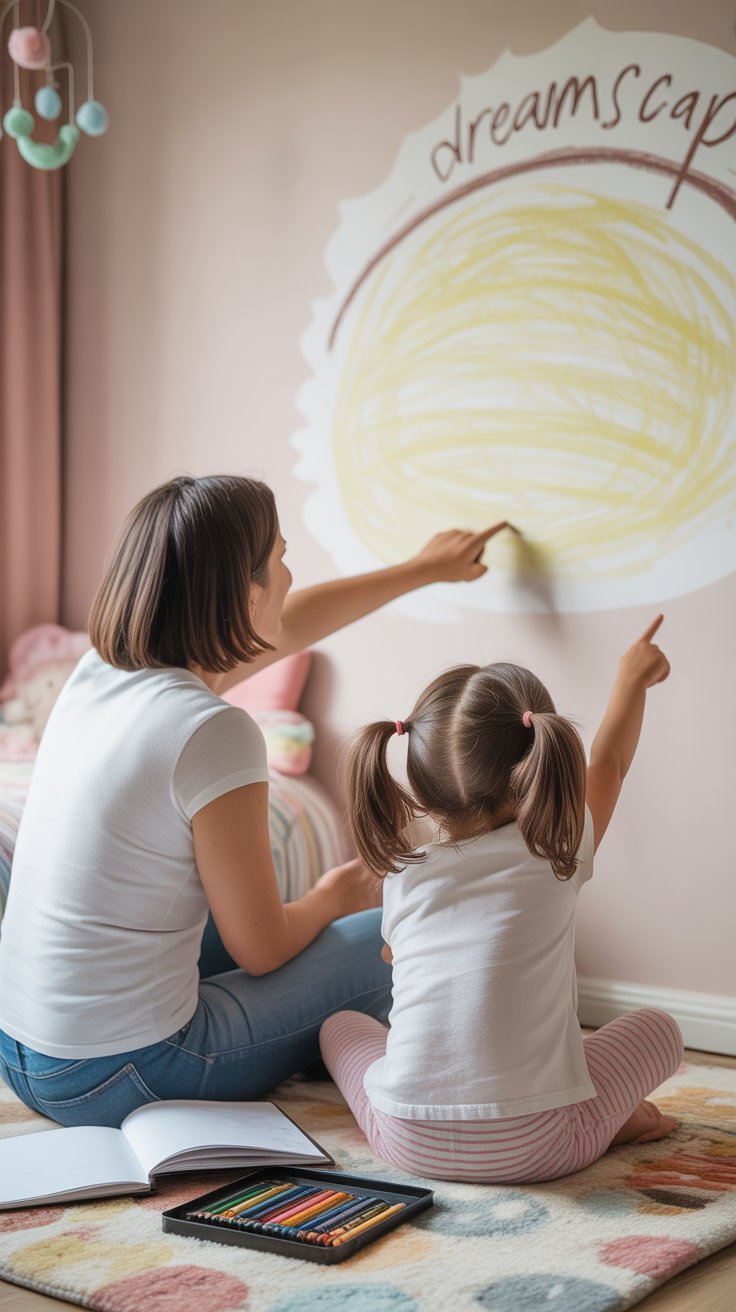
Before you grab the paint, sit down with your child and brainstorm. Choose a fun theme that excites them, stars and moons, rainbows, sea creatures, hearts, clouds, or jungle animals. Keep it simple enough to turn into sponge shapes.
Once you have your idea, sketch a rough layout on the wall using chalk or pencil. You can go for a random scatter of shapes, a border around the top of the room, or clustered patterns in one area. Let them help plan, it gives them a sense of ownership and excitement.
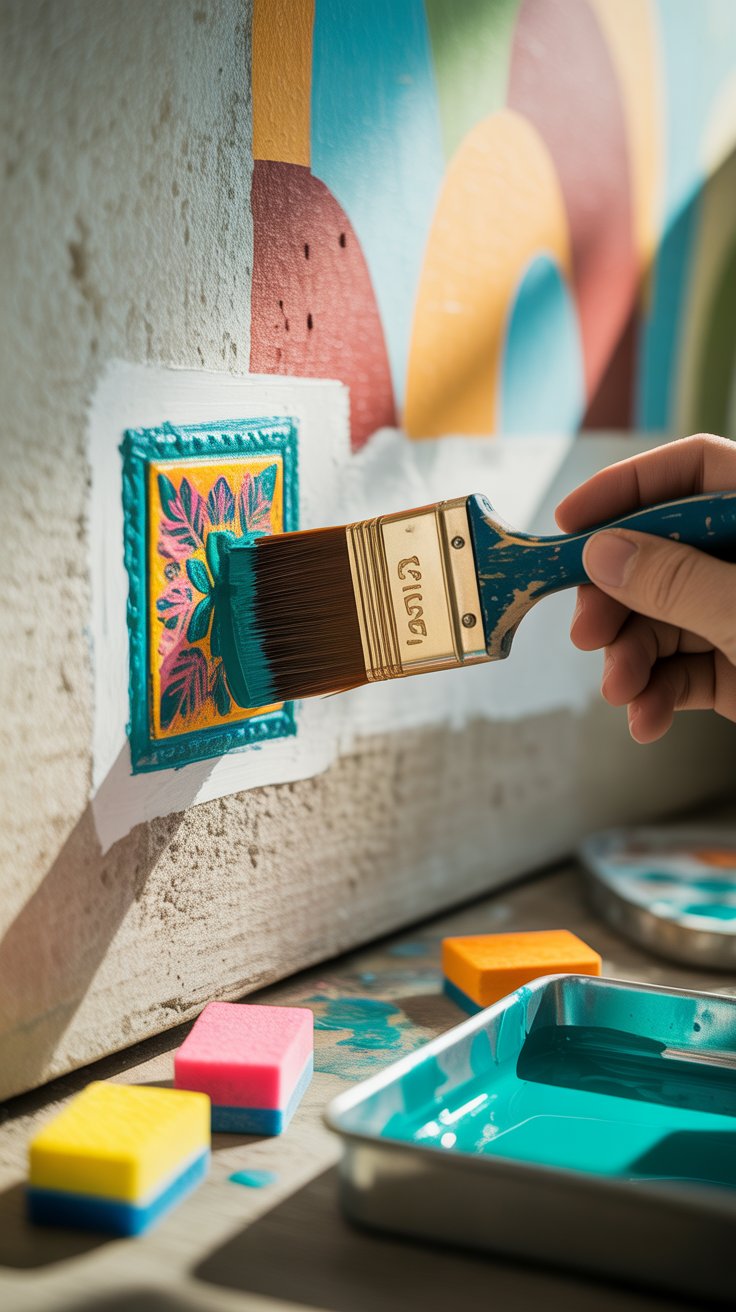
Step 2 – Make Your Custom Foam Stamps
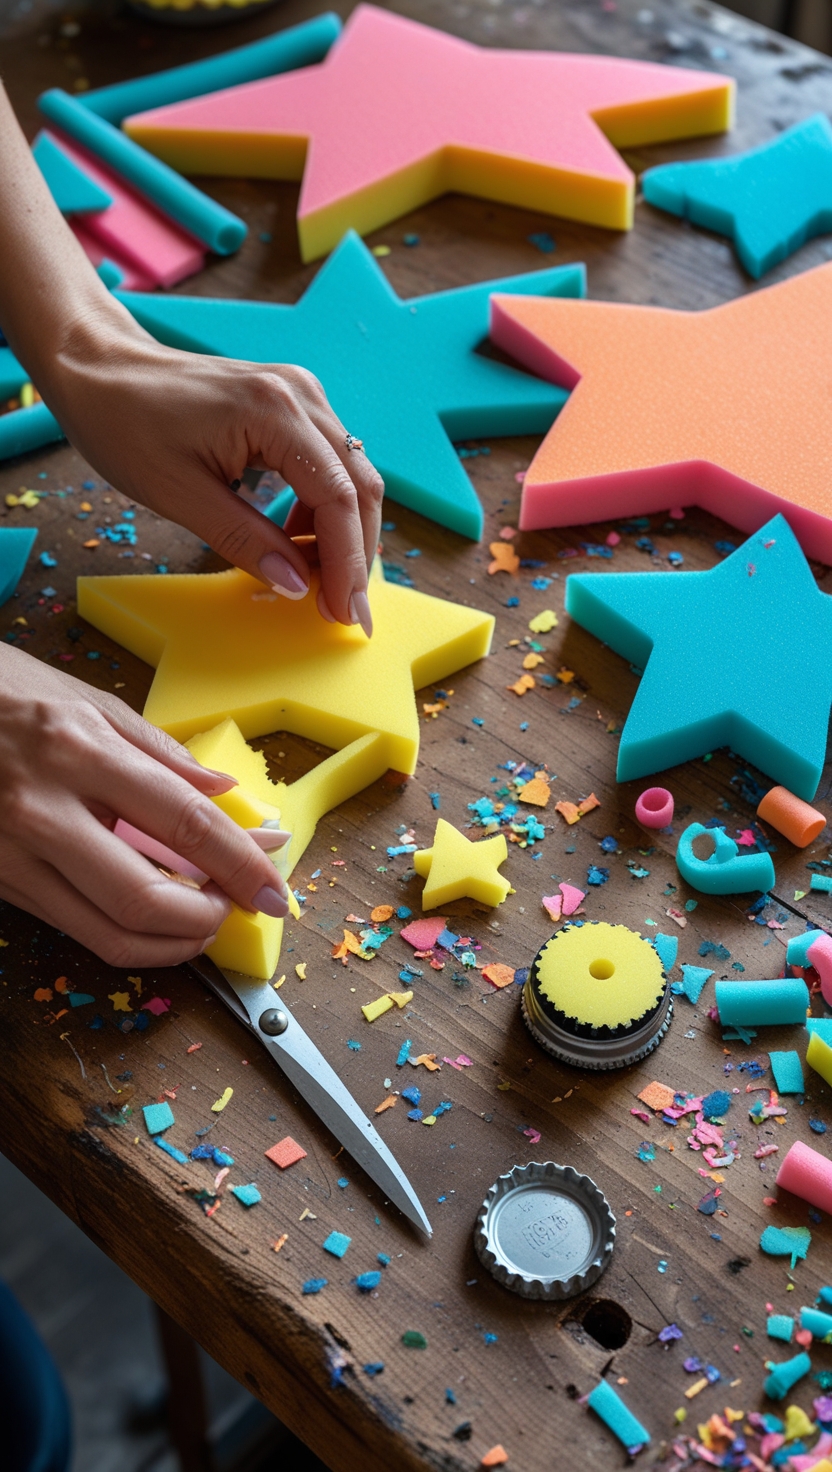
Use scissors or a craft knife to cut your chosen shapes from sponges or foam sheets. Keep the shapes chunky and bold, thin or tiny details can blur when stamped. If you want easier grip for little hands, hot glue a bottle cap or wood scrap to the back of each stamp.
Let your child test the stamps on paper first. This gives them a feel for how much paint to use and how to press evenly. It’s also a great way to work out color combos before they go on the wall.
Step 3 – Prep the Wall and Workspace
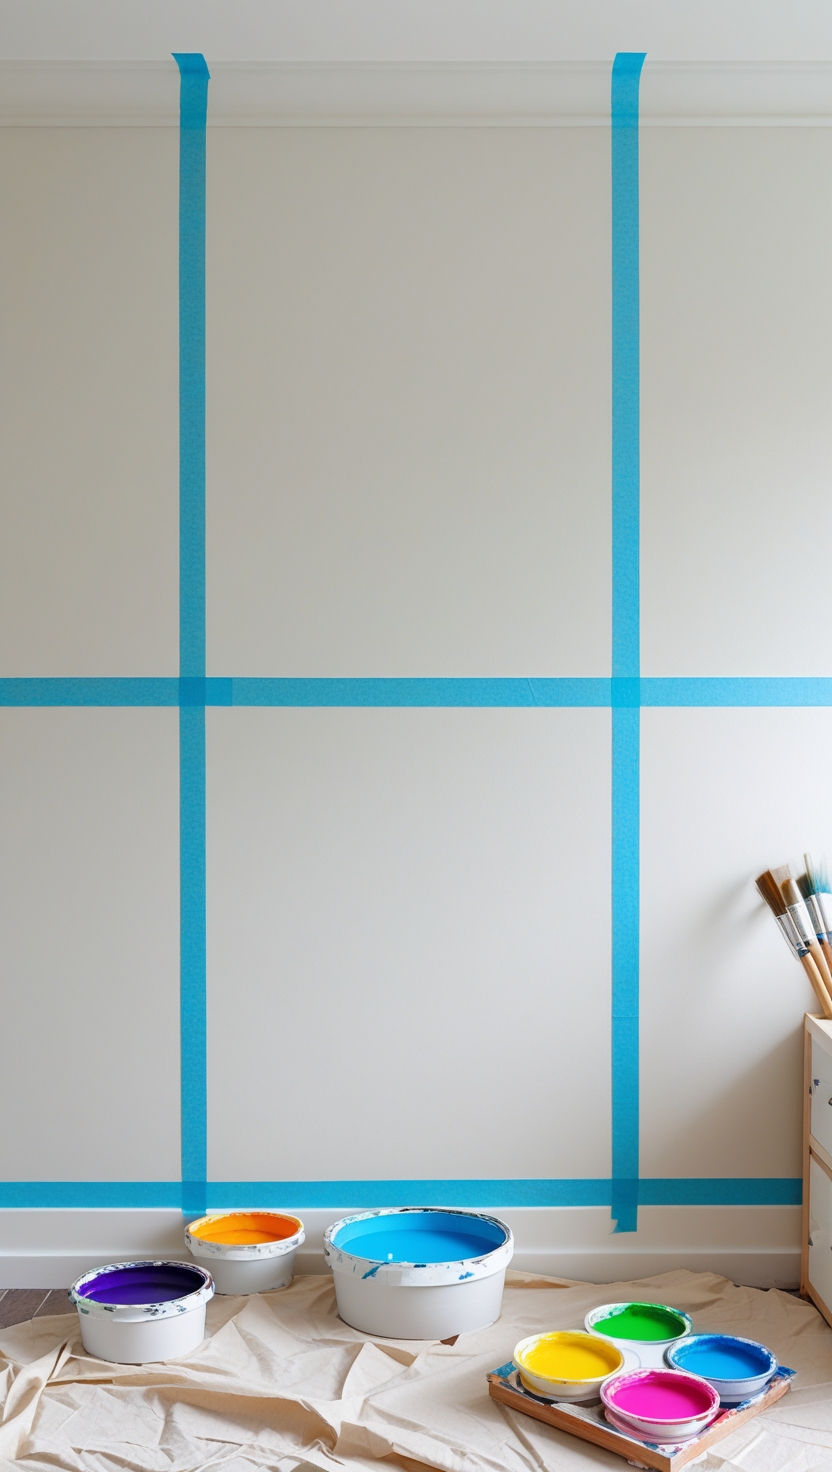
Clear the space and lay down a drop cloth to protect your floors. If you’re only stamping one section of the wall, use painter’s tape to mark off the area. Wipe down the wall with a dry cloth to remove dust, which helps the paint stick better.
This is also the time to pour your paint onto plates or trays. Stick to a small amount at first, you can always add more, and it keeps cleanup easier.
Step 4 – Dip, Stamp, and Let the Magic Happen
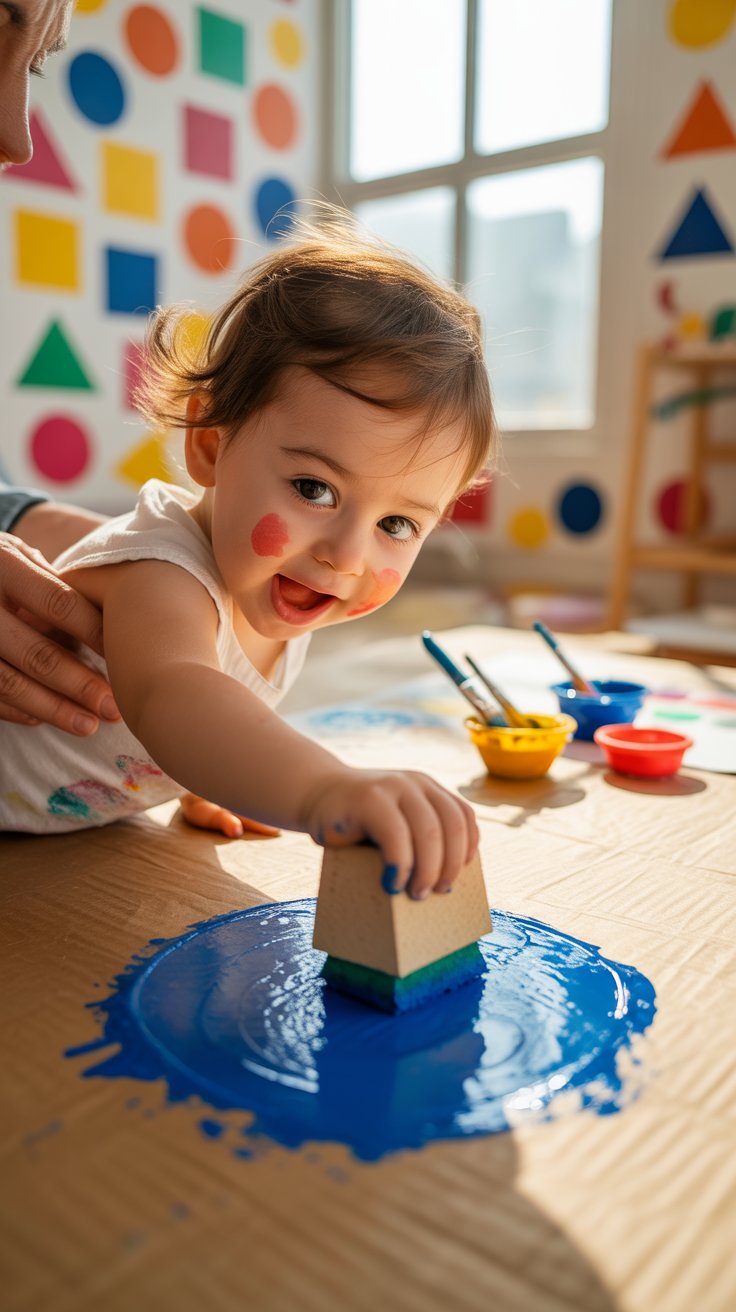
Have your child dip the sponge lightly into the paint. It should be damp, not soaked. Then, let them press it firmly and evenly onto the wall. Encourage them to lift straight up to avoid smearing.
You can layer different colors or stamp types for a more complex mural. If your theme includes stars and planets, for example, you might use gold paint for stars and blue for swirls of comets or galaxies.
Don’t stress about perfection. Slight imperfections make it even more special, and your child will love knowing they did it themselves.
Step 5 – Let It Dry and Touch Up
Let the stamped shapes dry for about an hour. If any areas need a little cleaning up, use a small brush to neaten the edges or fill in paint gaps. You can also paint over any mis-stamps with your base wall color.
If you want the mural to last longer, you can seal it with a clear coat. But if you’re in a rental or just want it to be temporary, skip the sealant so it’s easier to repaint later.
Tips for Success
- Use washable or water-based paint for easier cleanup
- Test stamp pressure on cardboard or paper first
- Keep baby wipes on hand for fast fixes
- Work in small sections to stay focused and neat
- Limit to one wall or corner to keep the room balanced
Why This DIY is Great for Kids Bedrooms
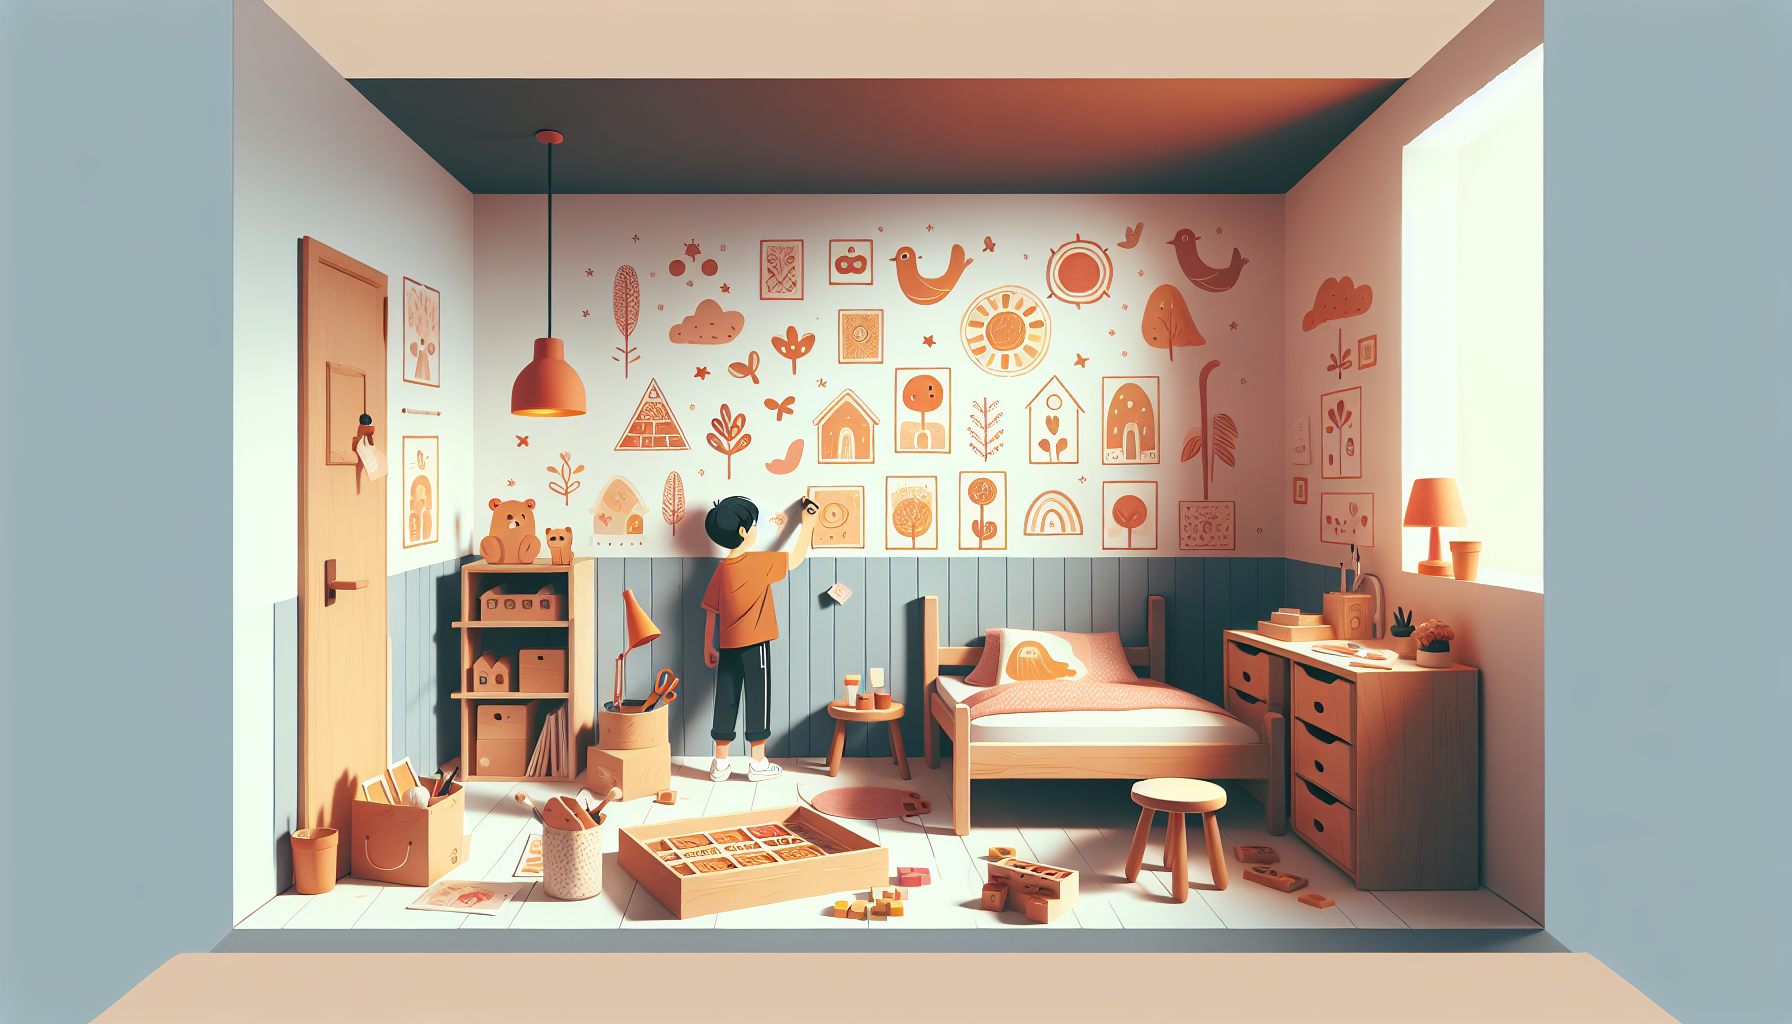
This project isn’t just about how it looks, it’s about what it means. Your child gets to participate in creating their space. They get to leave their mark, quite literally, on the place they feel most at home.
It’s a perfect weekend or after-school project, doesn’t require fancy tools, and gives you both something to be proud of every time you walk into the room.
Final Thoughts
With a few simple supplies and a little creative teamwork, you can completely transform a blank wall into something joyful, colorful, and totally personal. Foam stamping is kid-safe, budget-friendly, and renter-approved, and it’s the kind of project your child will remember for years.
So grab those sponges, pour out the paint, and start stamping your way to a one-of-a-kind mural. And don’t forget to take photos, this is the kind of mess you’ll want to remember.
FAQs
Can I do this project in a rental?
Yes. Just use washable or low-VOC paint and avoid permanent top coats. If needed, the stamps can be painted over later with a single coat of wall paint.
What kind of paint works best?
Satin or matte wall paint works well. For kids, washable tempera or low-VOC paints are safer and easier to clean.
Can toddlers help with this?
With guidance, yes! Use larger stamps, simple shapes, and only a few colors at a time to keep things manageable.
How do I clean sponge stamps?
Rinse them right after use with warm water and a bit of soap. Let them air dry fully before storing to prevent mildew.
What are the best themes for foam stamp murals?
Try rainbows, nature scenes, stars and planets, undersea animals, jungle shapes, or abstract patterns with their favorite colors.