19 Cheap DIY Room Divider Ideas That Look Expensive
Room dividers are a smart way to add privacy, define spaces, or introduce style in homes where square footage is limited.
But that doesn’t mean you need to splurge on designer screens or built-in walls. With a few clever materials and a little DIY spirit, you can create room dividers that feel custom and high-end, without spending more than necessary.
From fabric tricks to upcycled furniture hacks, these ideas prove that budget and beauty can go hand in hand.
Fabric & Curtain-Based Dividers
These soft dividers are affordable, renter-friendly, and incredibly versatile. They’re ideal for temporary solutions or flexible layouts.
1. Ceiling-Mounted Curtain Divider with Luxe Fabric
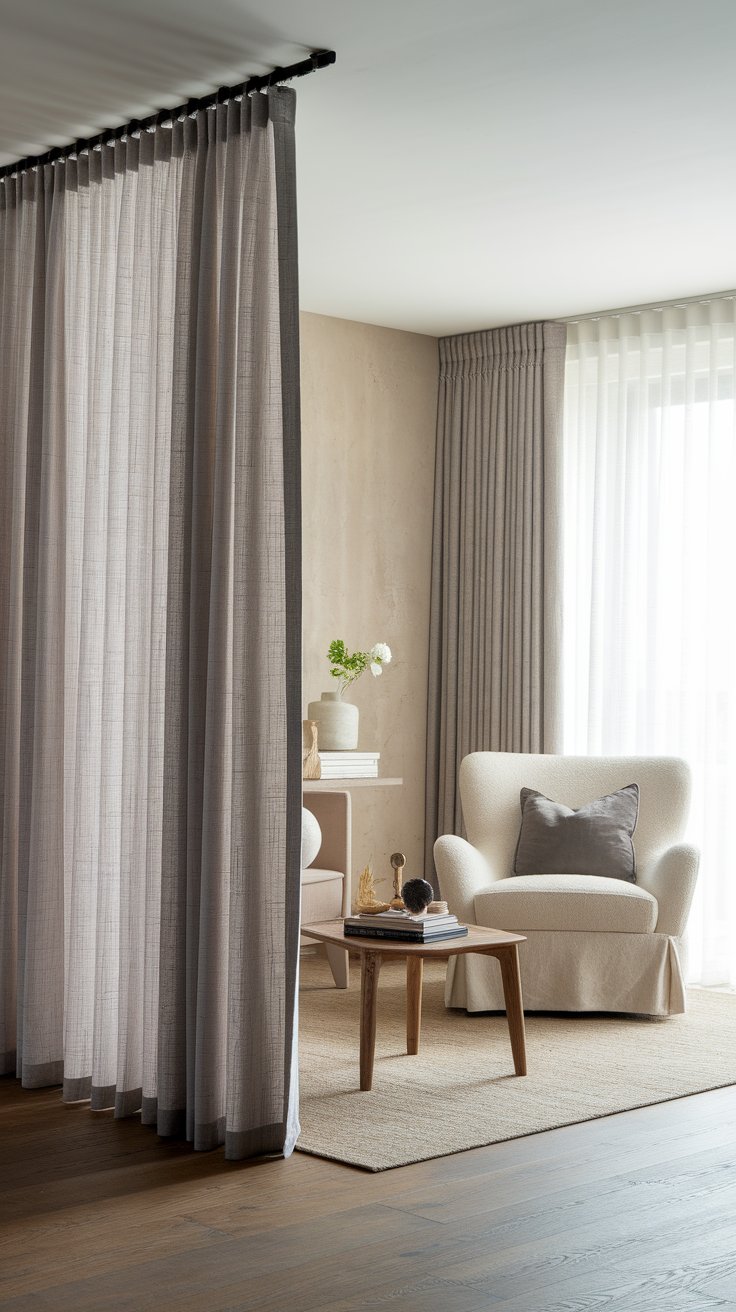
All you need is a curtain rod or track system, ceiling anchors, and your fabric of choice. Opt for linen, velvet, or thick cotton to give the illusion of a high-end installation.
How to do it:
- Mount a tension rod or ceiling track using wall-safe brackets
- Choose curtains that are slightly longer than your ceiling height
- Let them pool a bit on the floor for an elegant drape
Pro tip: Use two layers—sheer for daylight and blackout for privacy—to make it feel like a custom drapery system.
2. Macramé Room Divider for a Boho Touch
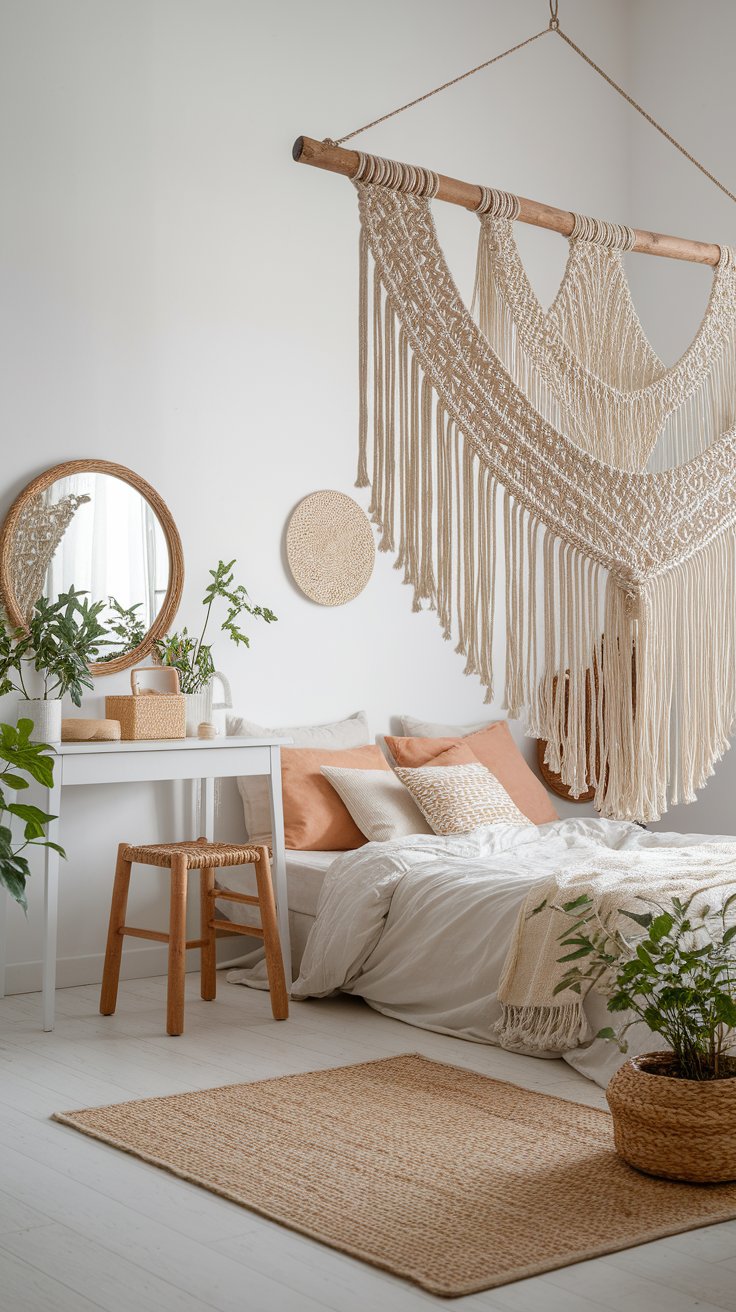
This is perfect for a bedroom or creative space with boho flair. You can either make your own macramé using inexpensive cotton cord, or buy a premade wall hanging and repurpose it.
What you’ll need:
- A wooden dowel or copper pipe
- Cotton rope or macramé cord (around $15–$25)
- Hooks or a ceiling bracket for hanging
It adds texture, lets light pass through, and acts as both divider and wall art.
3. Drop Cloth Divider with Industrial Pipes

Drop cloths are one of the cheapest fabric options available—and surprisingly stylish. Their natural, canvas-like texture works great in modern rustic, farmhouse, or loft-style rooms.
How to build it:
- Use inexpensive plumbing pipes and fittings to create a frame
- Hang drop cloths with curtain clips or grommets
- Anchor the pipe stand into a heavy base or secure to ceiling
Estimated cost: Around $40–$60 for the whole setup.
4. Velvet or Linen Panel Dividers Using Curtain Tracks
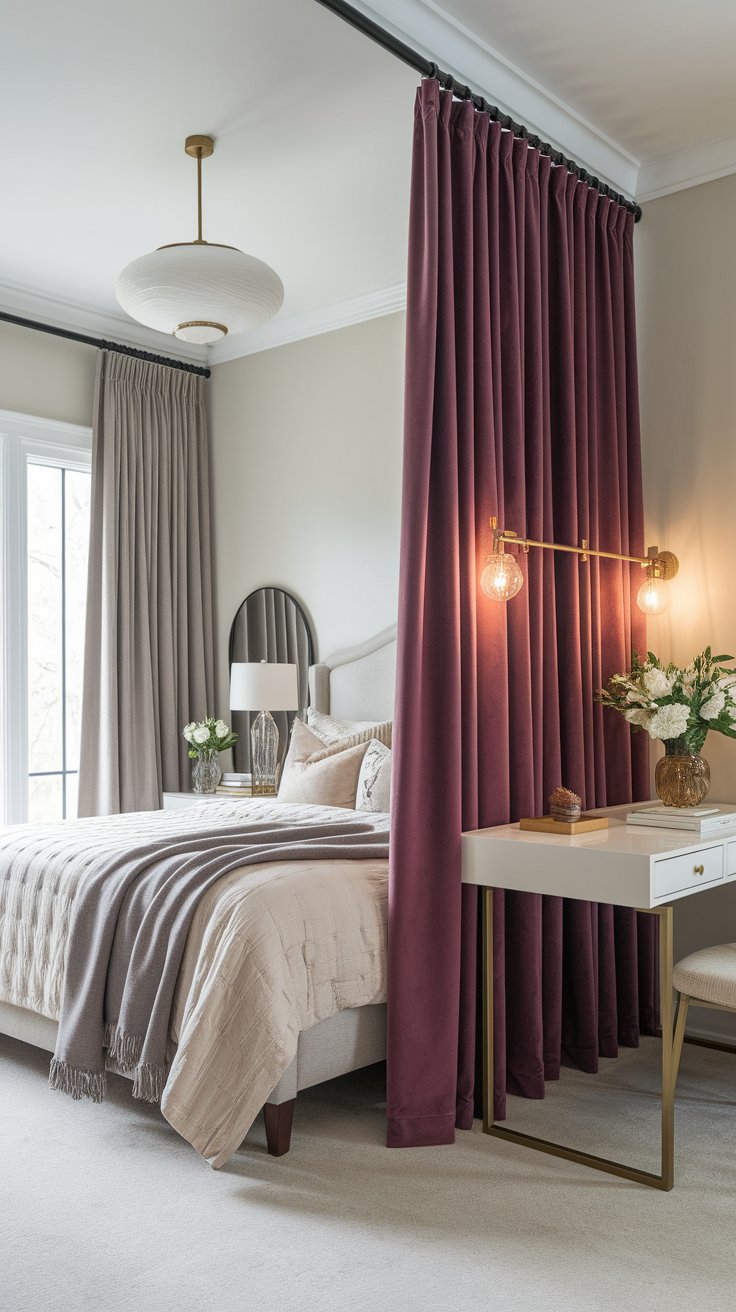
If you want something more elevated, look for remnant fabric pieces at discount stores. A few yards of velvet or natural linen can create drama, depth, and softness in a room.
Why it works:
- Velvet absorbs light and sound, making it cozy and quiet
- Linen provides breathable separation and a modern feel
- You can install ceiling-mounted curtain tracks to hide the hardware
These are great for dividing a bedroom from a vanity space or separating a home office area from the rest of a living room.
Folding & Frame-Based Dividers
These dividers are more structured, but still totally doable on a small budget. They’re great for people who want something freestanding or semi-permanent without taking up too much space.
5. DIY Folding Screen from Repurposed Doors
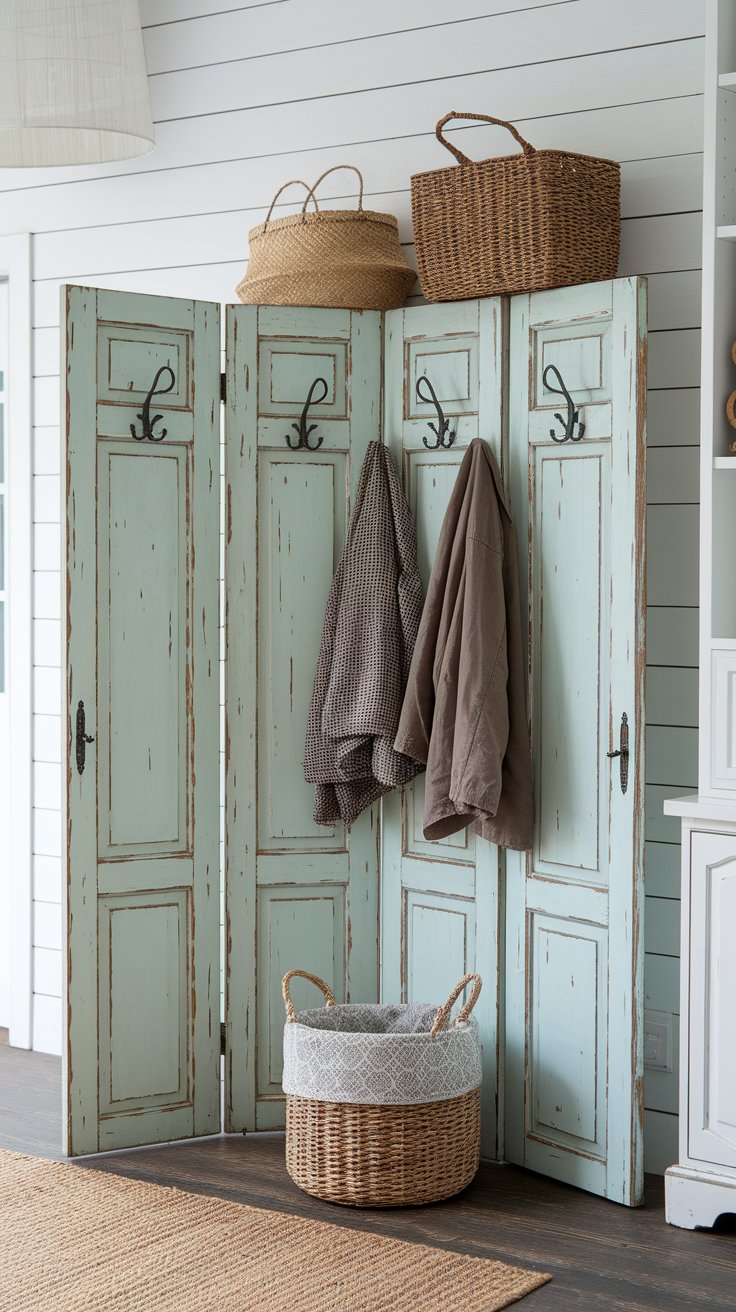
Old closet or cabinet doors can be turned into a gorgeous, vintage-style folding screen. This project is perfect for thrift store fans or anyone who loves salvage-yard finds.
How to make it:
- Collect 3–4 lightweight doors or shutters
- Sand and paint or distress them to match your style
- Attach them using brass or black hinges to create a foldable screen
Bonus tip: Add a few coat hooks or baskets for extra functionality.
Estimated cost: $10–$20 per door if sourced secondhand
6. Photo Frame Room Divider Using Dollar Store Frames
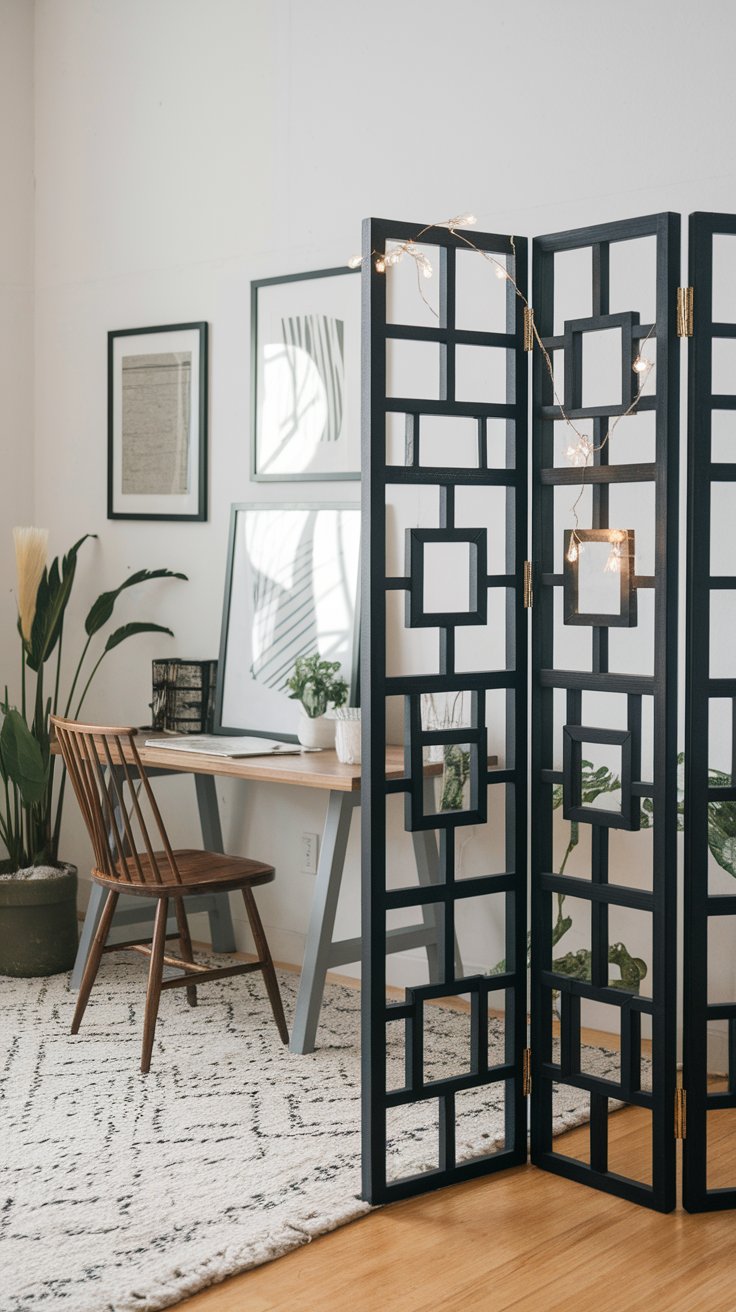
This project looks like a high-end art installation—but costs very little. It’s especially great for bedrooms or creative studios.
Here’s how to do it:
- Buy multiple large photo frames (8×10 or larger) from a dollar store
- Remove the backing and glass, leaving just the empty frames
- Paint them in a uniform color (like matte black or gold)
- Attach them vertically using glue or small brackets, and hinge the rows together
Optional: Add twinkle lights or prints to some frames for more personality.
7. Painted Plywood Screen with Cutout Patterns
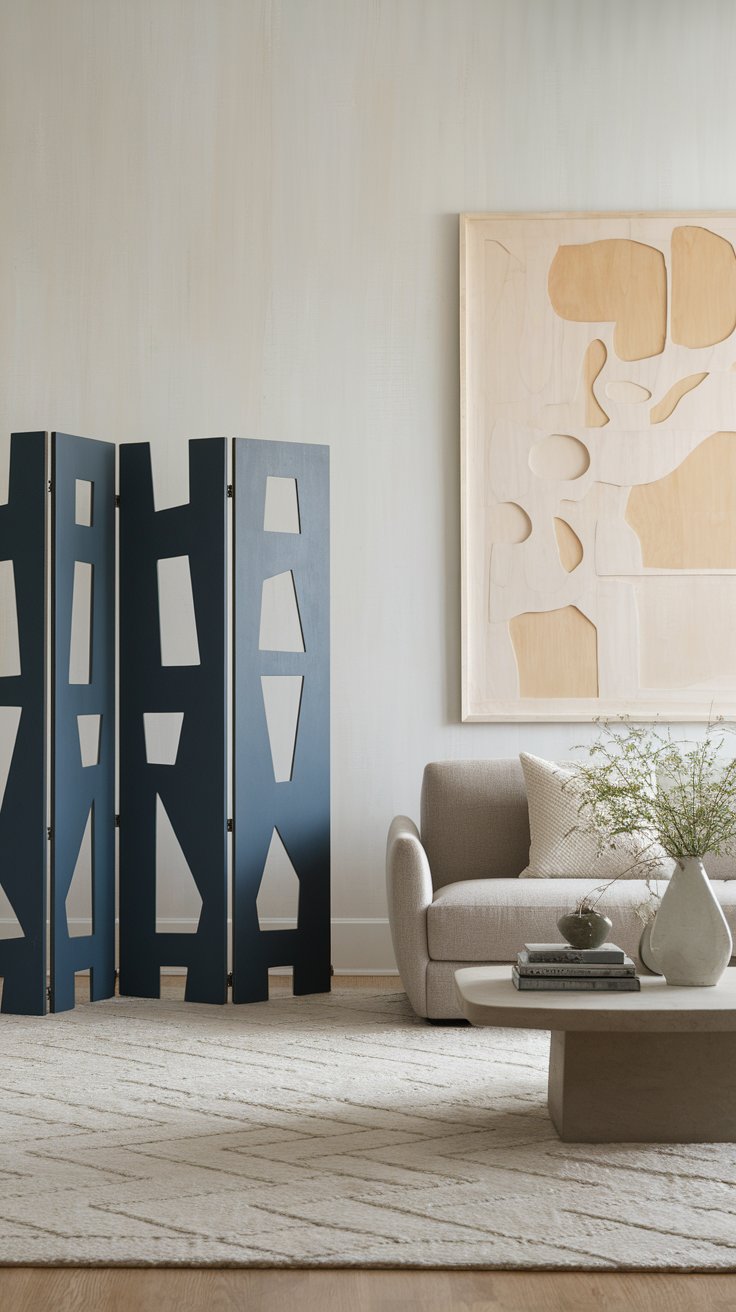
Plywood is incredibly affordable and customizable. You can create a bold, modern divider using a jigsaw, some paint, and a bit of creativity.
Steps to create one:
- Cut 3–4 plywood panels to the same height (around 6 feet)
- Paint them in earthy tones or graphic black and white
- Use a jigsaw to cut geometric or botanical shapes into each panel
- Hinge them together for a folding effect
This project gives you a statement piece that doubles as art.
8. Hinged Pegboard Divider for Display and Function
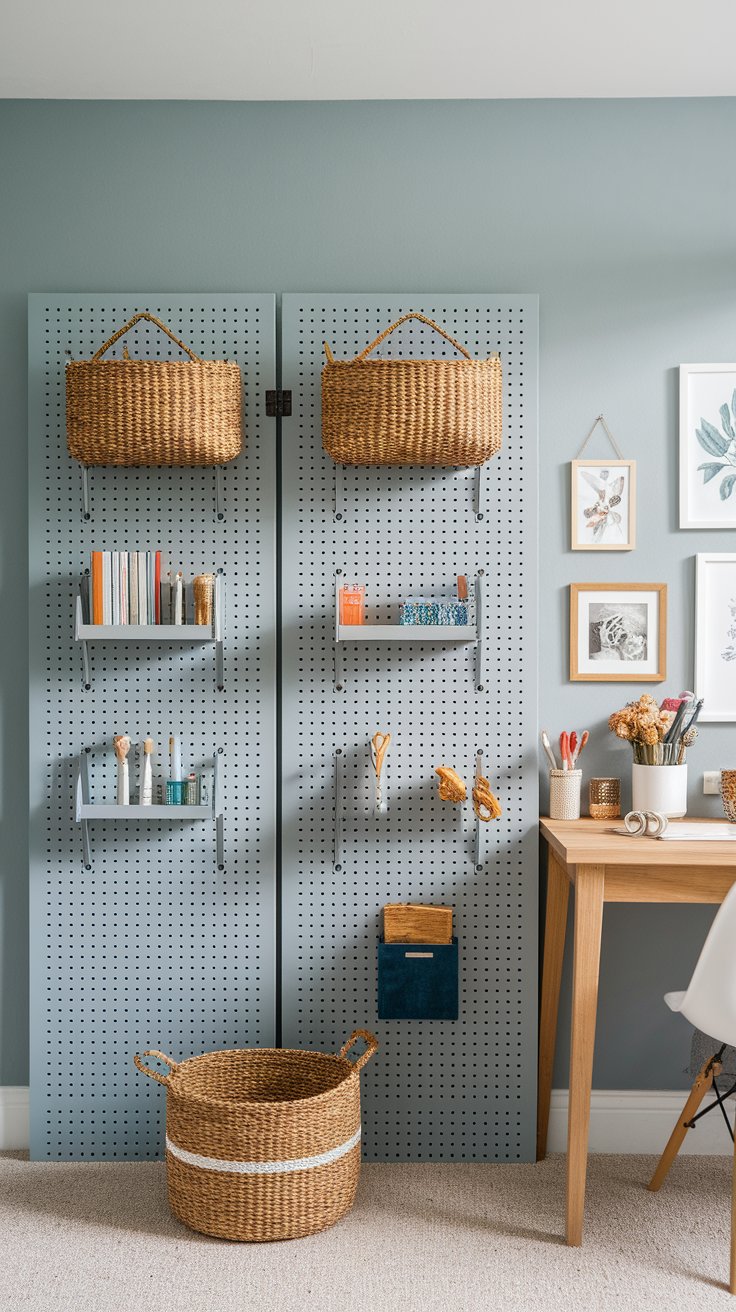
Pegboards aren’t just for garages. Use them as a clean, modern divider that doubles as a vertical storage solution.
What to do:
- Purchase 3 pegboard panels (home improvement stores carry large sheets for under $15 each)
- Hinge them together to form a folding screen
- Paint the boards in a neutral or bold color
- Add hooks, mini shelves, baskets, or hanging plants
This is ideal for craft rooms, small apartments, or kids’ rooms.
Vertical & Hanging Dividers
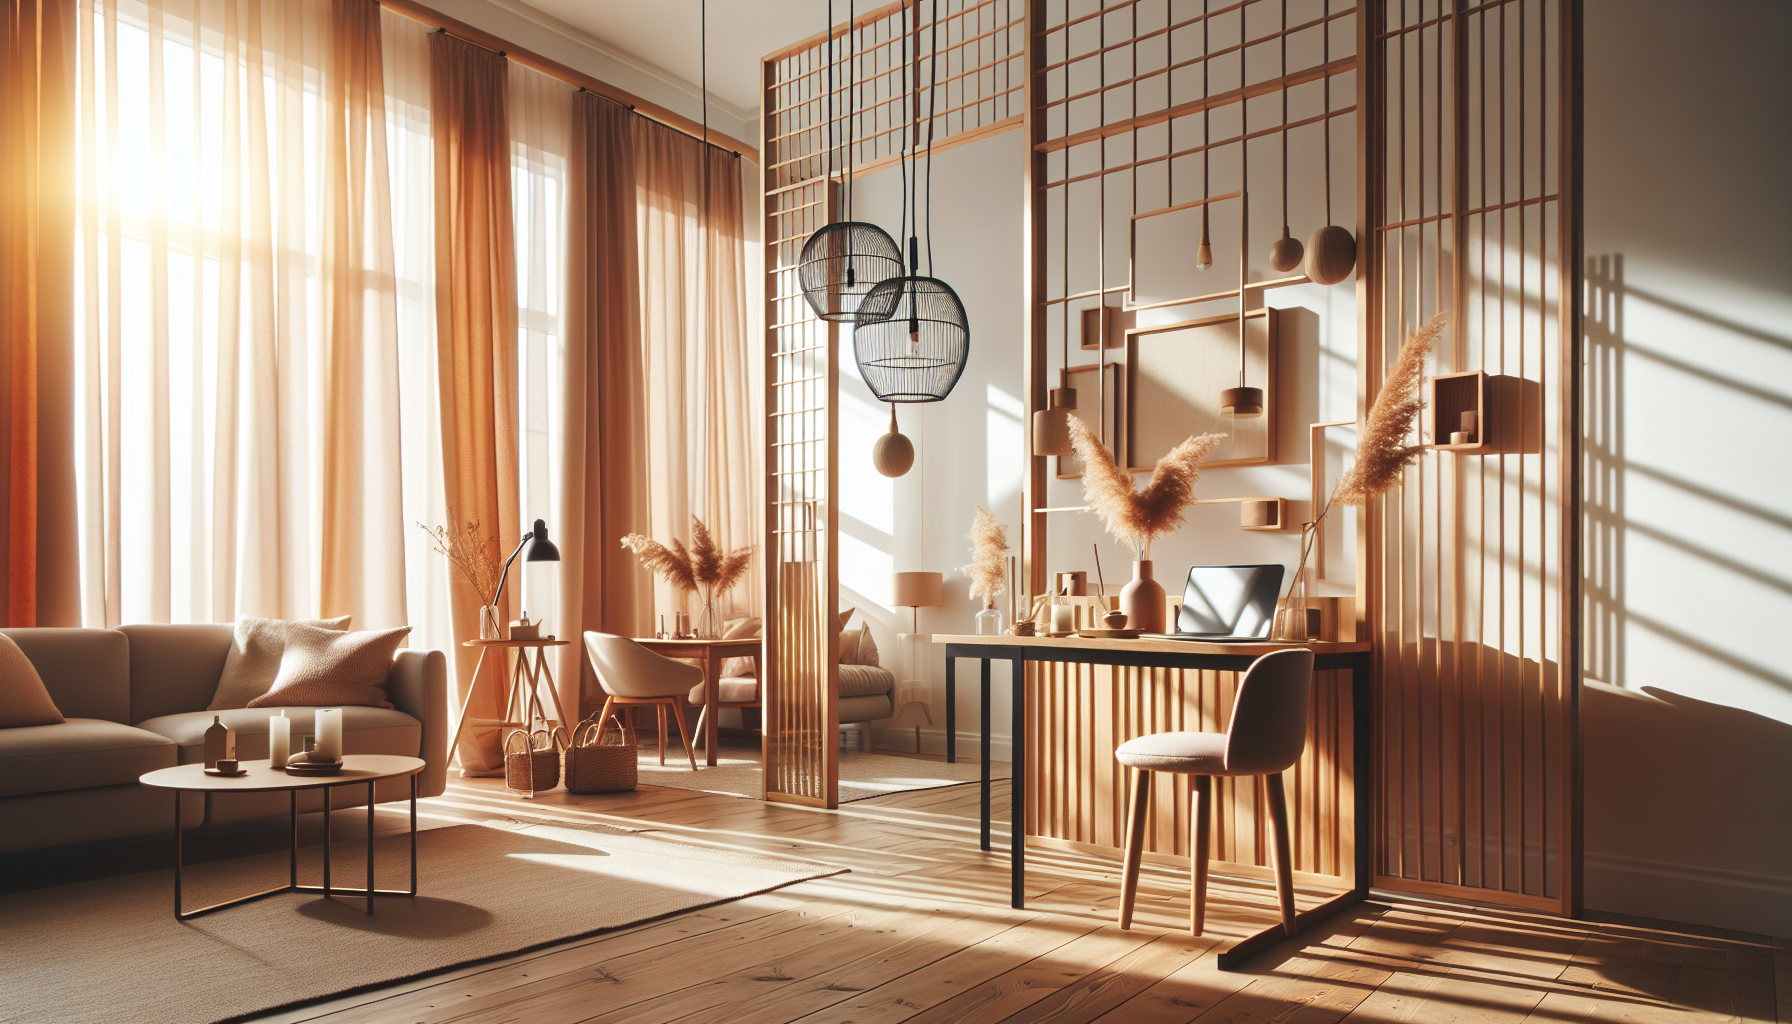
These ideas take advantage of ceiling height and visual movement. They’re perfect for open layouts or shared rooms where you want subtle separation without blocking light.
9. Hanging Plant Wall Using Rope and Hooks
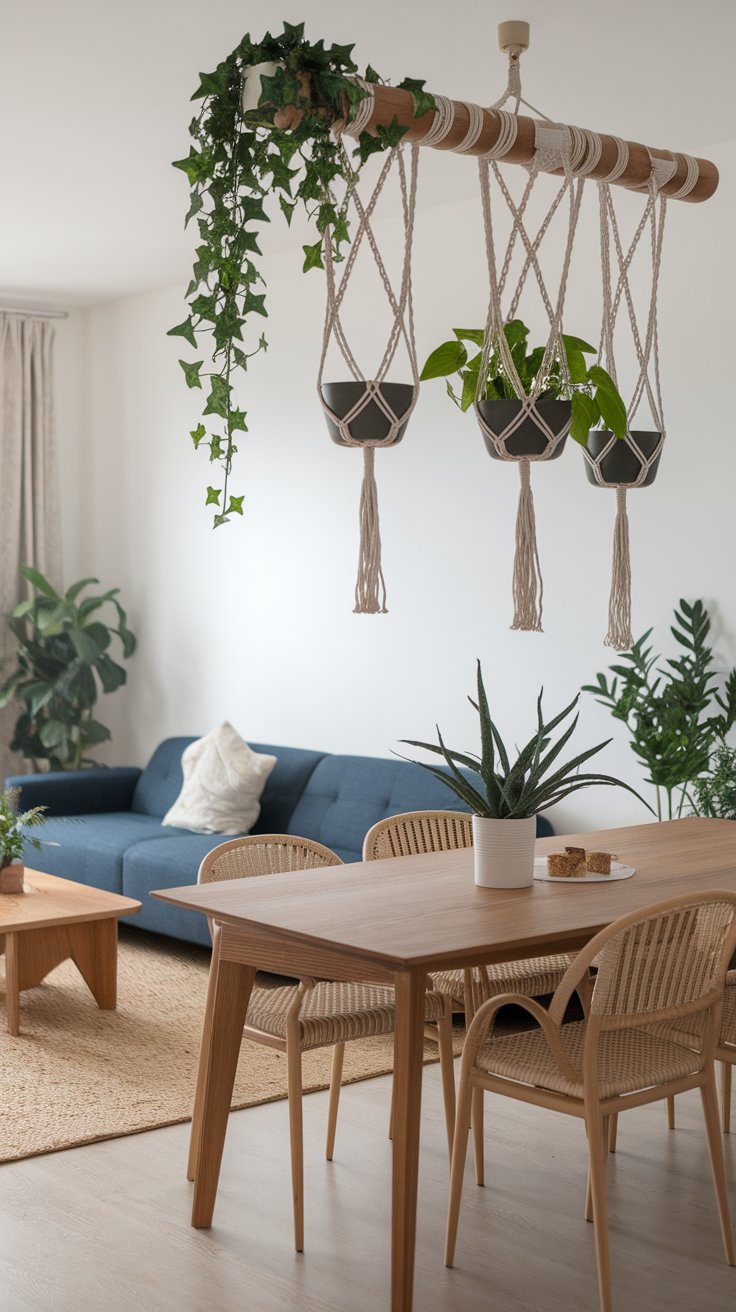
This divider doubles as a green oasis. Hanging plants add softness and height while visually breaking up space without the need for walls.
How to create it:
- Install a wooden beam or tension rod from ceiling to ceiling
- Use macramé plant holders, ropes, or hanging baskets
- Stagger the heights and types of plants for dimension
- Choose lightweight plants like pothos, ivy, or air plants
Cost tip: Thrift store pots and rope make this extremely affordable.
10. PVC Pipe Frame Divider Draped with Fabric
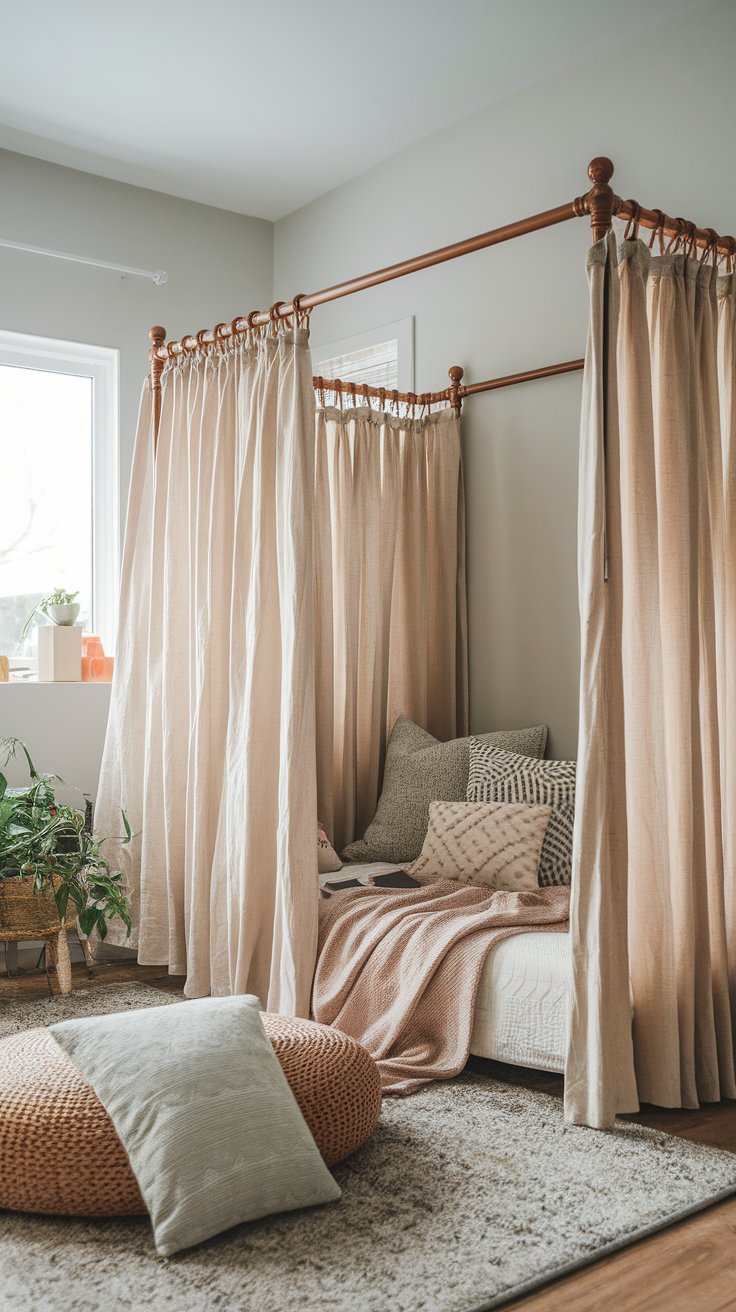
PVC pipes are cheap, light, and easy to work with. You can build a freestanding divider frame and drape any fabric over it—perfect for renters or temporary spaces.
What you’ll need:
- PVC pipes, elbow joints, and base connectors
- Spray paint (optional) to make it look like black steel
- Fabric like canvas, muslin, or printed cotton
- Binder clips or safety pins to secure the fabric
This is great for creating a reading nook or workspace in a shared room.
11. Beaded or Wooden Ring Hanging Divider
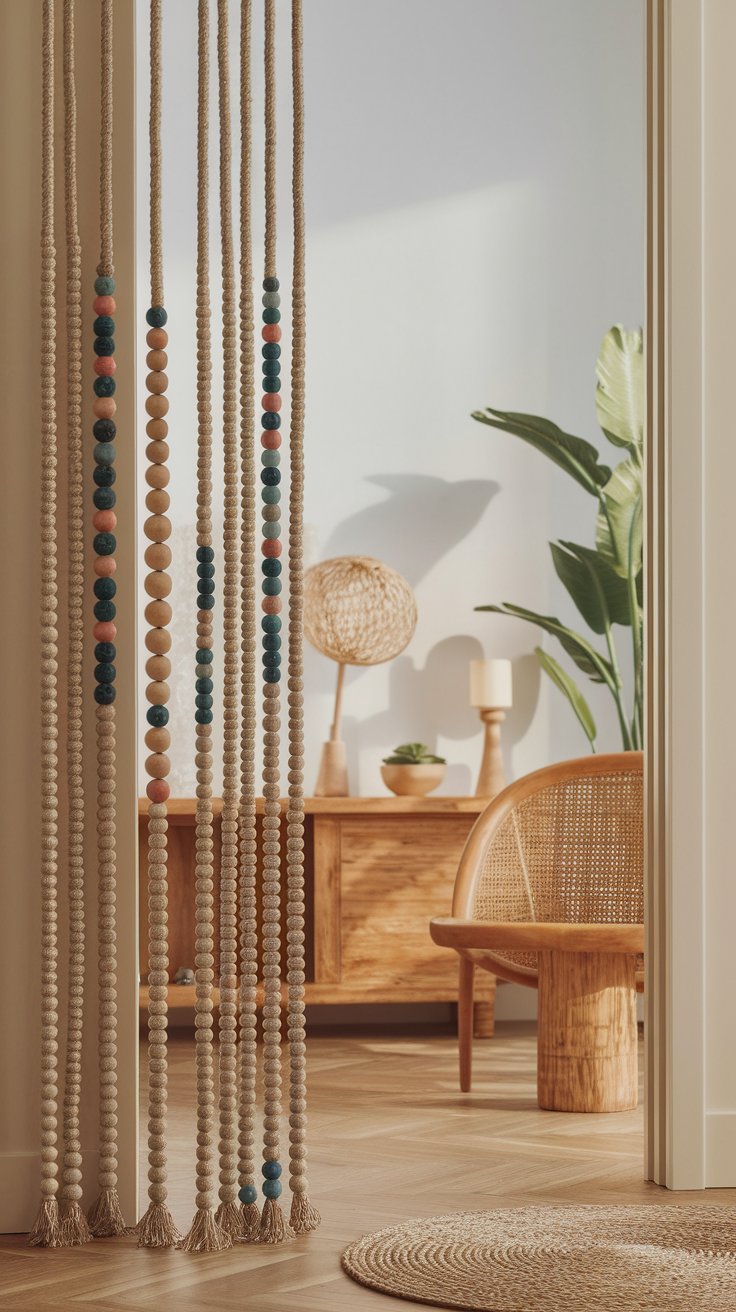
This idea brings movement and texture into the space. It works well for doorways, closet spaces, or as a light visual barrier.
How to do it affordably:
- Use wooden rings, beads, or even large metal washers
- String them vertically on clear fishing line, twine, or cord
- Hang from a tension rod, dowel, or mounted beam
Style tip: Paint some of the beads in ombré tones or matte black for a modern Nordic look.
12. Hanging Bamboo or Slatted Wood Panel Divider
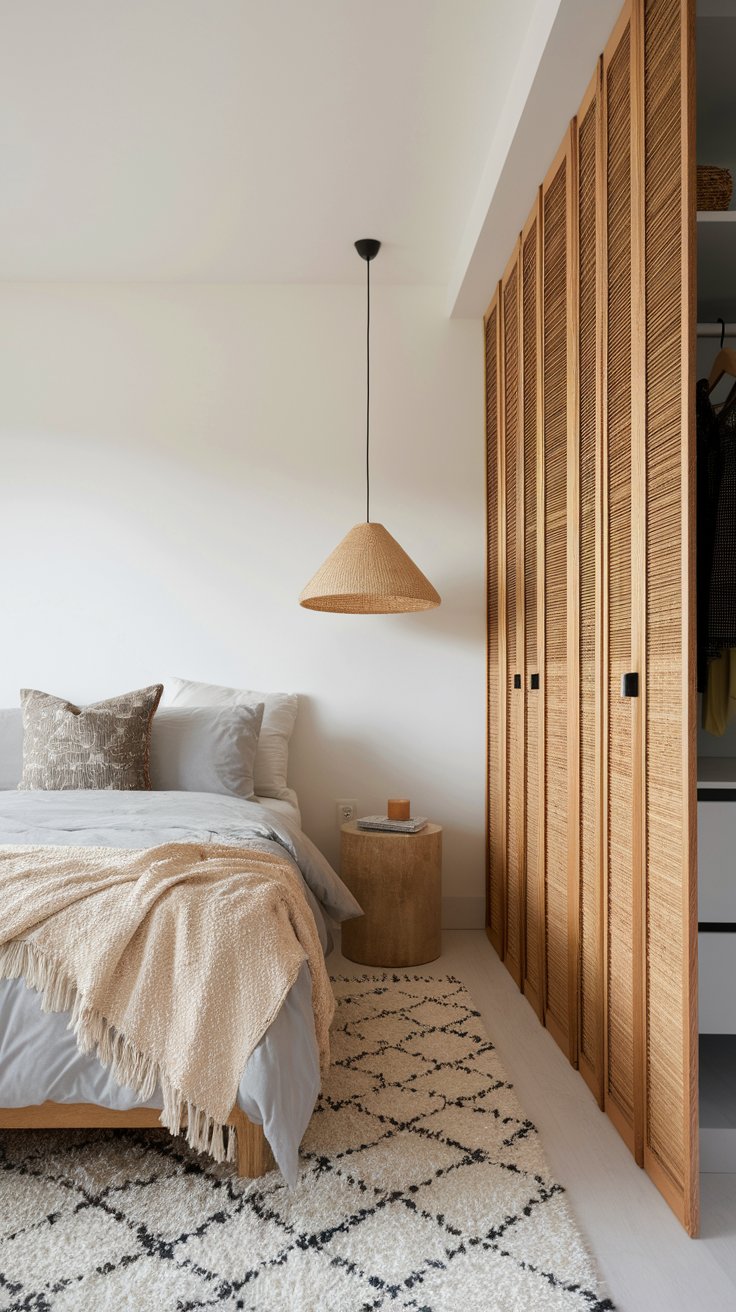
Bamboo panels or slatted wood blinds can act as semi-transparent dividers that still allow light to pass through.
How to install:
- Hang bamboo rolls or thin wooden blinds from ceiling hooks
- Cut to the width of the space you want to divide
- Add a decorative tassel or pendant for a custom finish
Budget tip: Bamboo window shades from discount stores work perfectly for this.
Bookshelf & Storage Dividers
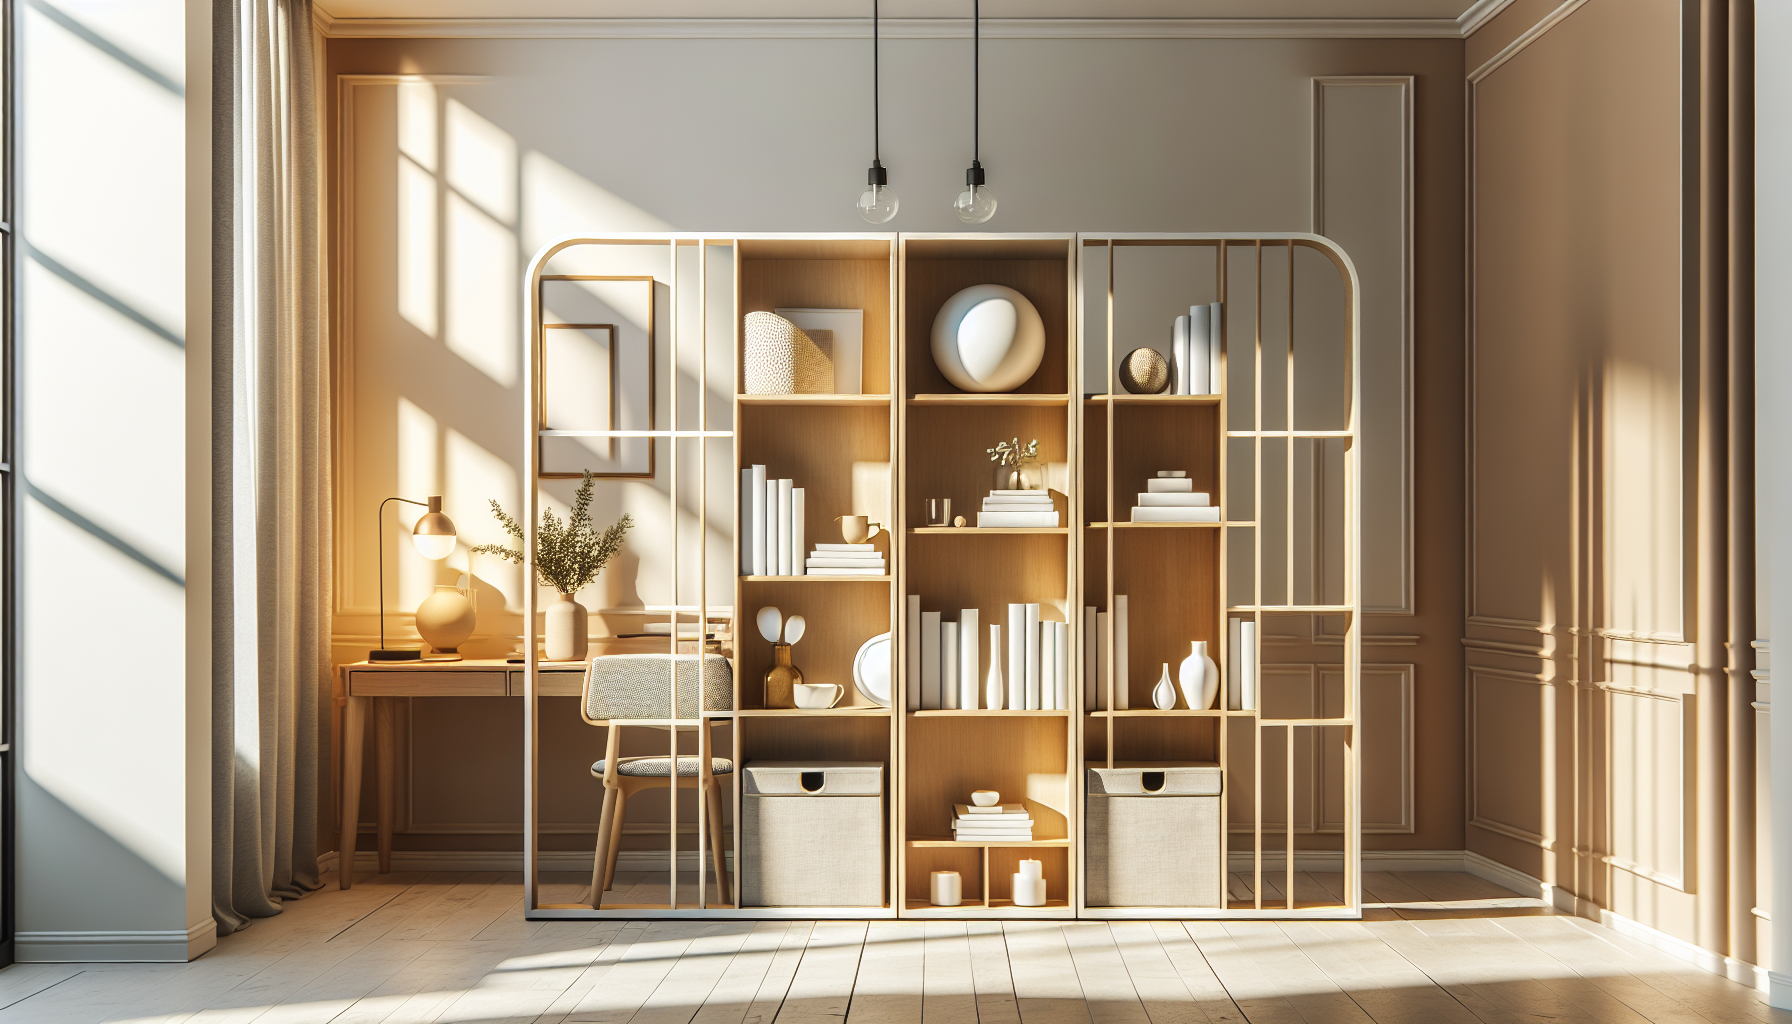
These DIY dividers don’t just split a room—they also add functionality with built-in storage. Perfect for small apartments, shared bedrooms, or multipurpose spaces.
13. Open Cube Shelving Unit as a Room Splitter
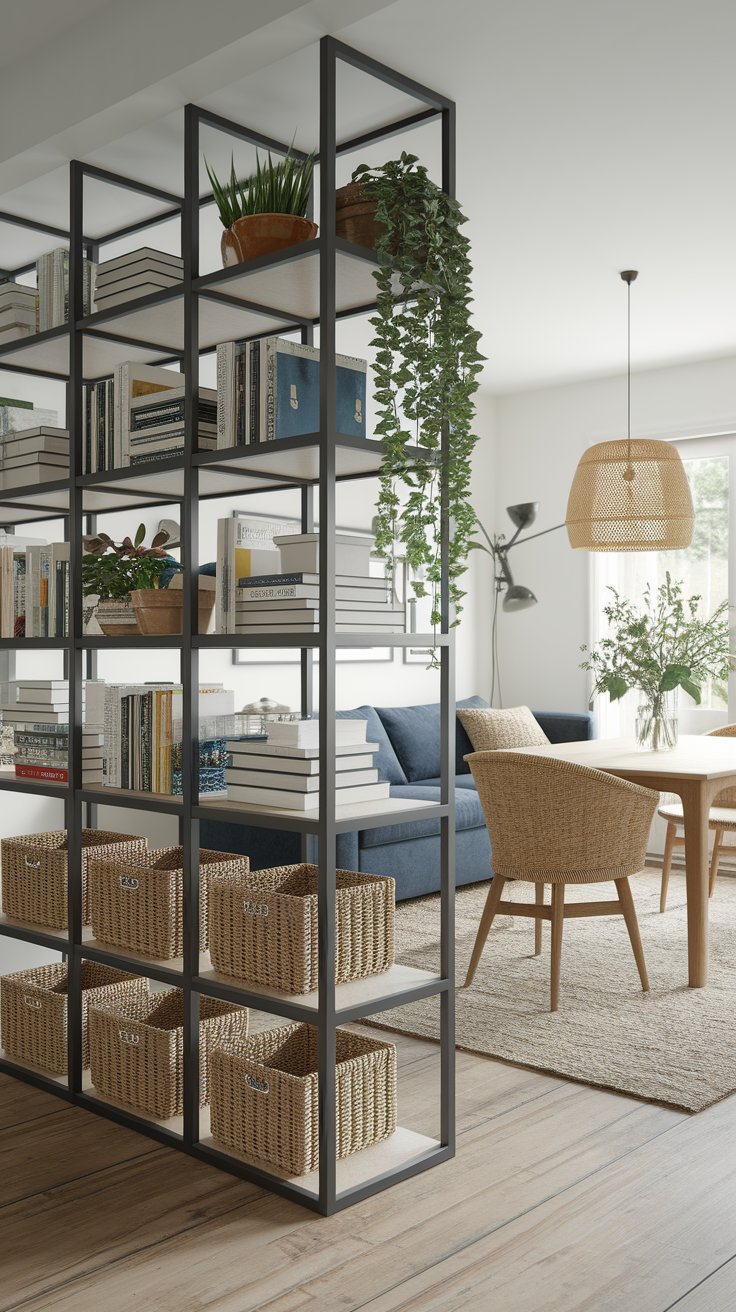
Cube shelves (like IKEA’s KALLAX) are a budget-friendly way to create structure without blocking light. You can style them to look clean, minimal, or cozy and eclectic.
How to make it work:
- Use a horizontal 2×4 or 4×4 cube shelf
- Place baskets, books, or plants in some cubes
- Leave a few cubes empty for an airy, open feel
Pro tip: Anchor it to the wall or floor if stability is a concern.
14. Rolling Crate Divider for Flexible Storage
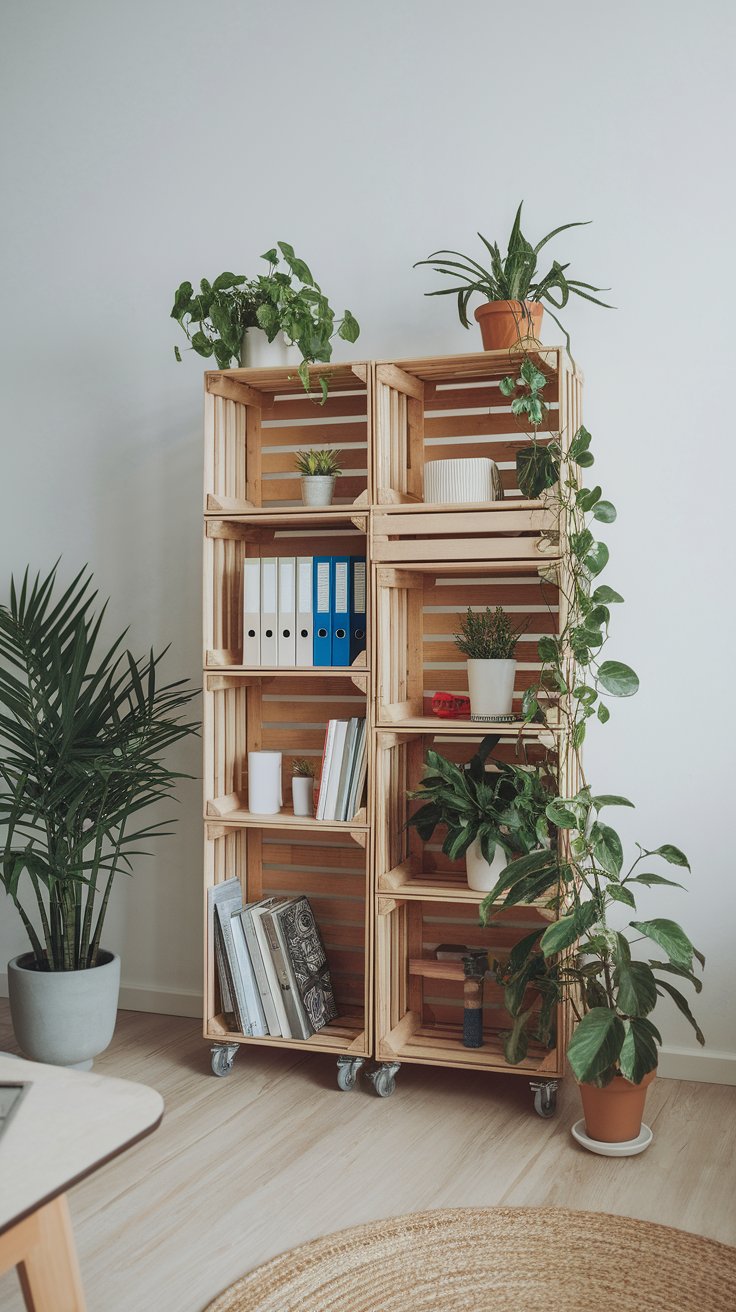
Stacked wooden crates on wheels create a rustic, mobile divider that can be rearranged as needed. It’s perfect for renters or anyone who likes to re-style often.
How to build it:
- Use 6–8 wooden crates
- Stack and screw them together in a zig-zag pattern
- Add casters or furniture wheels to the bottom
- Paint or stain the crates to match your decor
Use it to store books, plants, office supplies, or toys.
15. Stacked Wooden Crates as a Rustic Divider
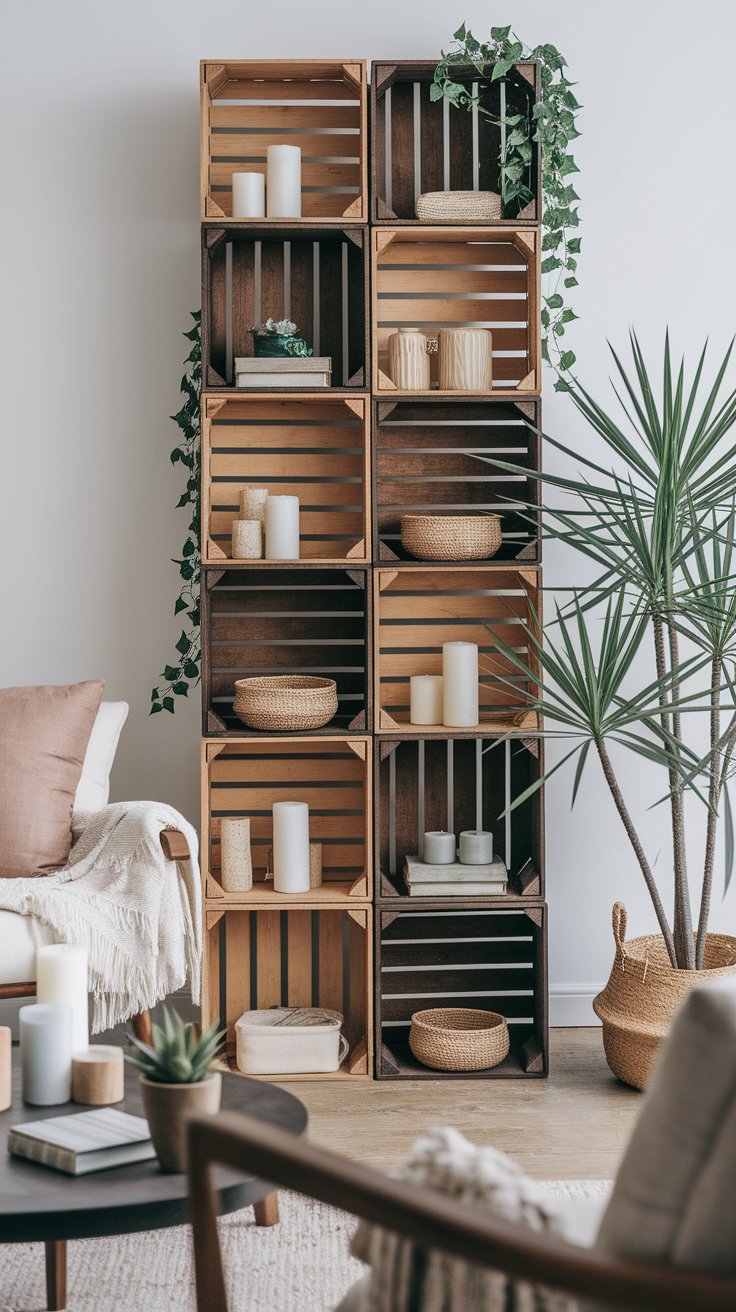
No wheels? No problem. You can still use wooden crates as a stylish, affordable wall between spaces.
Here’s how:
- Stack crates vertically to create a visual wall
- Alternate between vertical and horizontal placement
- Add potted plants, candles, or rolled-up throws for texture
This works well for farmhouse, boho, or cabin-inspired rooms.
16. Floating Shelves Suspended from the Ceiling
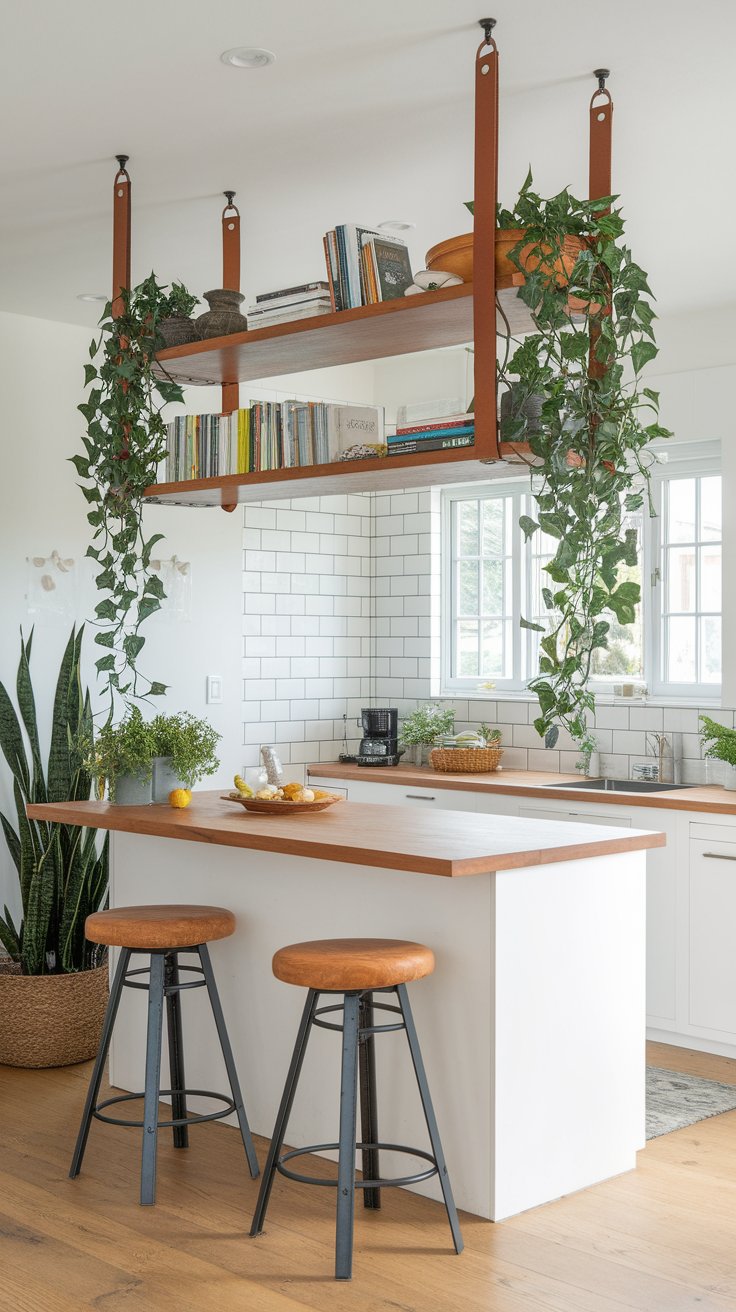
Want to divide a space without losing floor room? Hanging floating shelves from the ceiling is a creative solution that feels custom but can be done on a budget.
What to do:
- Install ceiling hooks with anchors
- Suspend wood planks with rope, chain, or leather straps
- Space them evenly from floor to ceiling
Use the shelves for decor, books, or small trailing plants. It’s ideal for entryways or separating a kitchen from a living area.
Upcycled & Unconventional Dividers
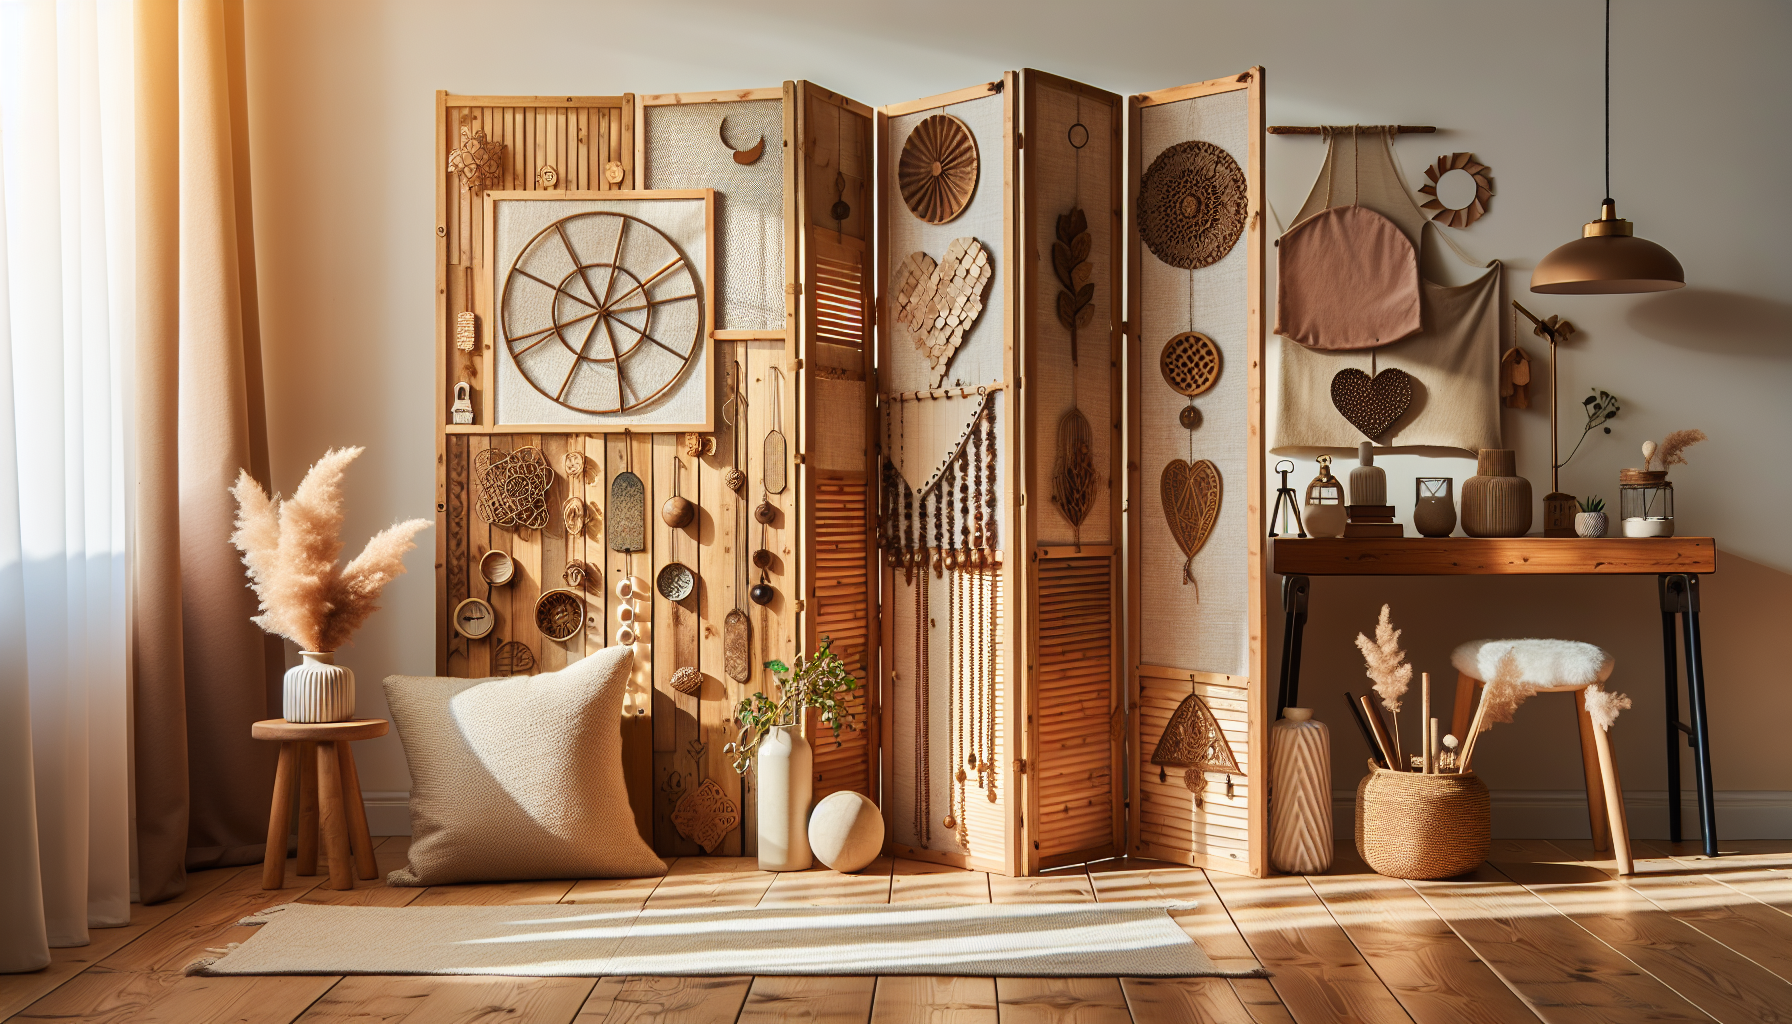
These last few ideas use found objects and unconventional materials to create stylish dividers that feel custom without the custom price tag.
17. Old Window Frame Divider with Frosted Film
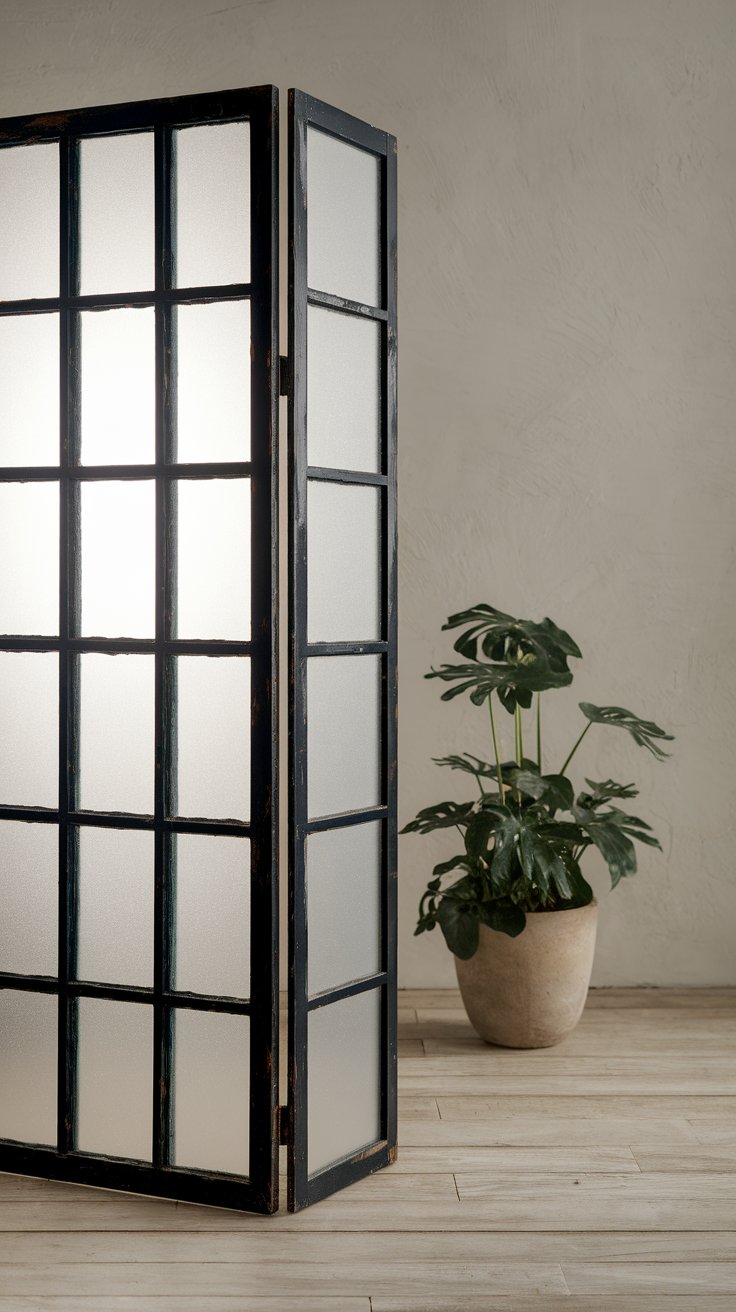
Vintage window frames bring charm and architectural interest to any room. By adding frosted film, you get privacy without blocking light.
How to use it:
- Find 2–3 old wood window frames at a flea market or salvage yard
- Add frosted glass film or translucent contact paper for privacy
- Hinge the frames together or hang from the ceiling as panels
Bonus tip: Paint the frames in matte black or weathered white for an elevated finish.
18. Tension Rod Divider with Shower Curtains
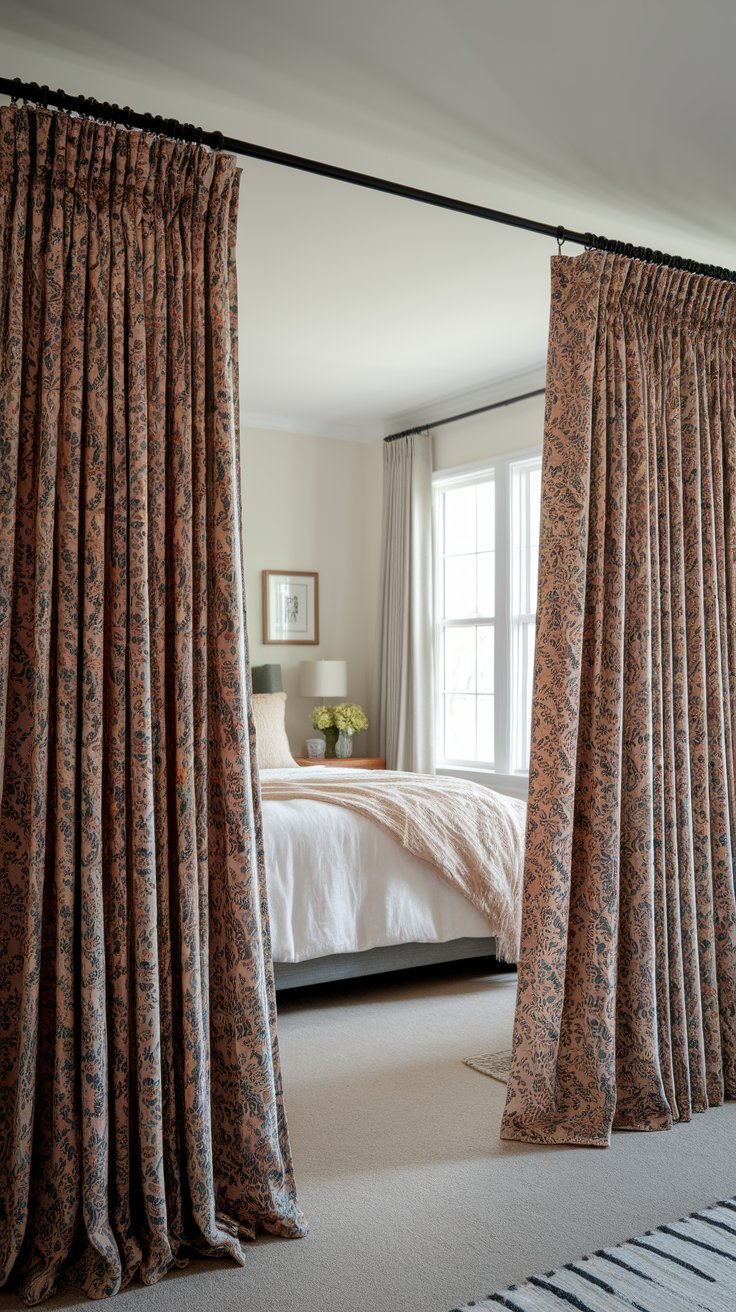
Need a renter-friendly solution that installs in minutes? A tension rod and stylish shower curtain do the trick beautifully.
How to pull it off:
- Choose a thick, fabric shower curtain with a luxe texture or print
- Use a tension rod between two walls or tall bookshelves
- Add curtain rings for easy movement
Cost breakdown:
| Item | Estimated Cost |
|---|---|
| Tension rod | $10–15 |
| Fabric curtain | $15–30 |
| Rings (optional) | $5–10 |
Stylish and practical, this is one of the fastest room divider solutions you can DIY.
19. Hanging Canvas or Art Print as Statement Divider
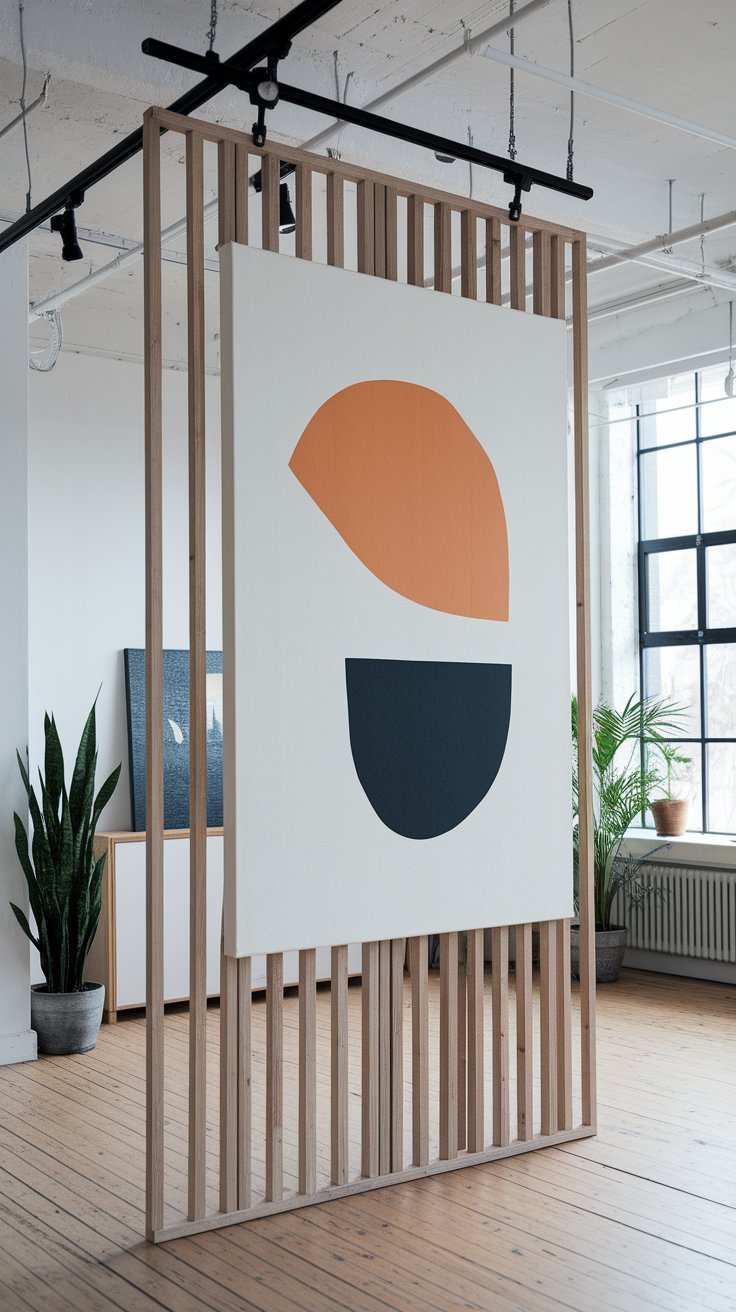
Large-scale canvas or art prints can act as both visual statement pieces and functional dividers. Hang one from a ceiling track or between columns to define zones within a space.
Try this approach:
- Use wall tapestry rods or curtain hardware to hang the canvas
- Choose art with bold lines, ancient motifs, or minimal abstracts
- Frame the top and bottom with wood strips for a gallery look
This idea works especially well in creative spaces, studios, or open-concept lofts.
Final Thoughts: Divide With Style, Not Cost
Room dividers don’t have to be permanent—or expensive—to make a big impact. With the right materials and a little imagination, you can create a stylish split between spaces while staying firmly on budget.
These ideas prove that even in a small apartment or tight room, you can carve out privacy, personality, and practicality—without sacrificing aesthetics.
FAQ: DIY Room Divider Ideas
What is the cheapest way to divide a room?
Using tension rods and fabric (like curtains or shower panels) is one of the cheapest and easiest ways to divide a room. You can also stack crates, hang macramé, or repurpose items like old doors or window frames.
Can I make a room divider without drilling into walls?
Yes! Use ceiling tension rods, freestanding shelves, foldable screens, or rolling dividers. These are renter-friendly and don’t require permanent installation.
What materials work best for a cheap room divider?
Budget-friendly materials include:
- Drop cloths and cotton fabric
- PVC pipes
- Wooden crates
- Reclaimed doors or window frames
- Pegboards and shower curtains
How can I divide a small space without losing light?
Use semi-transparent materials like sheer curtains, open shelving, or bamboo panels. These provide separation while allowing natural light to flow through, keeping the space feeling open and airy.
Related Articles:
- 15 Genius DIY Loft Bed Ideas to Save Space in Style
- 21 Cute DIY Room Decor Ideas to Instantly Refresh Your Space
- 30 DIY Bedroom Decor Ideas for Women Who Redecorate Every Season