DIY Floating Shelves Made Easy: Affordable Builds for Every Skill Level
If you want a simple way to add style, function, and personality to any space, floating shelves are your answer. They’re sleek, customizable, and surprisingly easy to build yourself, even if you’re new to DIY projects.
You don’t need a full workshop or fancy tools, just a little time, a few basic supplies, and the right plan.
In this guide, we’ll walk through creative and affordable floating shelf ideas tailored to your skill level.
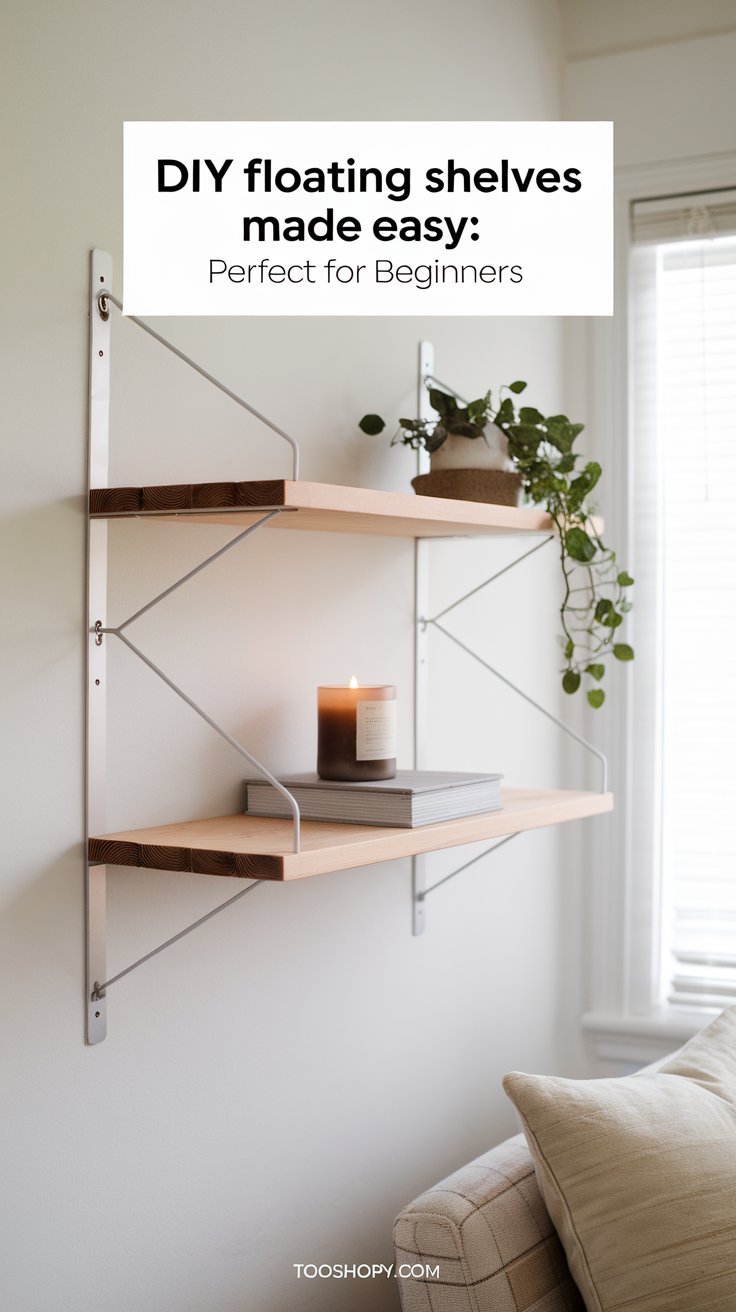
Beginner-Friendly Floating Shelf Projects
Simple, affordable builds that are perfect for first-time DIYers.
1. Simple Bracket-Free Shelf Using 2x4s and Screws
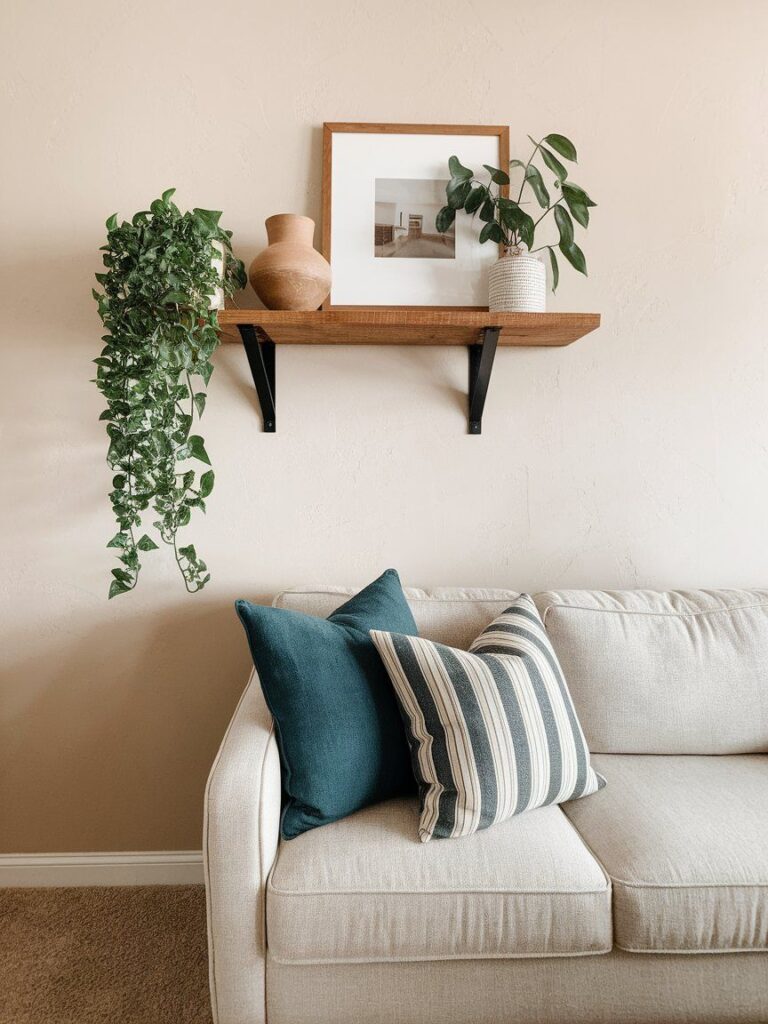
This is as easy as it gets—but still gives you the clean “floating” look. By screwing a 2×4 ledger into wall studs and resting a shelf board on top, you get hidden support without any visible brackets.
Materials Needed:
- 2×4 wood for support (cut to length)
- 1” or 2” thick board for the shelf itself
- Screws, level, and wall anchors (if no studs available)
- Paint or stain (optional)
Estimated Cost: Under $20 per shelf
Pro Tip: Paint the 2×4 and shelf the same color to fully blend the support. You can also add trim to cover gaps for a cleaner finish.
2. Floating Crate Shelves Using Dollar Store or Thrifted Wooden Crates
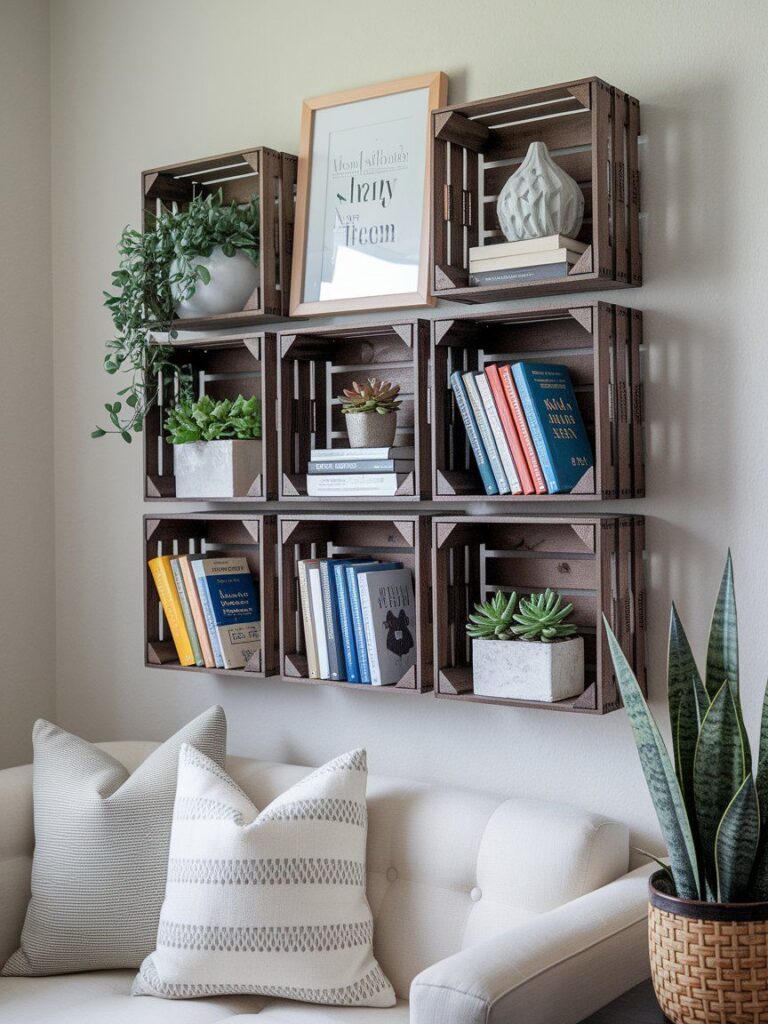
Turn small crates into instant wall shelves—no cutting, sawing, or sanding required.
How to Do It:
- Find small wooden crates (unfinished or pre-stained)
- Screw directly into the wall through the crate’s back panel
- Use anchors or screw into studs for better support
- Style with plants, books, or small framed prints
Why It’s Great: This is renter-friendly, budget-friendly, and perfect for creating a wall grid or stacked look.
3. Peel-and-Stick Faux Floating Shelf Look for Renters
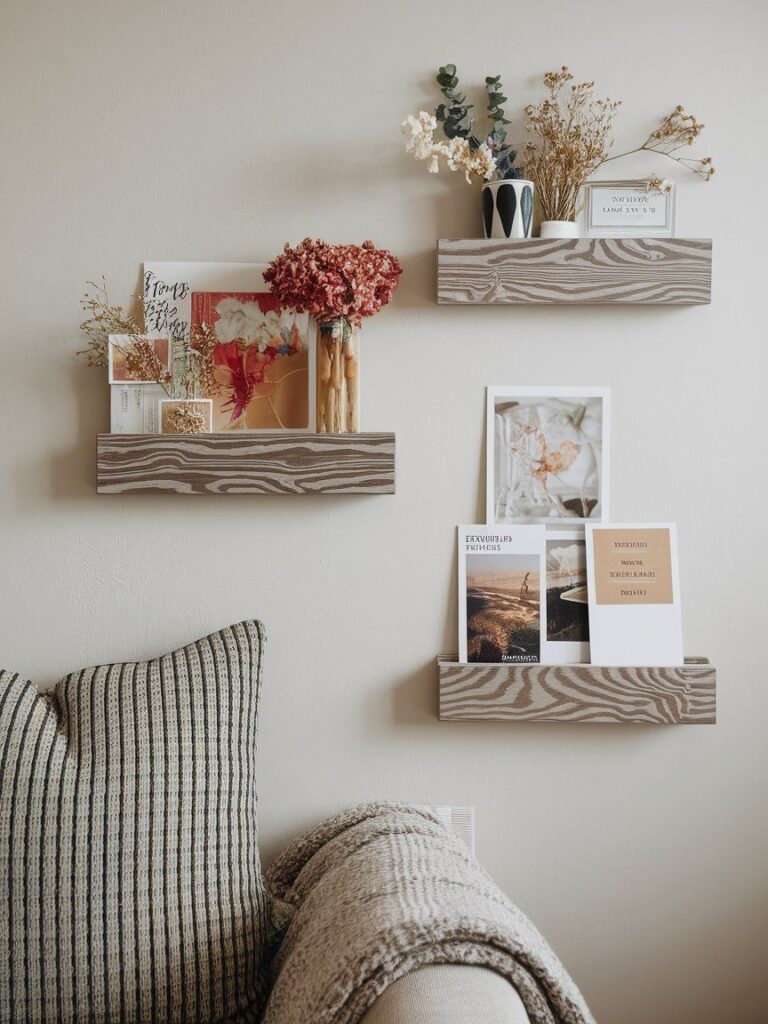
If you can’t drill holes or commit to wood builds, try the illusion of floating shelves using peel-and-stick ledges or lightweight foam-core panels.
Best For: Dorms, apartments, or super temporary styling
How to Style It:
- Use double-sided mounting strips or Command shelves
- Top with ultra-light objects like dried flowers, postcards, or faux mini plants
- Add adhesive faux wood contact paper for realism
This gives you the vibe without the commitment.
4. Ledge-Style Shelf with Pre-Cut Wood and Wood Glue
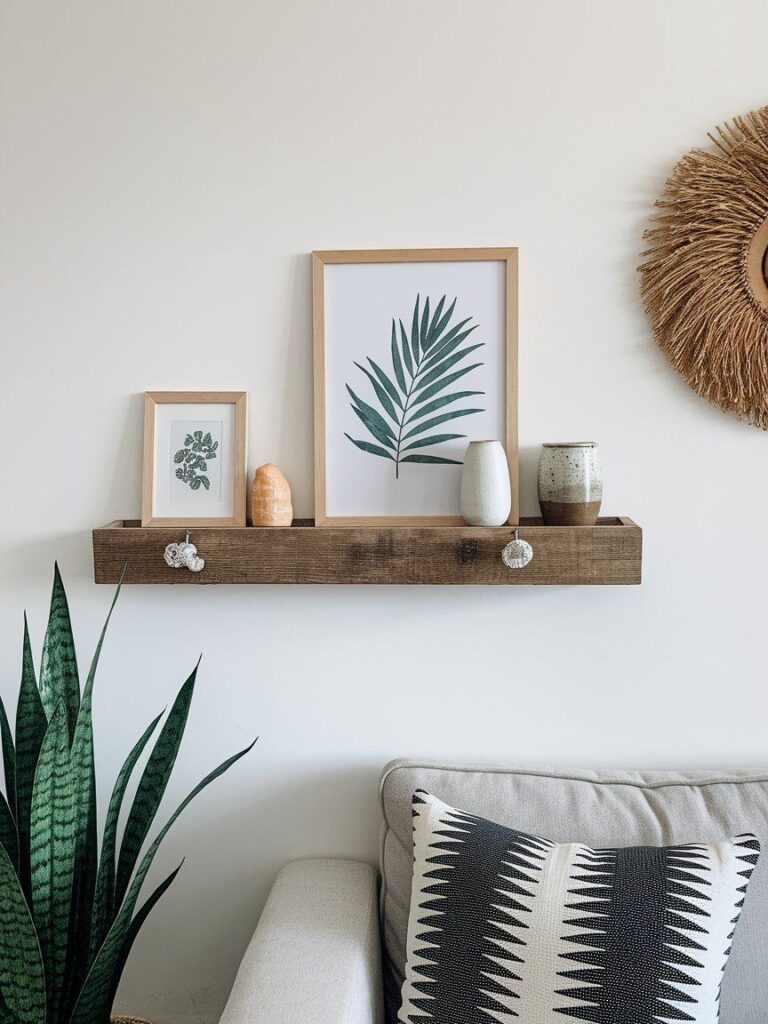
Many craft or home improvement stores sell pre-cut wood planks. Pair one with a thinner piece (as a front lip) and you’ve got a picture ledge-style shelf—no brackets, no nails.
Assembly Steps:
- Use wood glue to attach a narrow trim piece (like a 1×2) to the front edge
- Clamp until dry, then paint or stain
- Mount with screws or wall-safe adhesive strips
Perfect for displaying frames, artwork, and slim decor items.
5. Minimalist Corner Floating Shelf with Hidden L-Brackets
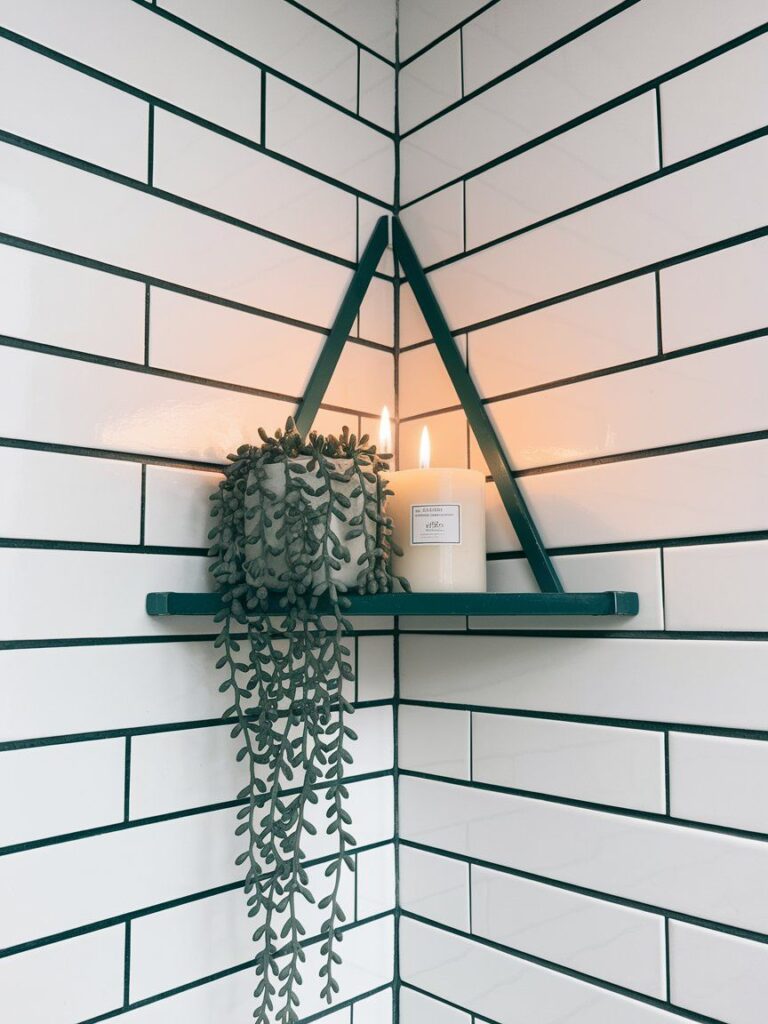
A small triangular shelf in the corner can bring function to awkward spaces. Hide basic L-brackets beneath to make the shelf look like it’s floating.
What You’ll Need:
- ¾” plywood or MDF cut into a triangle
- Two small L-brackets
- Screws and wall anchors
- Paint or stain for finishing
Best Use: Great for bathrooms, small kitchens, or tight bedrooms where every inch counts.
Intermediate DIY Floating Shelves
Step up your skills with builds that add polish, structure, and style.
6. Hidden-Bracket Floating Shelves with Routed Edges
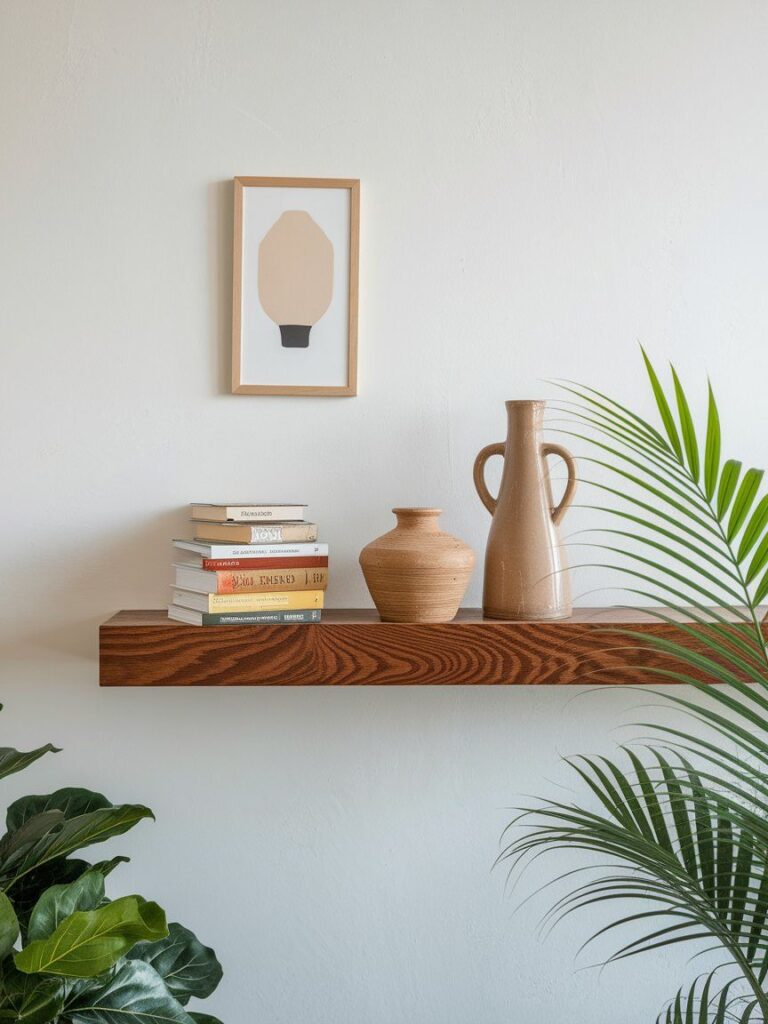
These shelves use floating shelf brackets (which insert into the back of the shelf) for a true bracket-free look. A router adds a finished edge that feels custom and professional.
What You’ll Need:
- Floating shelf bracket (from hardware store or Amazon)
- 2×8 or 2×10 wood
- Power drill + level
- Router (optional, for decorative edge)
Tip: Choose high-quality pine or poplar for easy routing and finishing. Paint white for a modern look or stain for a rustic vibe.
7. Faux Live-Edge Floating Shelf
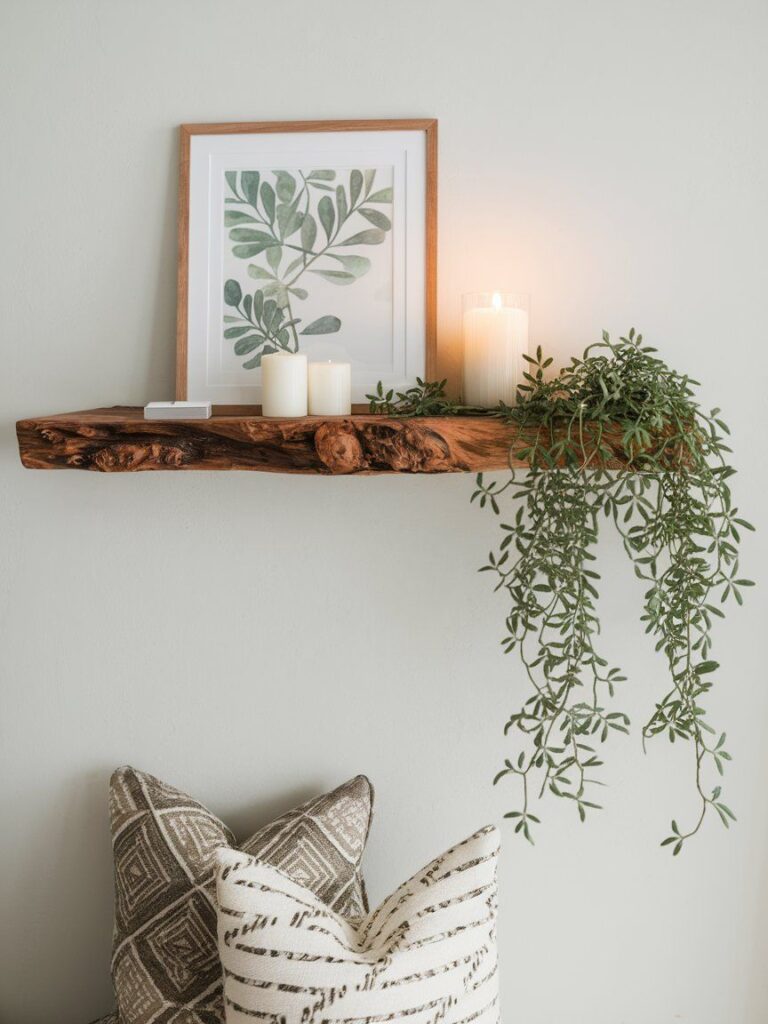
Live-edge furniture is beautiful but expensive. You can fake the look using basic boards and a jigsaw.
How to Do It:
- Trace a wavy edge onto the front of your shelf board
- Cut with a jigsaw and sand smooth
- Stain in natural wood tones to highlight the curves
- Mount with invisible brackets or keyhole hangers
Finish with: A matte sealer for a natural woodgrain appearance.
8. Stained Wood Floating Shelf Trio for Kitchens or Bathrooms
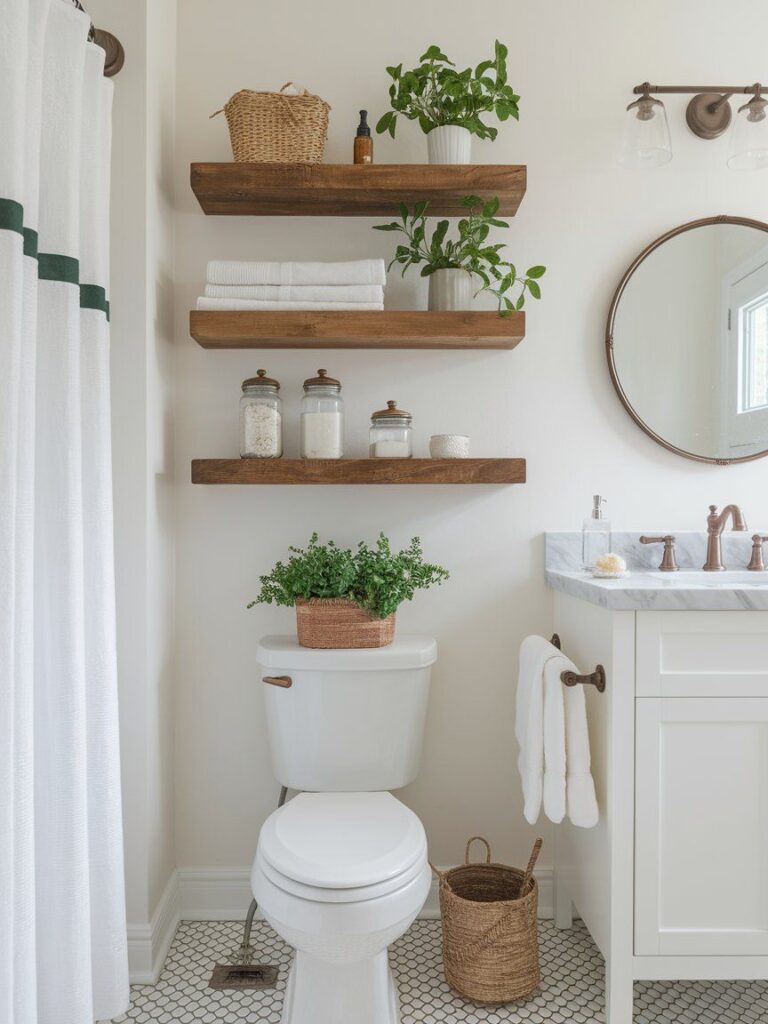
Installing a set of three stained wood shelves adds serious visual impact. Perfect for styling above a toilet, in a breakfast nook, or beside the stove.
Style Tips:
- Use darker stains for contrast in light rooms
- Keep accessories minimal: jars, candles, greenery, folded towels
- Install at varying heights for a layered effect
Materials: Pre-cut boards + floating shelf brackets + stain/sealer
9. Layered Floating Bookshelves with Paint + Trim Molding
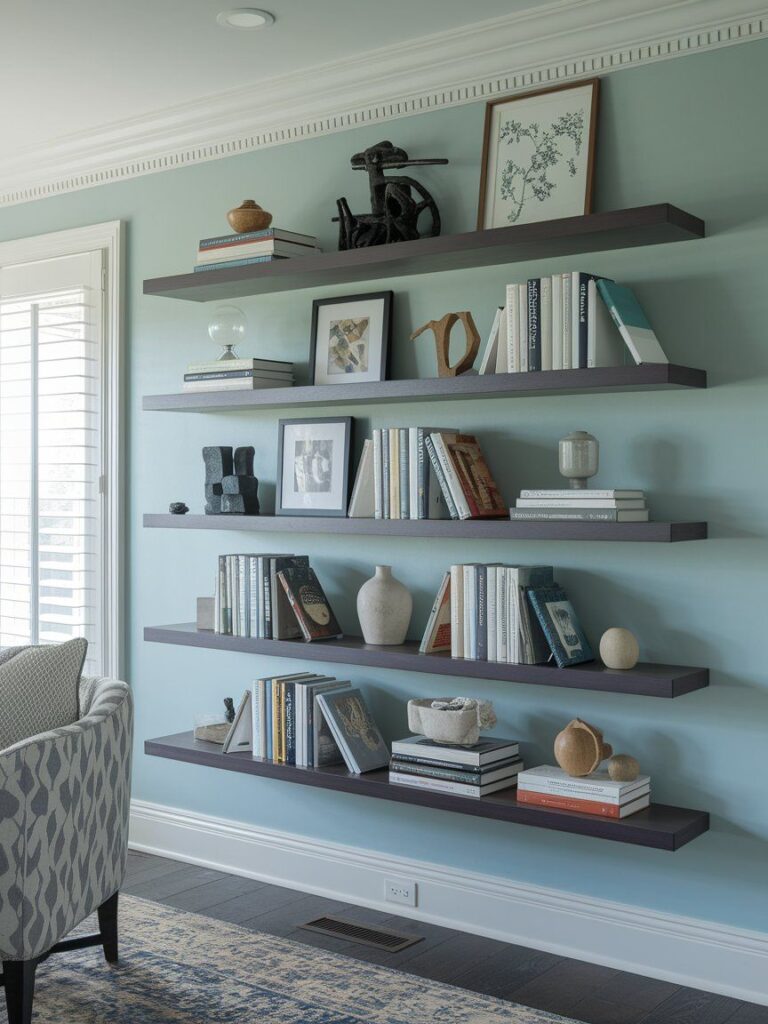
These shelves add subtle flair using painted details or inexpensive trim. They’re great for kids’ rooms or living spaces.
What Makes Them Stand Out:
- Add flat trim to the shelf edge for a “built-in” look
- Paint the shelf the same color as the wall for a seamless effect
- Layer with art prints, frames, or standing books
Bonus: You can use MDF for a lightweight, cost-effective finish.
10. Floating Shelves with Integrated Underlighting
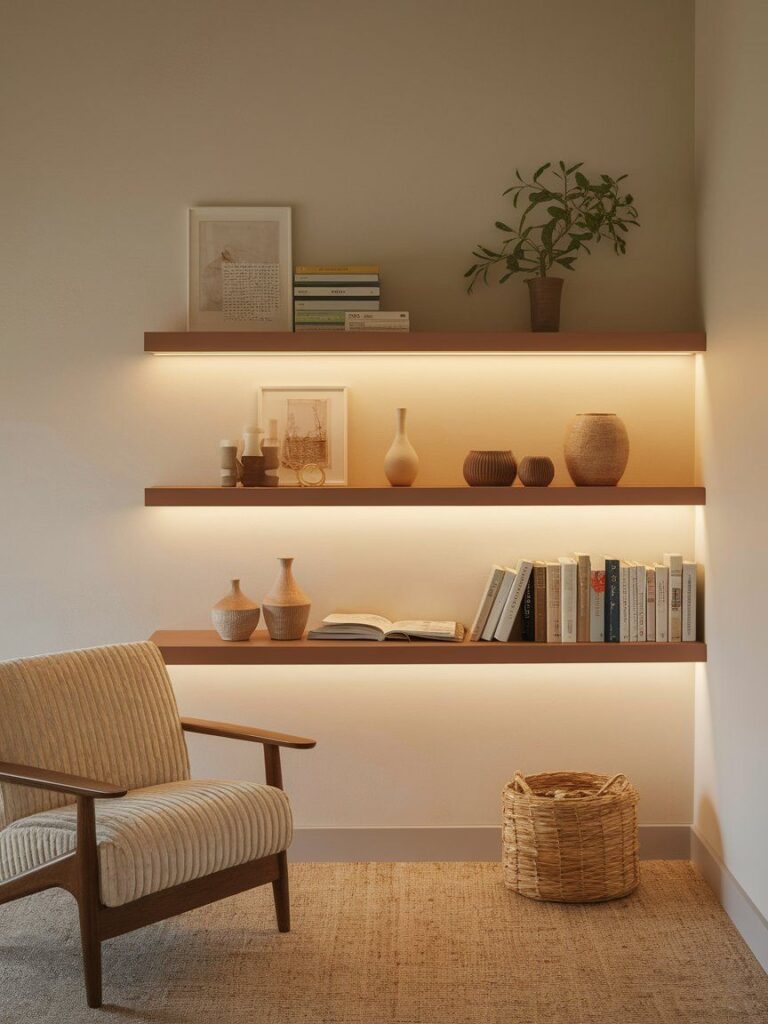
Give your shelves a designer touch by adding LED strip lights underneath. This adds ambiance and makes the space feel high-end.
Materials Needed:
- LED strip lights (adhesive-backed)
- Power source (plug-in or USB-powered)
- Floating shelf with a slight lip underneath
Where to Use It:
- Under kitchen shelving
- Bedroom reading nooks
- Living room displays
Choose warm-toned lighting for a cozy vibe or daylight white for a modern look.
Advanced Builds for Experienced DIYers
High-impact builds with custom finishes and functional upgrades.
11. Wall-to-Wall Floating Shelf Install
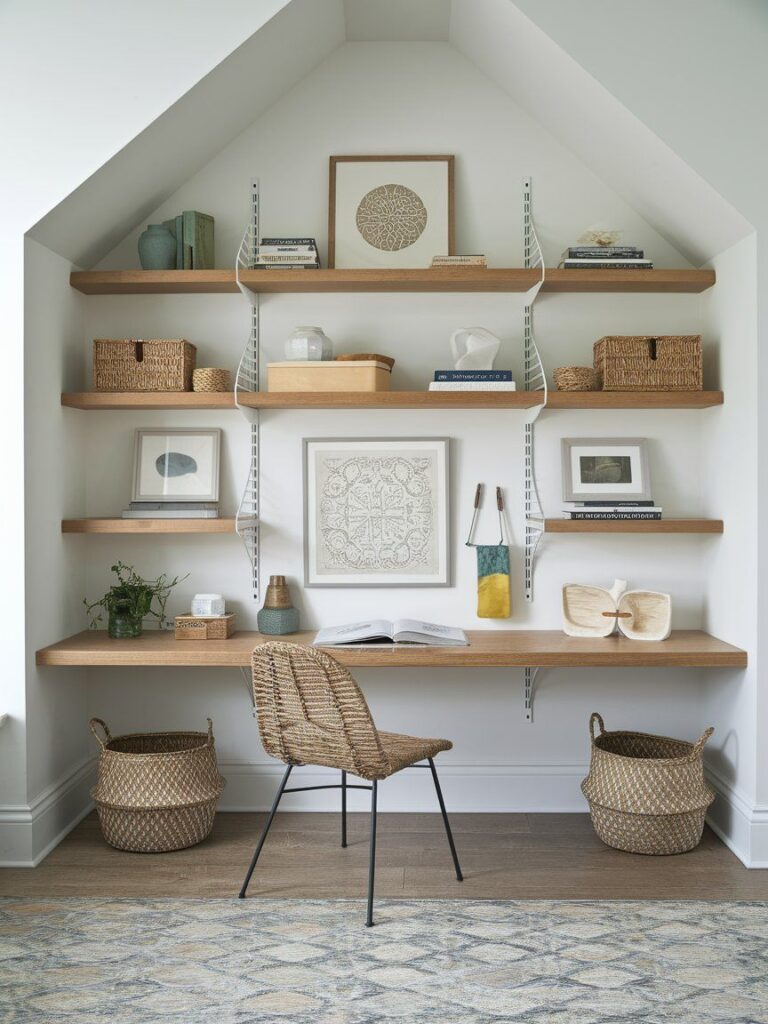
If you want to fill an entire wall or alcove, wall-to-wall shelves are both practical and dramatic. These shelves are secured with cleats hidden inside a hollow shelf box, giving the illusion they float across the whole space.
Steps Overview:
- Measure the wall span and cut 1×2 cleats to size
- Attach cleats to studs using screws
- Build a hollow shelf box using plywood or MDF
- Slide the box over the cleats and screw into place from underneath
Where it works best:
- Closets
- Home offices
- Pantry or utility walls
12. Chunky “Thick-Look” Floating Shelves with a Hollow Box Frame
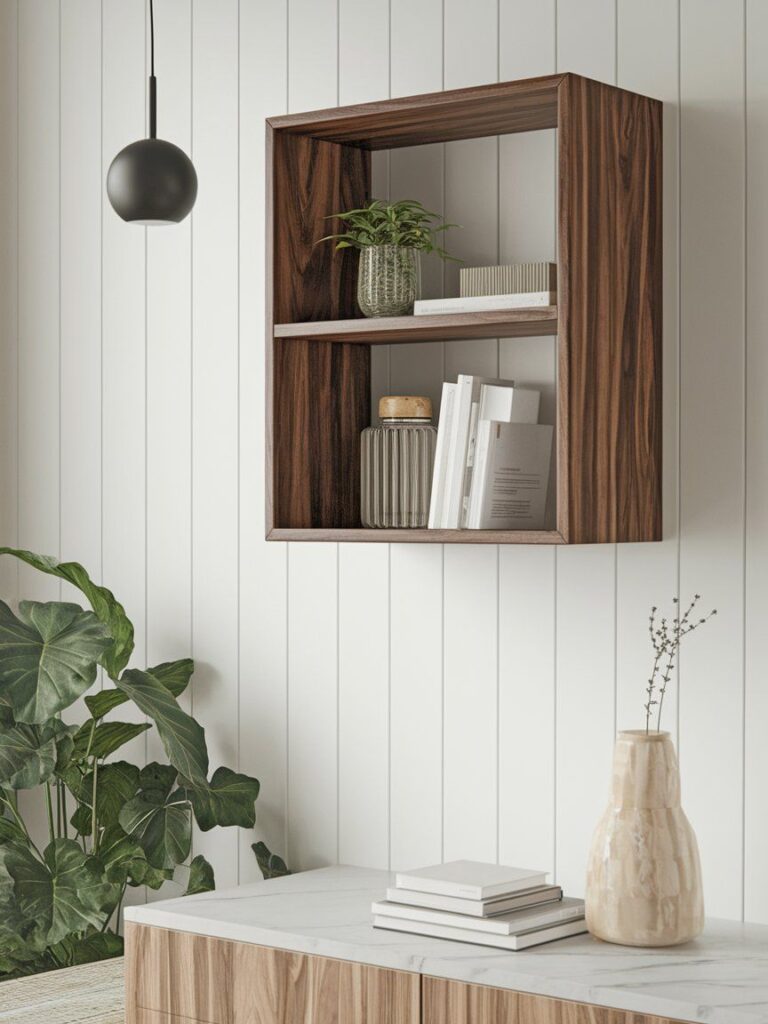
This build creates shelves that look thick and heavy but are actually hollow and lightweight—perfect for a modern rustic look.
Build Breakdown:
- Construct a 3-sided box (top, bottom, front) using 1×6 or 1×8 boards
- Use pocket screws and wood glue for clean seams
- Mount with a 2×2 internal bracket anchored to the wall
- Slide shelf over the bracket and secure underneath
Design Tip: Stain with rich walnut or ebony and pair with matte black accents for a designer finish.
13. Floating Vanity Shelf in the Bathroom
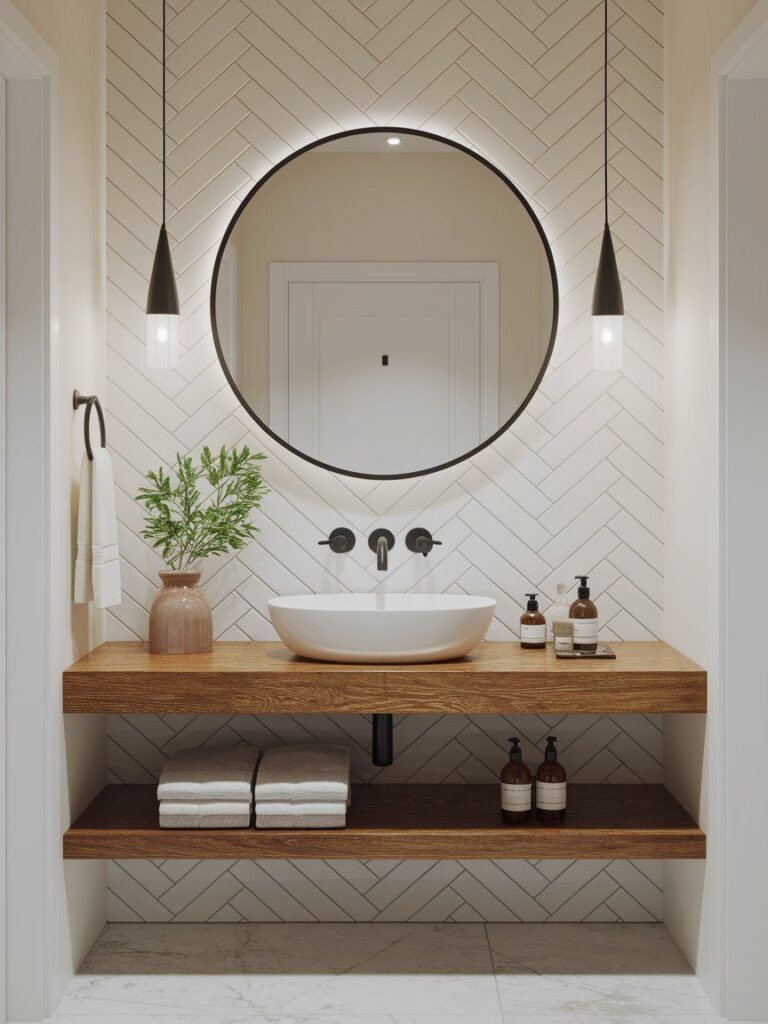
Want a spa-style look? Swap a bulky vanity for a floating wood shelf that supports a vessel sink. This build requires precision and waterproof finishes but makes a big design impact.
Things You’ll Need:
- Thick, sealed hardwood (or marine-sealed plywood)
- Wall-mount sink brackets
- Vessel sink + plumbing access
Bonus Tip: Add a slim shelf below for towels or baskets.
14. Ceiling-Hung Floating Shelf (Using Rope, Chain, or Pipe)
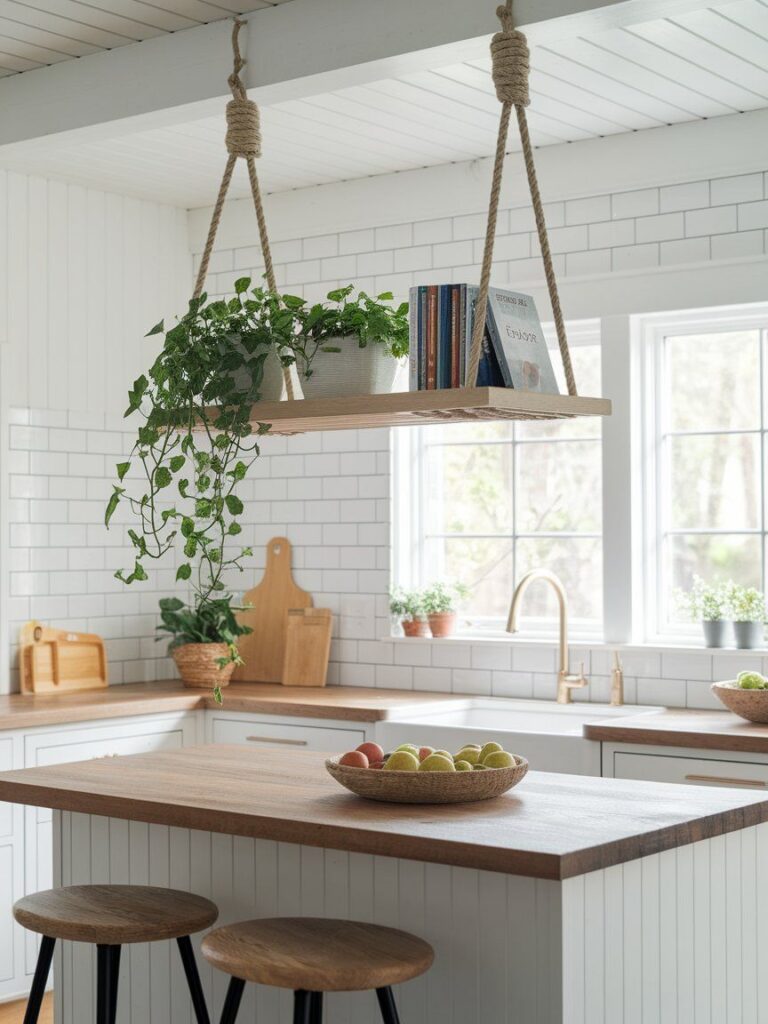
Technically not wall-mounted, this floating shelf “hangs” from the ceiling—perfect for kitchens or plant displays. Use rustic or industrial materials for the hanging support.
How to Make It:
- Drill holes in the shelf corners
- Run rope, chain, or copper pipe through the holes
- Anchor into ceiling joists with eye hooks or flanges
Where It Shines: Above kitchen islands, plant corners, or reading nooks.
15. Hidden Drawer Floating Shelf
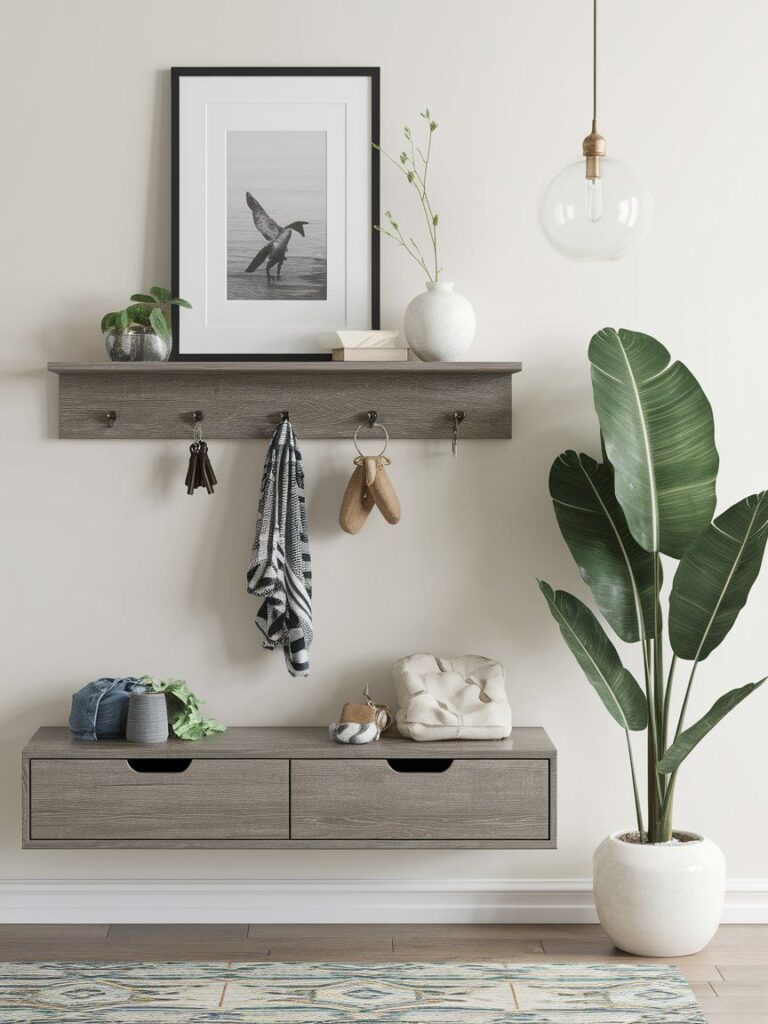
This shelf does double duty—adding beauty and hidden storage. It’s a great fit for entryways, offices, or bedside setups.
Build Process:
- Construct a hollow box shelf
- Add a small drawer insert using sliders or a push-latch
- Mount with a hidden cleat or floating bracket
Use it to store keys, chargers, or small essentials out of sight.
Styling & Maintenance Tips
Make your shelves look polished and stay functional year-round.
16. How to Decorate Floating Shelves Without Clutter
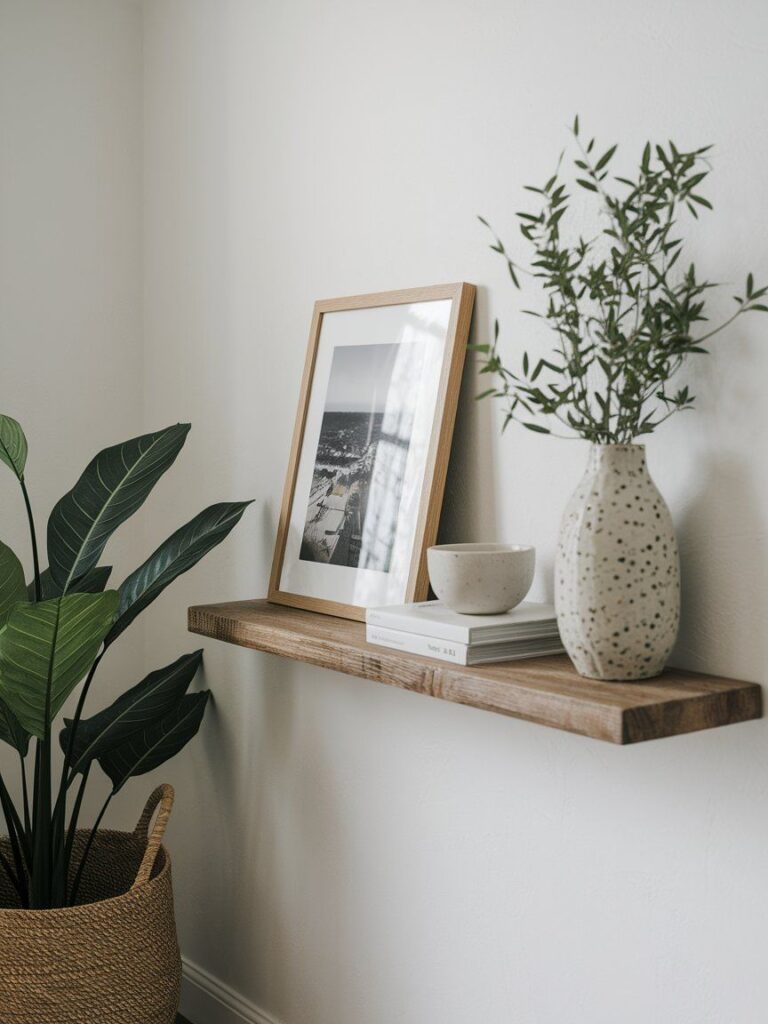
Floating shelves walk a fine line between stylish and overcrowded. To strike the right balance, focus on purposeful layering and visual breathing room.
Styling Formula:
- 1 Large Statement: A framed photo, art print, or plant
- 2–3 Medium Items: Candles, vases, books
- 1–2 Small Accents: Beads, decorative bowls, mini sculptures
Tips to Keep It Clean:
- Stick to a consistent color palette
- Leave open space between objects
- Rotate items seasonally to keep things fresh
17. Dust-Proofing & Weight Limits: What You Should Know
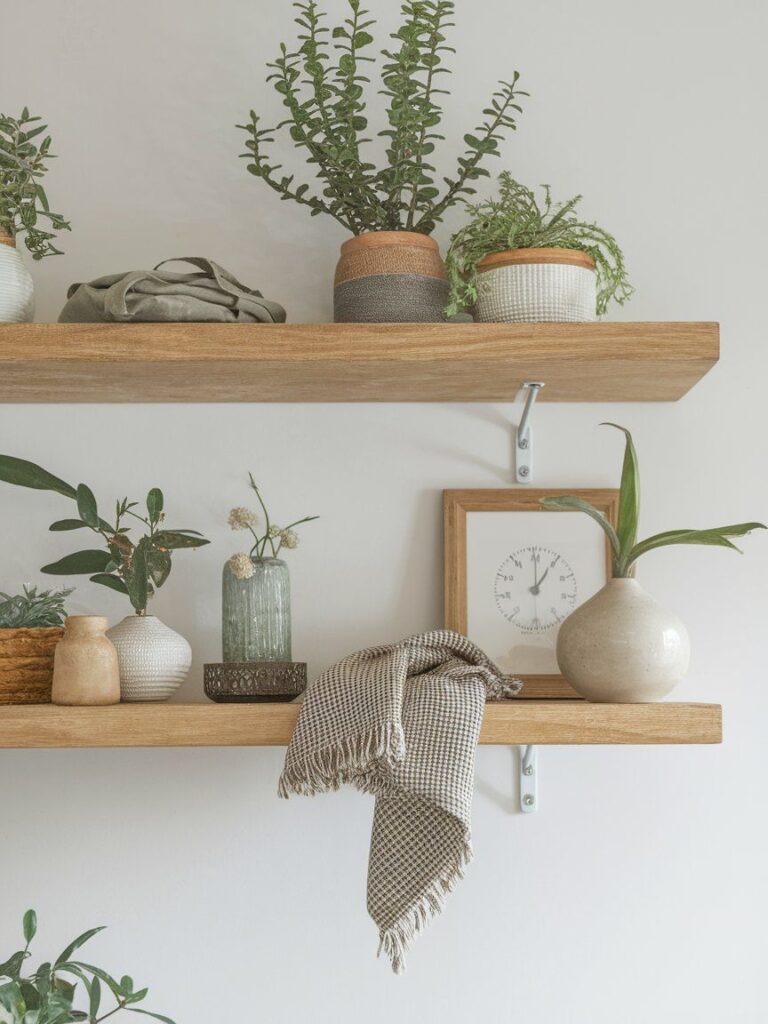
Floating shelves are beautiful—but they’re not invincible. Here’s how to keep them clean and structurally sound:
| Issue | Prevention Tip |
|---|---|
| Dust buildup | Wipe weekly with a microfiber cloth or duster |
| Sagging shelves | Only mount into wall studs and use anchors |
| Overloading | Limit weight to 15–30 lbs per shelf unless reinforced |
| Moisture damage | Use sealed or treated wood in kitchens/bathrooms |
Pro Tip: Use shelf liners or felt pads under decor to avoid scratches or water rings.
Final Thoughts: Floating Shelves That Look Custom Without the Cost
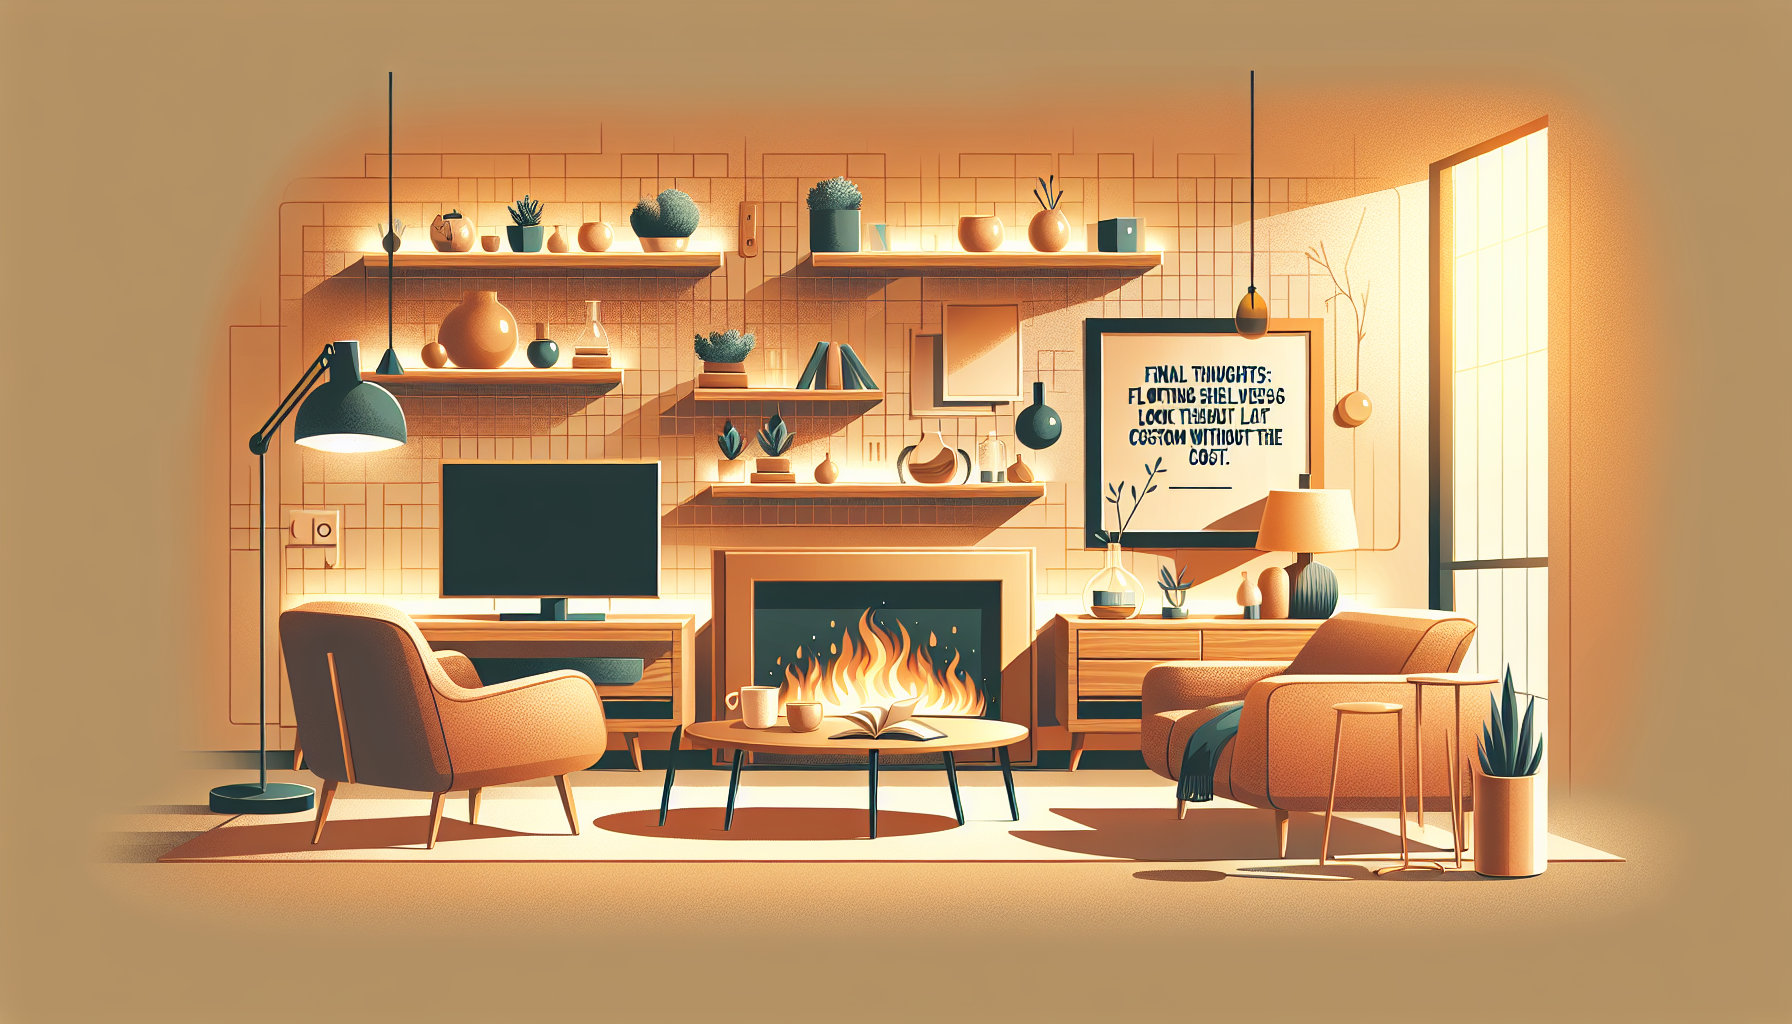
DIY floating shelves are one of the smartest upgrades you can make to your space. They’re clean, functional, and endlessly customizable—whether you’re going for modern minimalism, rustic charm, or somewhere in between. Best of all, you can create them on a budget and match them to your skill level.
From no-drill rental hacks to heavy-duty wall-to-wall installs, there’s a floating shelf idea here for every room and every DIYer. So grab some wood, charge your drill, and start building shelves that not only look amazing—but actually work hard for your home too.
FAQ: DIY Floating Shelves
What is the easiest way to build floating shelves?
The easiest method is using a basic wall cleat (like a 2×4) screwed into wall studs, then sliding a shelf board over it. This technique gives the floating look without needing fancy tools or hardware.
Can I make floating shelves without power tools?
Yes. Some beginner projects only require wood glue, pre-cut boards, and mounting strips or Command hooks. These no-power-tool options work well for renters or temporary decor.
How much weight can DIY floating shelves hold?
Most DIY shelves can hold 15–30 pounds if properly anchored into wall studs. For heavier loads, use reinforced brackets, a hollow box design, or hidden steel rods.
What type of wood is best for budget-friendly floating shelves?
Pine, poplar, and MDF are great budget-friendly choices. Use higher-end options like oak or walnut for a more polished look, or use plywood with edge banding to fake the high-end feel.
How do I style floating shelves so they don’t look cluttered?
Stick to a few layered items per shelf: one large anchor (art or plant), a couple medium pieces (candles or books), and one or two small accents. Use negative space to make it feel intentional and clean.
Related Articles:
- 19 Cheap DIY Room Divider Ideas That Look Expensive
- 15 Genius DIY Loft Bed Ideas to Save Space in Style
- 17 Creative DIY Mirror Frame Ideas to Instantly Upgrade Any Space